
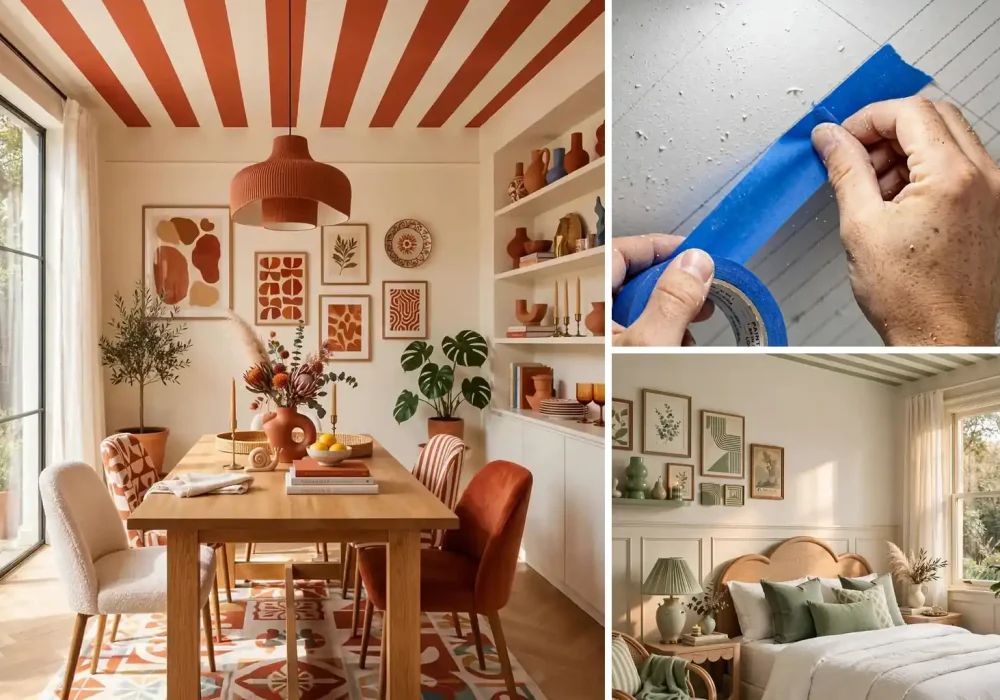
The ceiling is the most underused surface in your home, and 2026 is the year that changes. Pinterest’s official trend report calls it FunHaus: circus inspired maximalism with bold stripes, sculptural shapes, and a wink of playfulness. Searches for circus interiors are up 130 percent, and the striped ceiling sits right at the center of the trend.
A striped ceiling sounds intimidating until you understand the method. It is really just careful measuring, good tape, and patience. The result is a room that feels custom designed, because it is. No wallpaper, no contractor, no huge budget. Just paint, tape, and a weekend.
This guide walks through every step: planning your stripe pattern, choosing colors, the exact materials that give crisp lines, and the technique professionals use to prevent bleed. By the end you will have a ceiling that looks like a designer did it.
What Is the FunHaus Striped Ceiling Trend

FunHaus is Pinterest’s name for the 2026 wave of playful maximalism. Think vintage circus posters, bold awning stripes, and sculptural shapes, balanced with enough restraint that the room still feels livable. The striped ceiling is the signature move of the trend because it delivers maximum impact from a surface people usually ignore.
The look works in almost any room. In a bedroom it feels cozy and cocoon like. In a dining room it feels festive and intentional. In a kids room or nursery it feels joyful without being childish. In a hallway it turns a pass through space into a moment.
The key principle is balance. A striped ceiling pairs best with calm walls. If the ceiling is doing the talking, the walls should listen. Solid colors, soft textures, and simple furniture let the stripes be the star without overwhelming the room.
Why stripes work overhead: Stripes add energy and direction to a room. Stripes running toward a window draw the eye outward and make the room feel longer. Stripes running across make a narrow room feel wider. You are not just decorating, you are reshaping how the space feels.
Planning Your Stripe Pattern
Before buying paint, make three decisions: stripe direction, stripe width, and color combination. These choices define the whole project.
Stripe direction: For most rooms, run stripes from the main entrance toward the farthest window. This pulls visitors into the space. In a long hallway, run stripes across the width to make it feel less tunnel like. In a square bedroom, either direction works, so choose based on where the bed faces.
Stripe width guide:
Narrow stripes, 4 to 6 inches: Feel tailored and preppy, like a classic awning. Best for small rooms and subtle looks. More stripes means more taping, so budget extra time.
Medium stripes, 8 to 12 inches: The sweet spot for most rooms. Bold enough to read as a design choice, easy enough to tape accurately. This is the width to choose if you are unsure.
Wide stripes, 14 to 18 inches: Feel modern and graphic. Best for large rooms with high ceilings. Fewer stripes means faster taping but each stripe must be perfect, since flaws show more at this scale.
Color combinations that work:
Classic FunHaus: Warm white plus terracotta or dusty orange. Playful but grounded.
Soft circus: Cream plus sage green. Gentle, works in bedrooms and nurseries.
Bold statement: Matte black plus warm white. Dramatic, best in dining rooms and entryways.
Tone on tone: Two shades of the same color, like light and medium beige. Subtle texture instead of contrast, very sophisticated.
Pro tip: Always include white or cream as one of the stripes. It keeps the ceiling feeling like a ceiling instead of a tent, and it reflects light into the room.
Materials You Will Need
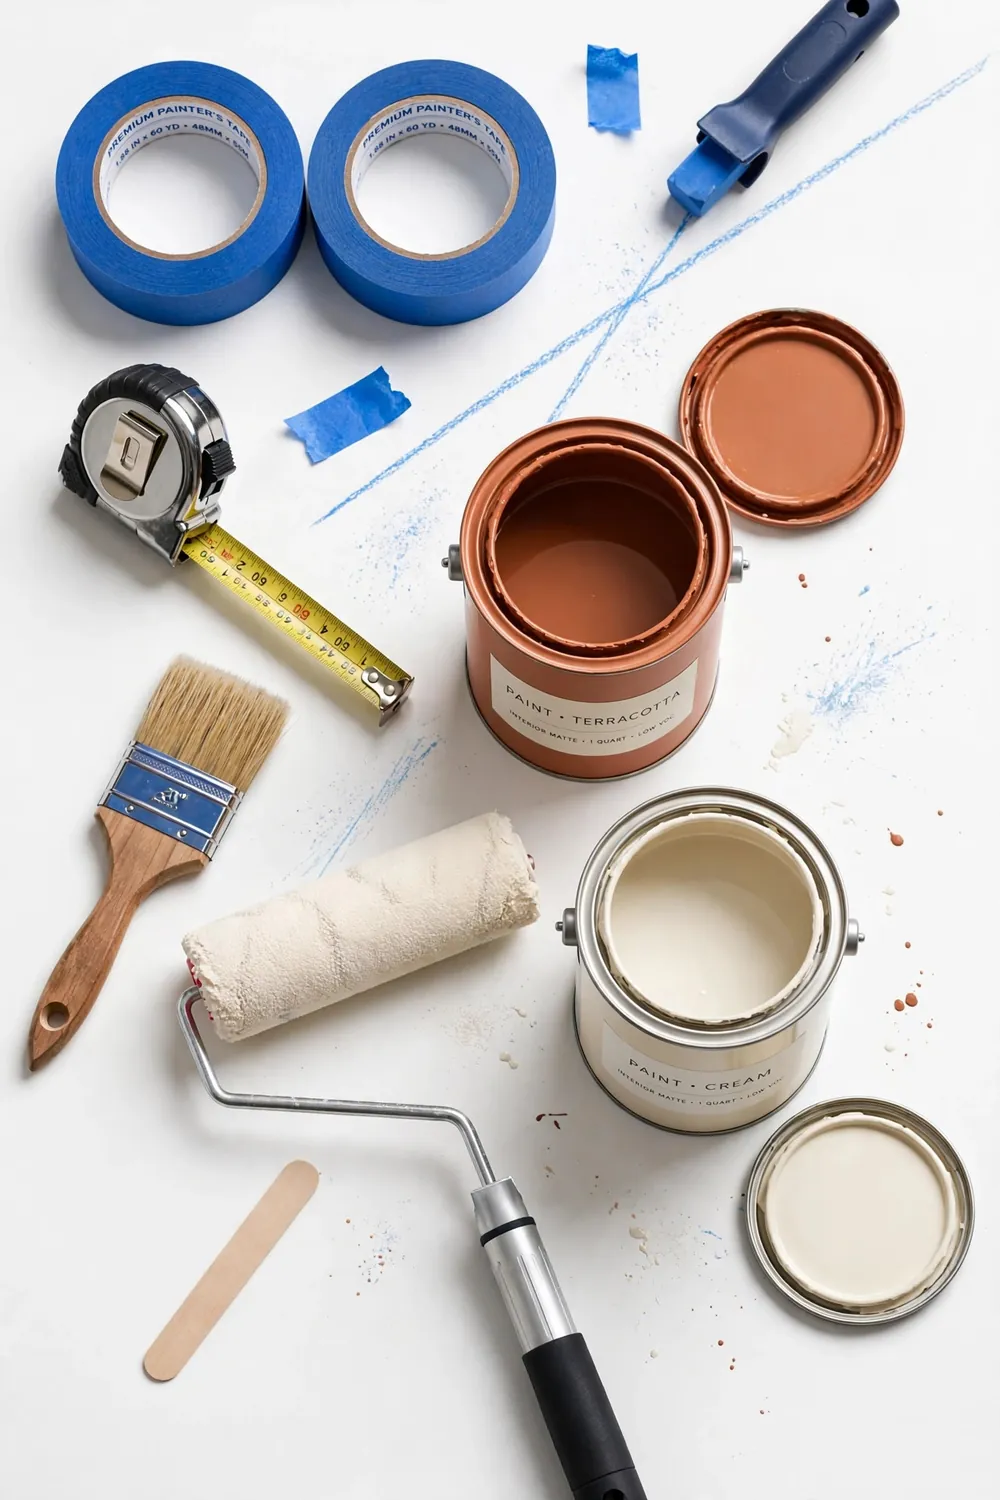
Buy quality here. Cheap tape and thin paint are the two things that ruin striped ceilings.
Paint: Two colors of interior ceiling paint or matte wall paint. One gallon of each covers a standard bedroom ceiling with two coats. Choose flat or matte finish, which hides imperfections and looks intentional.
Painter’s tape: The most important purchase. Get a premium edge lock tape, the kind with seal technology. Cheap tape bleeds and you will spend hours fixing lines. You will need two to three rolls for an average room.
Measuring tools: A long tape measure, a pencil, and a chalk line or laser level. The chalk line snaps straight guidelines across the whole ceiling, which is far more accurate than measuring each stripe separately.
Painting tools: A 9 inch roller with extension pole, a 2 inch angled brush for cutting in at edges, paint trays, and drop cloths. A small 4 inch roller is useful for rolling right up to the tape lines.
Prep supplies: Lightweight spackle, putty knife, fine sandpaper, and a damp cloth. Fill every crack and hole before you start. Stripes magnify ceiling flaws, so prep matters more here than on a solid paint job.
Ladder or step stool: You will be working overhead for hours. A stable platform at the right height saves your neck and your patience.
Estimated cost: 60 to 120 dollars for an average room, depending on paint quality.
Estimated time: One full weekend. Day one for prep and taping, day two for painting and touch ups.
Step by Step Tutorial
Step 1: Prep the Ceiling
Clear the room or move everything to the center and cover with drop cloths. Remove light fixtures if possible, or tape carefully around them. Fill cracks and holes with spackle, let dry, sand smooth, and wipe the whole ceiling with a damp cloth. Paint sticks best to a clean, smooth surface.
Step 2: Paint the Base Coat
Paint the entire ceiling in your lighter color. This becomes both the background and the light colored stripes. Apply two full coats, letting each dry completely. The base must be perfect because every stripe edge sits against it.
Step 3: Measure and Mark
Decide your stripe width and mark the ceiling. Start from the least visible corner so any tiny irregularity hides there. Measure and mark light pencil ticks every 12 inches along both edges of the ceiling, then snap a chalk line between matching ticks. These chalk lines are your taping guides.
Double check: Measure the total width and divide by your stripe width. If it does not divide evenly, adjust the stripe width slightly so you end with a full stripe, not a sliver. A two inch leftover stripe at the far wall will bother you forever.
Step 4: Tape the Stripes
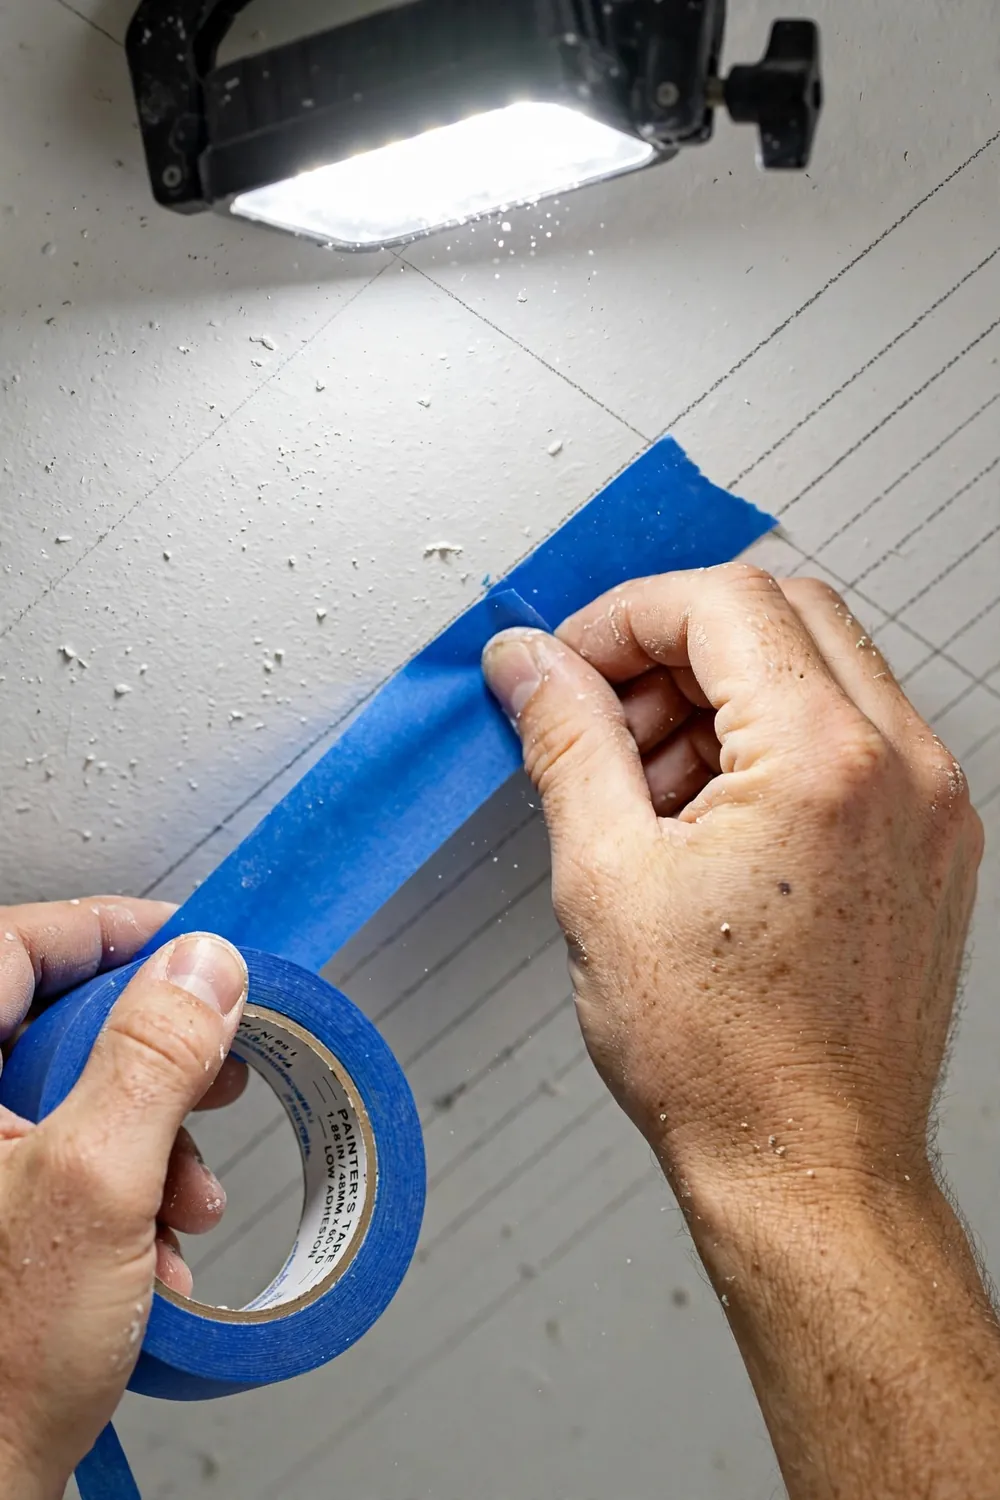
Apply painter’s tape along the chalk lines, covering the stripes that will stay the base color. Press the tape down firmly with a credit card or putty knife, burnishing the edges. This step determines your line quality, so do not rush it.
The pro sealing trick: After taping, paint a thin coat of your BASE color over the tape edges and let it dry. This seals any tiny gaps under the tape with the base color, so when you paint the stripe color, nothing can bleed through. This single trick is the difference between amateur and professional results.
Step 5: Paint the Stripes
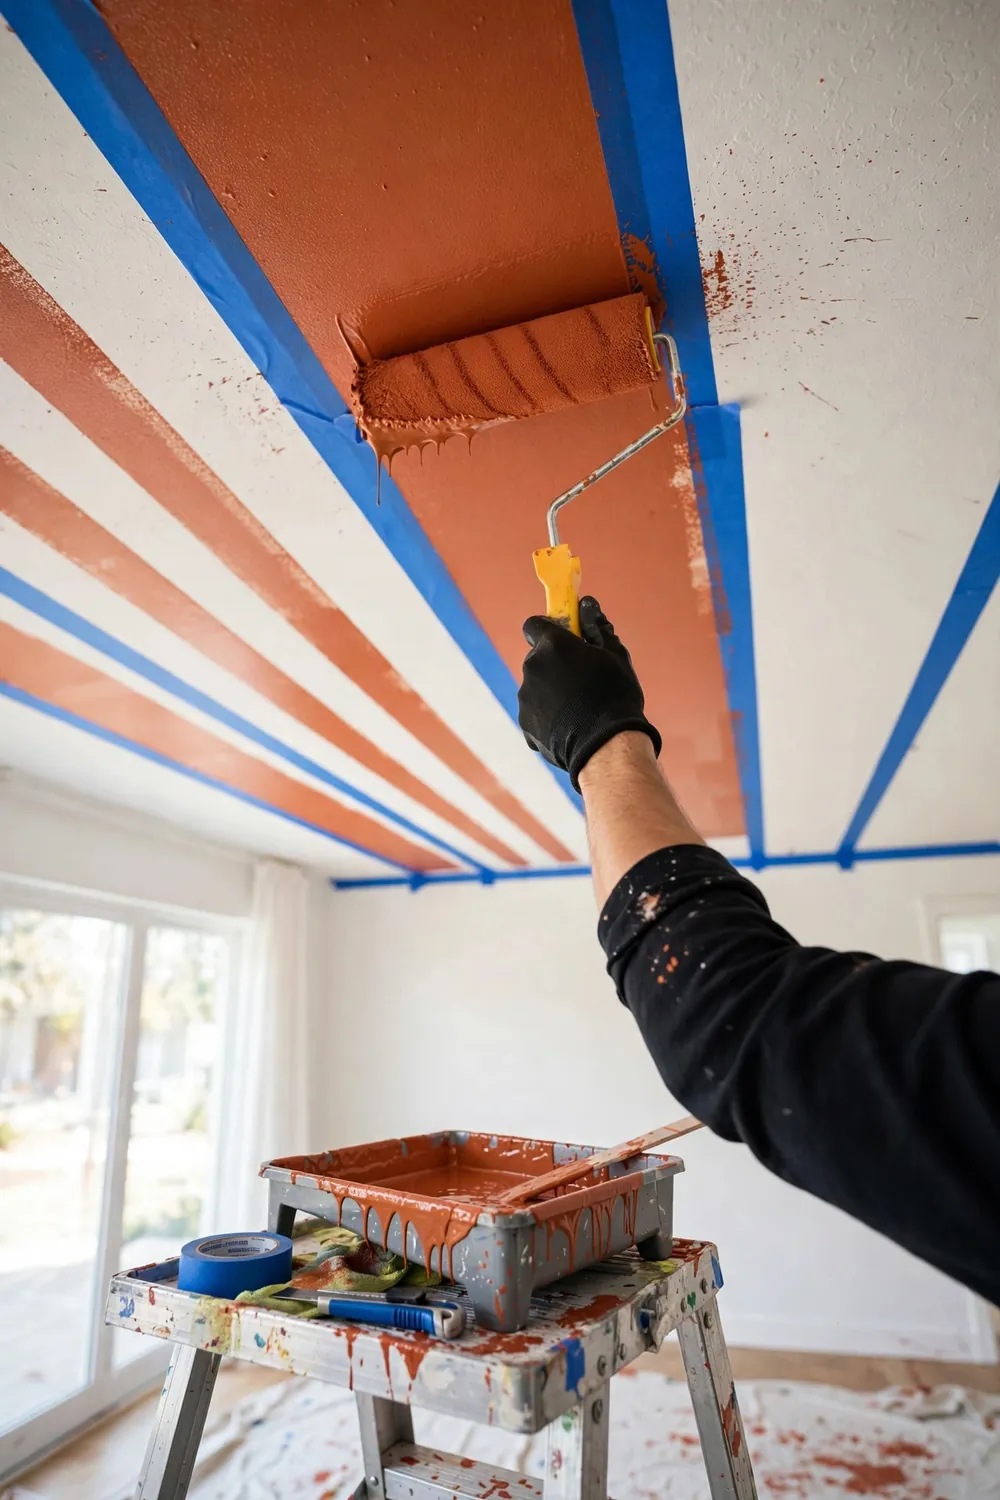
Roll the stripe color between the tape lines using a small roller. Apply two thin coats rather than one thick coat. Thin coats dry faster and are less likely to seep under tape. Use the angled brush to cut in neatly where stripes meet the walls.
Work in sections: Paint two or three stripes at a time, maintaining a wet edge. Do not stop mid stripe. If you need a break, finish the stripe you are on first.
Step 6: Remove the Tape
Remove the tape while the final coat is still slightly tacky, not fully dry. Pull slowly at a 45 degree angle away from the painted stripe. Removing tacky paint gives cleaner lines than removing fully dried paint, which can chip.
Step 7: Touch Up
Step back and inspect in daylight. Touch up any imperfections with a small brush and the appropriate color. Tiny nicks at the line are normal and easy to fix. Stand in the doorway, which is how guests will see the room, and check the overall effect.
Step 8: Reinstall and Style
Reinstall light fixtures, remove drop cloths, and put the room back together. Style the room simply. The ceiling is the statement now, so keep walls calm and furniture clean lined. One striped textile, like a throw pillow that echoes the ceiling colors, ties the room together.
Stripe Mistakes to Avoid
Using cheap tape: Budget tape bleeds, lifts, and ruins lines. Fix: buy the premium edge lock tape. It costs a few dollars more and saves hours of touch up work.
Skipping the base color seal coat: Painting stripe color directly over tape edges invites bleed. Fix: always seal tape edges with the base color first, as described in step 4.
Measuring each stripe separately: Small measuring errors compound across a ceiling. Fix: snap full chalk lines across the entire ceiling and tape to the lines.
Painting thick coats: Thick paint seeps under tape and takes forever to dry. Fix: two thin coats, always. Patience beats thickness.
Removing tape when fully dry: Dry paint can tear and chip at the line. Fix: pull tape when the paint is tacky, about 30 to 60 minutes after the final coat.
Choosing stripes plus busy walls: Stripes on the ceiling plus patterned wallpaper is visual chaos. Fix: keep walls solid and calm. The ceiling gets to be the only pattern in the room.
Caring for Your Striped Ceiling
Flat paint marks easily, so keep a small jar of each stripe color for touch ups. Dust the ceiling twice a year with a dry microfiber mop. If a stripe gets scuffed, touch up just that stripe section, feathering the edges so the repair blends. With basic care, a striped ceiling looks fresh for five to seven years.
Final Thoughts

A striped ceiling is one of those projects that looks far harder than it is. The method is simple: measure carefully, tape well, seal the edges, and paint thin coats. What you get is a room with genuine personality, the kind of detail people photograph and remember.
Start with a small room if you are nervous, a powder room or a hallway gives you the full effect with half the taping. And if you love the handmade maximalist spirit behind this project, our DIY Halloween decorations bring the same bold, crafted energy to the spookiest season of the year. For another high impact weekend project, our DIY beaded curtain guide walks through a full doorway transformation.
