
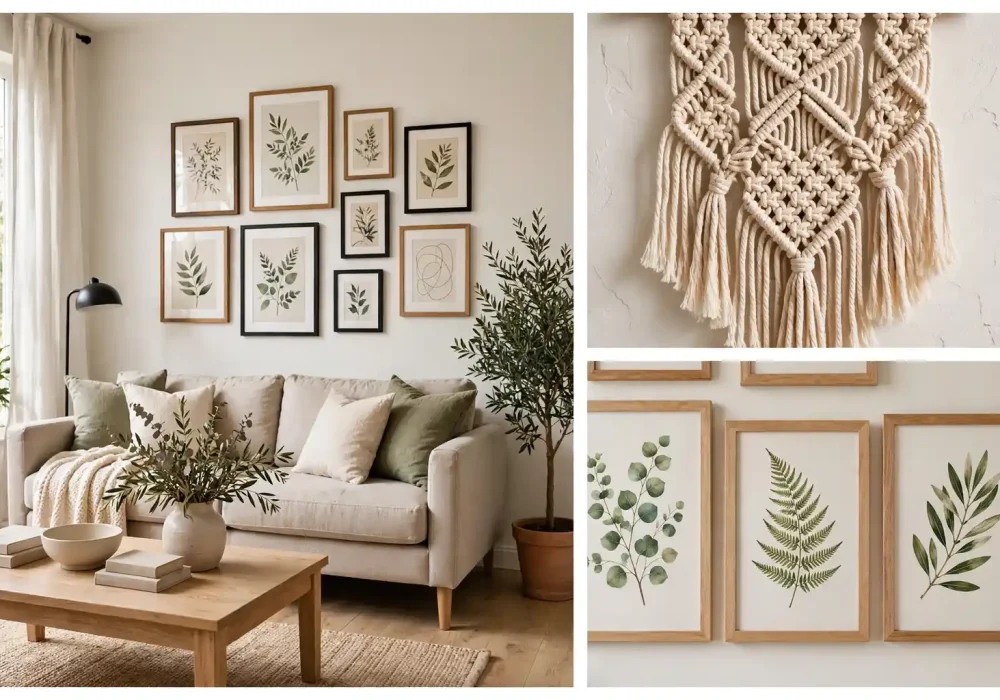
A blank wall is one of the most underused spots in any home. It stares back at you every day, full of potential, yet it is easy to walk past it for months without a plan. The good news is that you do not need a big budget or professional skills to change that. With a few simple supplies and a free afternoon, you can turn that empty stretch of wall into the most talked about feature in the room.
DIY wall decor works because it is personal. Store bought art can look lovely, but a wall you styled yourself tells your story, fits your exact space, and costs a fraction of gallery pieces. Whether you love a full gallery wall, a single bold statement, or a quiet botanical print, there is a project here that matches your style and your skill level. Most of these ideas cost under fifty dollars, and several cost almost nothing if you already have paint, frames, or fabric scraps at home.
In this guide, you will find fourteen creative diy wall decor ideas, each with simple steps and styling tips so you can get it right the first time. Start with the planning section below, pick one idea that excites you, and let your blank wall finally earn its place in the room.
How to Plan Your DIY Wall Decor Project
Before you hammer a single nail, take ten minutes to plan. Measure the wall first, noting its width, height, and the position of furniture, outlets, and light switches. A good rule is to keep wall art between two thirds and three quarters of the width of the furniture below it, and to hang the center of the arrangement at eye level, roughly 57 to 60 inches from the floor. Mark your layout on the wall with painter’s tape before committing to nails, and step back to check it from across the room.
Next, set a budget and gather your tools. Most projects here need only basics: a hammer, a level, picture hanging strips, a tape measure, and a pencil. For painted projects, add painter’s tape, a small roller, and sample pots of paint. Keep a simple color palette in mind, two or three colors pulled from your rug, cushions, or bedding, so the wall feels connected to the rest of the room instead of random. If you are decorating a small space, a lighter palette and a few larger pieces will open the room up more than many tiny items, a trick that also works beautifully in a small living room decor plan.
Finally, think about the story your wall will tell. Mix textures, like wood, fabric, metal, and paper, to add depth, and leave a little breathing room between pieces so the display feels curated rather than cluttered. If you love thrifting, secondhand frames and baskets are perfect raw materials, and many of these projects pair nicely with a thrift store furniture flip in the same room. Plan once, hang once, and enjoy the result for years.
1. Gallery Wall With Mixed Frames
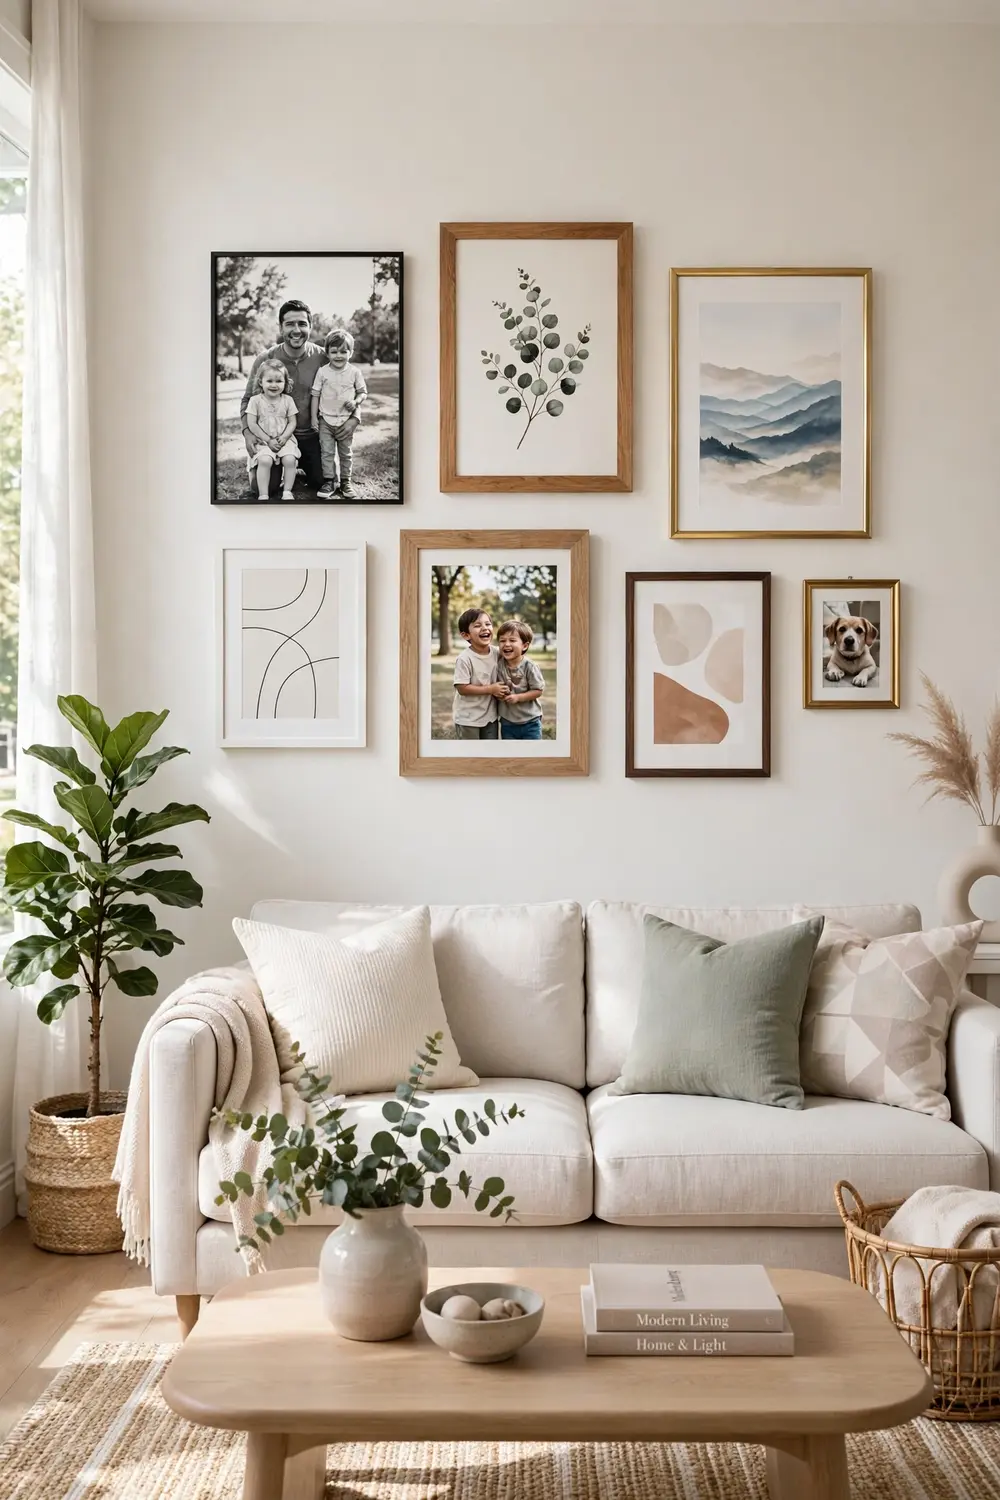
A gallery wall is the classic blank wall fix for a reason. It lets you combine family photos, art prints, quotes, and small keepsakes into one personal display, and the mix of frame styles keeps it from looking like a store display. Start by collecting frames in different sizes, then lay the arrangement on the floor first so you can shuffle pieces until the balance feels right.
Styling tips:
- Keep two to three inches of space between frames for a tidy look.
- Anchor the arrangement with one large piece near the center.
- Use a single mat color to tie different frame finishes together.
2. DIY Abstract Canvas Art
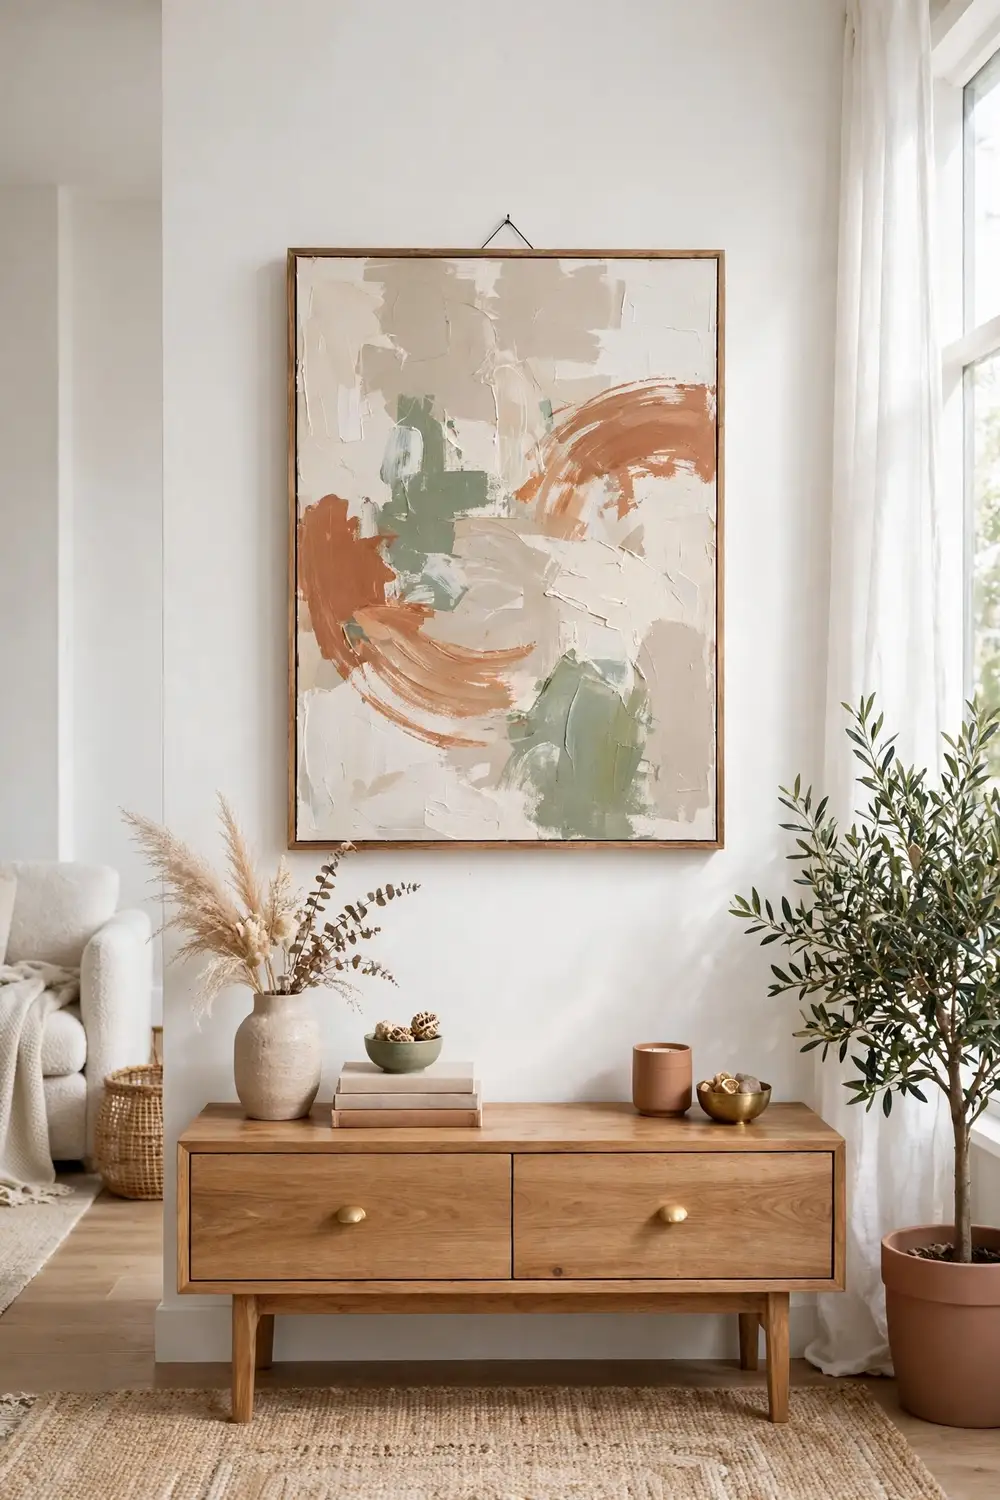
Abstract canvas art sounds fancy, but it is one of the easiest DIY projects you can try. With a blank canvas, two or three paint colors, and a palette knife or old credit card, you can create sweeping shapes and soft blends that look surprisingly professional. There is no wrong result, which makes this a perfect first project for beginners.
Styling tips:
- Pick paint colors already present in your room for instant cohesion.
- Make a set of two or three canvases for a stronger statement.
- Hang the canvas at eye level with the center around 57 inches high.
3. Washi Tape Geometric Wall Design
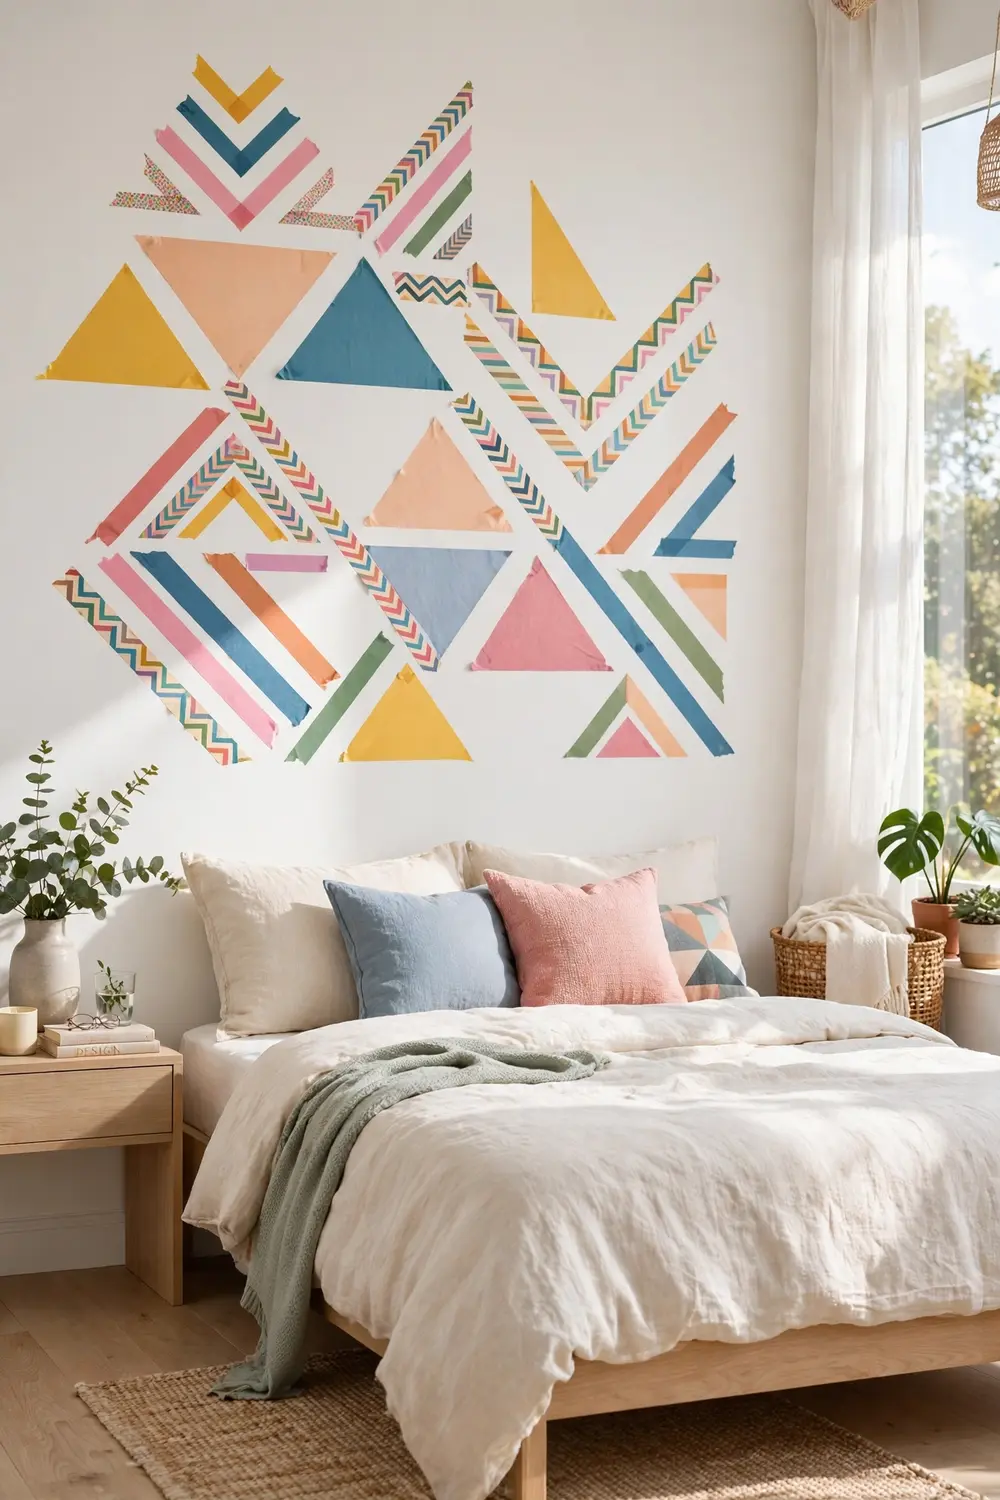
Washi tape is a renter’s best friend. It sticks firmly, peels off cleanly, and comes in endless colors and patterns, so you can draw bold geometric shapes directly on the wall without a drop of paint. Triangles, chevrons, and grids all work beautifully, and the whole project can be finished in under an hour.
Styling tips:
- Sketch the pattern lightly in pencil before taping.
- Stick to two or three tape colors for a clean design.
- Press tape edges firmly so lines stay crisp.
4. Floating Shelves With Art and Plants
Floating shelves turn a wall into a flexible display that you can restyle in minutes. Lean framed art against the wall, add a trailing plant, a small vase, and a stack of books, and you have a styled vignette with zero commitment. When you want a change, just swap the objects, not the shelves.
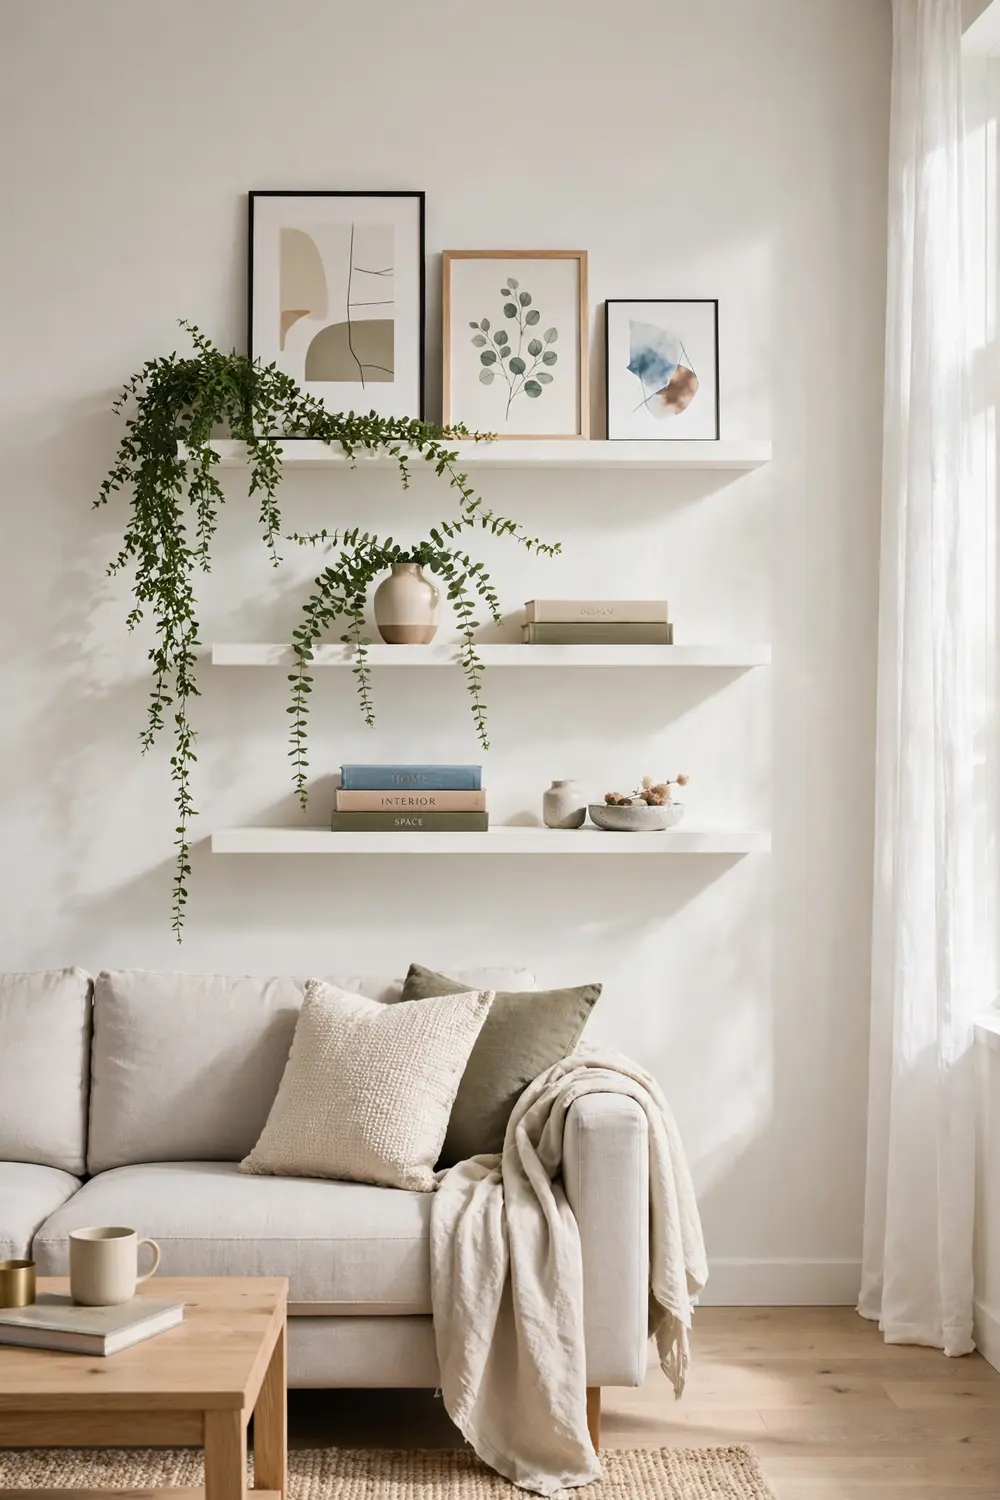
Styling tips:
- Hang shelves in odd numbers, one or three, for natural balance.
- Layer a tall item behind a shorter one for depth.
- Leave some empty space so the shelf looks styled, not crowded.
5. Framed Fabric and Wallpaper Panels
Beautiful fabric and leftover wallpaper deserve a second life. Stretch a favorite textile inside an embroidery hoop or a simple frame, and you have instant art that adds pattern and softness to a wall. This is also a brilliant way to test a bold wallpaper pattern before committing to a whole wall.
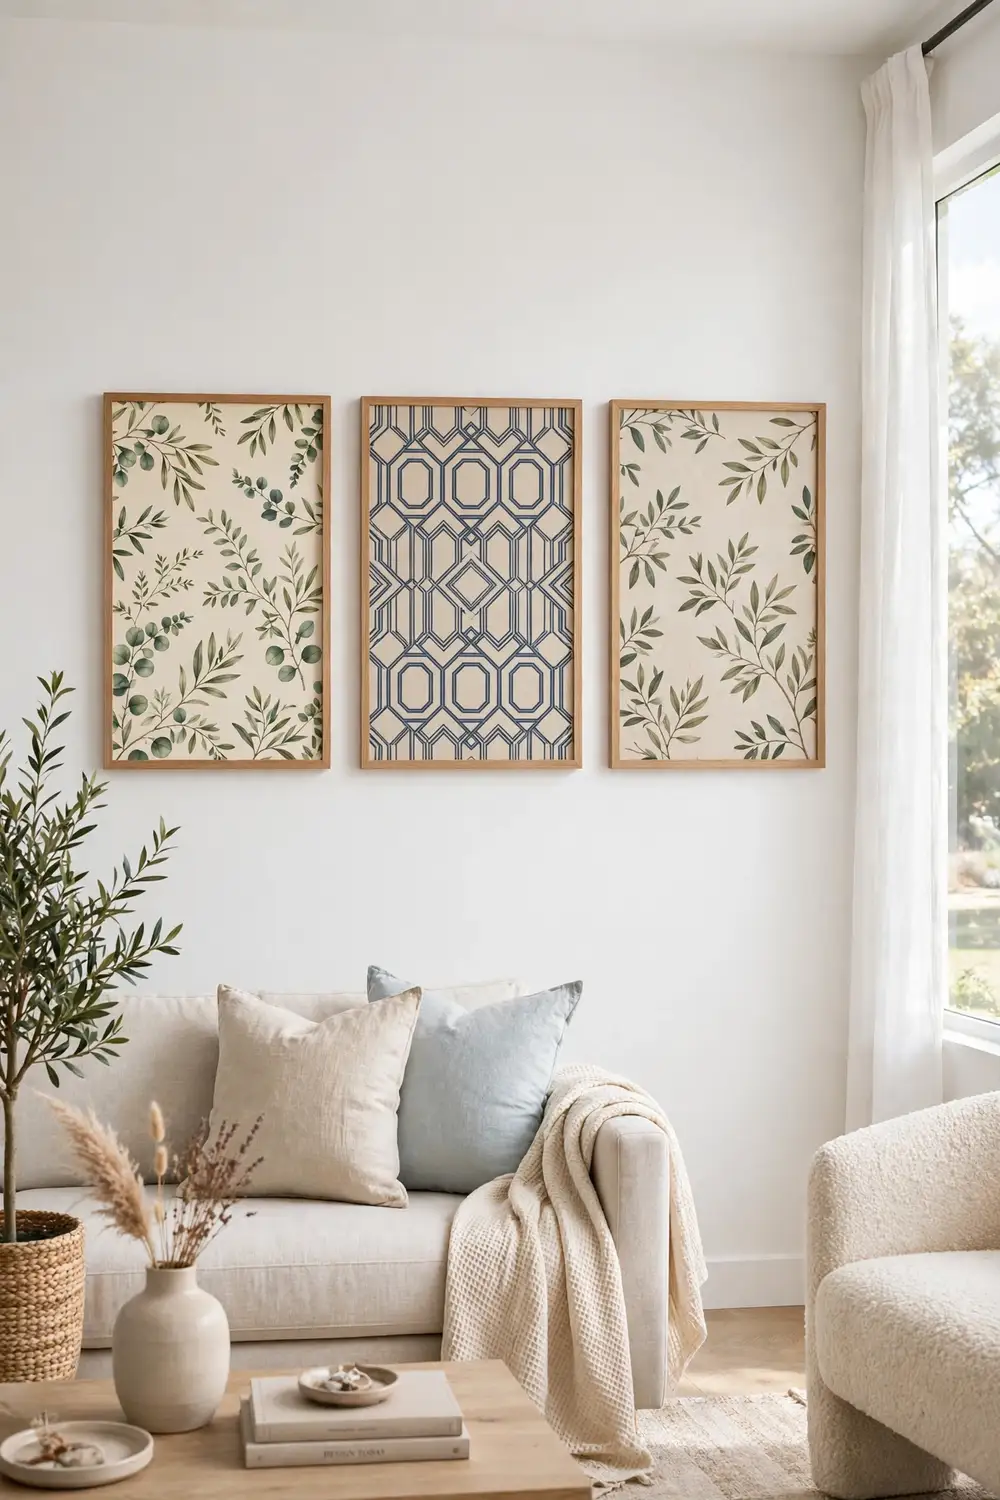
Styling tips:
- Iron fabric before framing so it hangs perfectly flat.
- Group three matching panels in a row for a boutique look.
- Pair patterned panels with plain frames to let the print shine.
6. DIY Macrame Wall Hanging
Macrame brings warmth and texture to a wall in a way flat art cannot. A basic wall hanging needs only cotton cord, a wooden dowel, and a few beginner knots, and there are countless free tutorials that walk you through each step. The finished piece adds a soft, boho touch that suits bedrooms and living rooms alike.
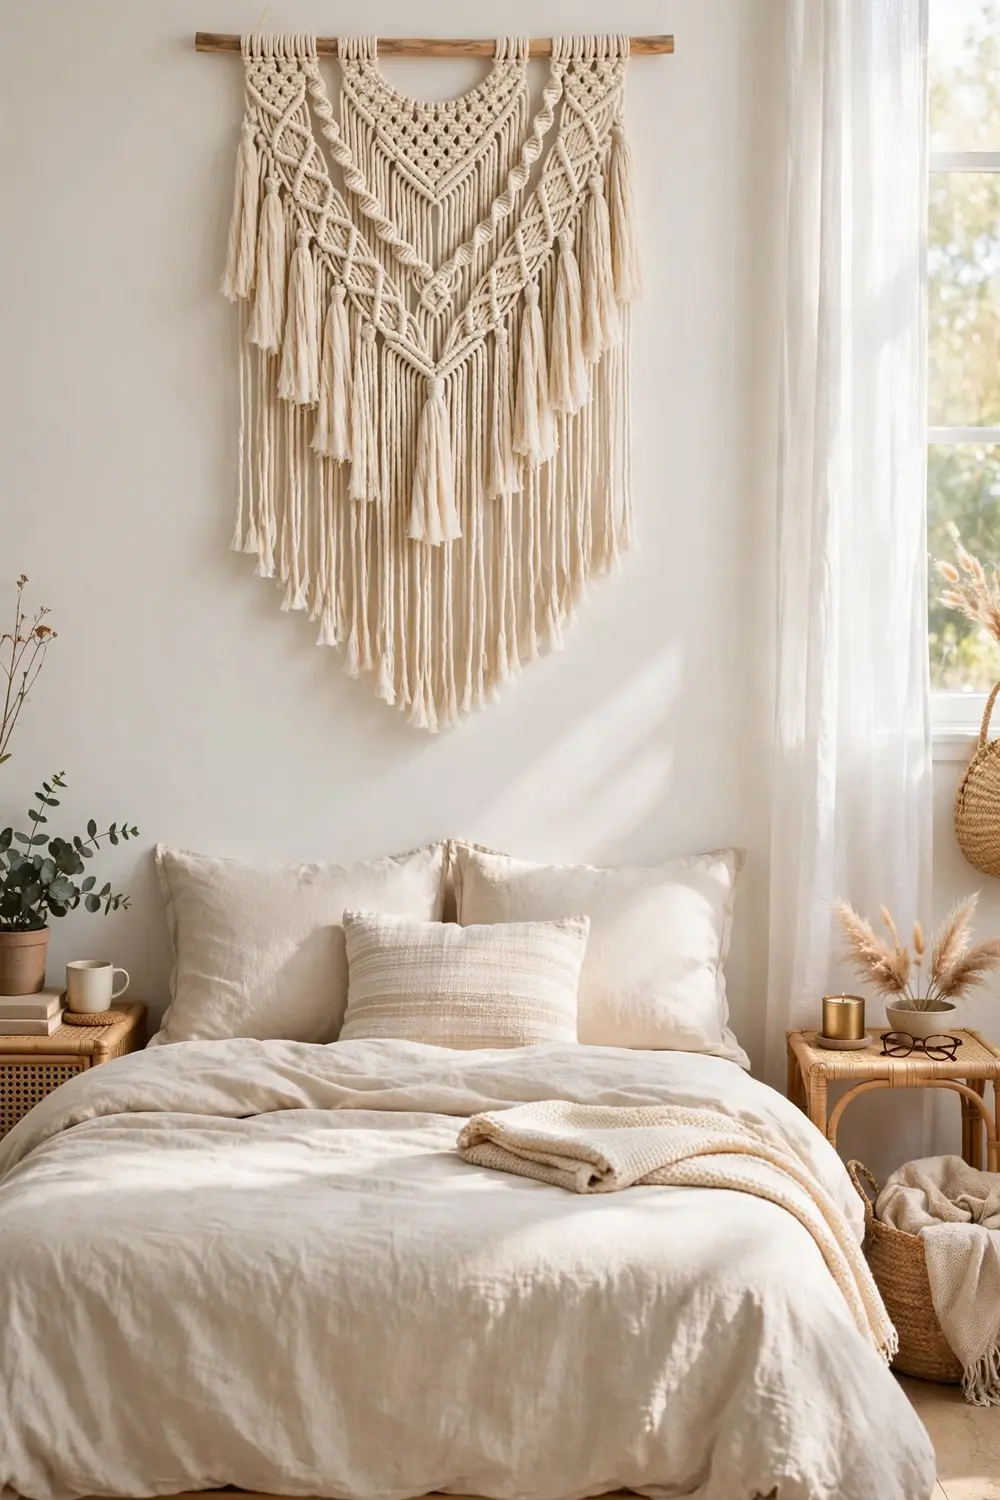
Styling tips:
- Hang macrame above a bed or sofa as a soft headboard alternative.
- Keep nearby decor simple so the texture stands out.
- Add wooden beads for a subtle handcrafted detail.
7. Photo Ledge Display Wall
Picture ledges are slim shelves made for leaning art, and they make swapping photos effortless. Install two or three ledges in a row, then layer framed prints, small canvases, and postcards along them. You can refresh the whole wall for a new season or a new mood without touching a single nail.
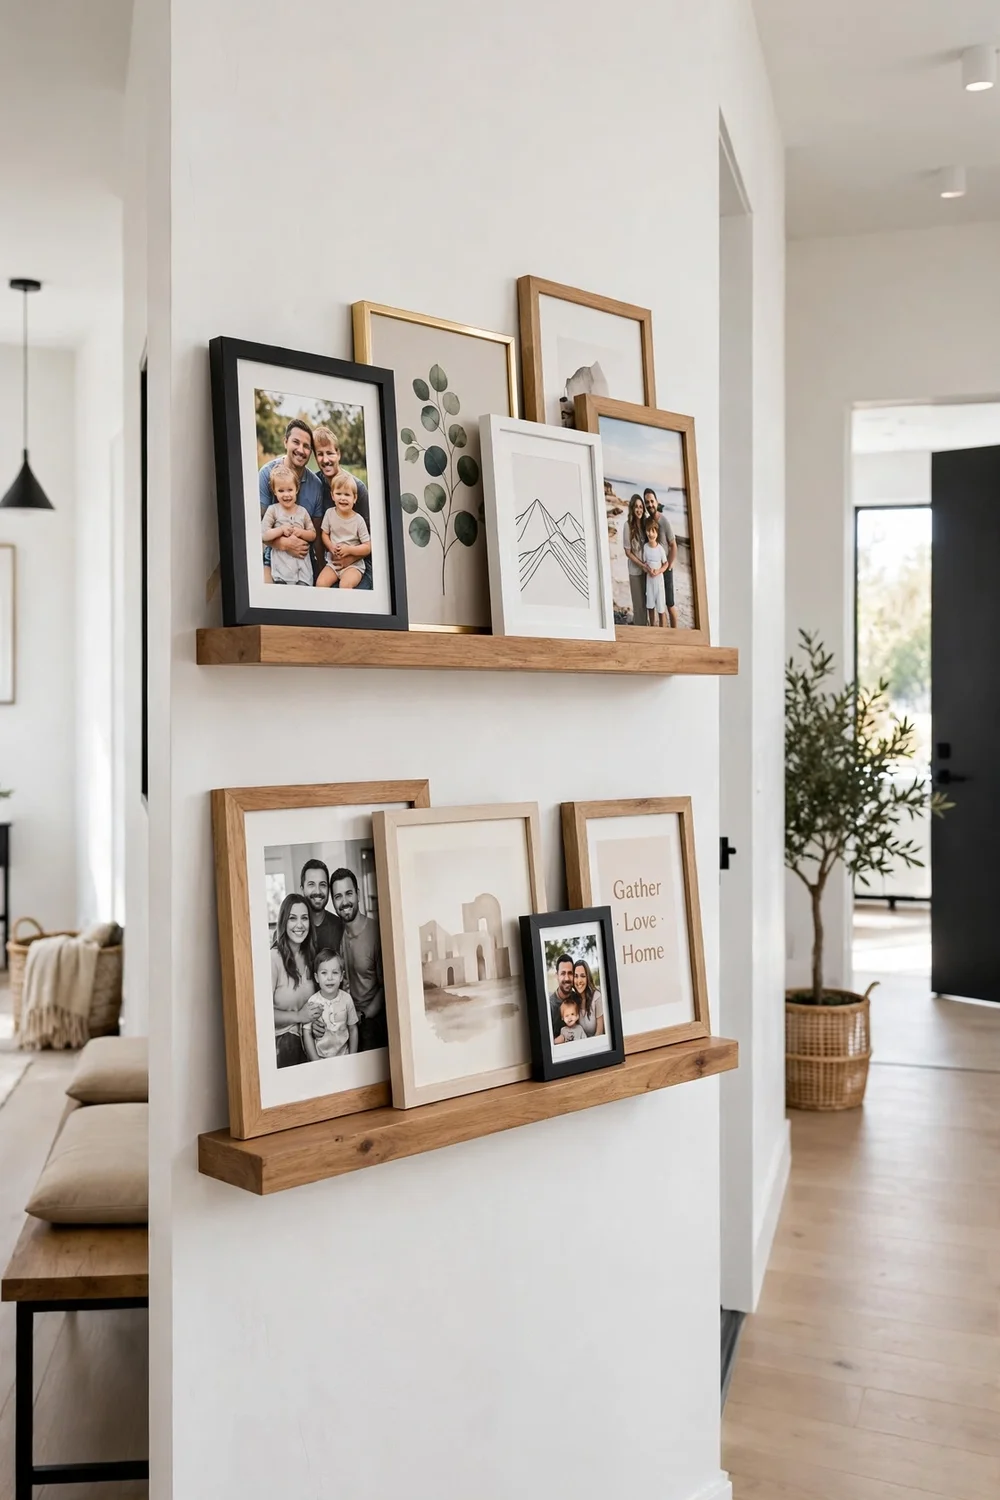
Styling tips:
- Overlap frames slightly to create a casual layered feel.
- Mix photo sizes, but keep one color story across the prints.
- Secure ledges into wall studs for heavier frames.
8. Painted Arch Accent Behind Furniture
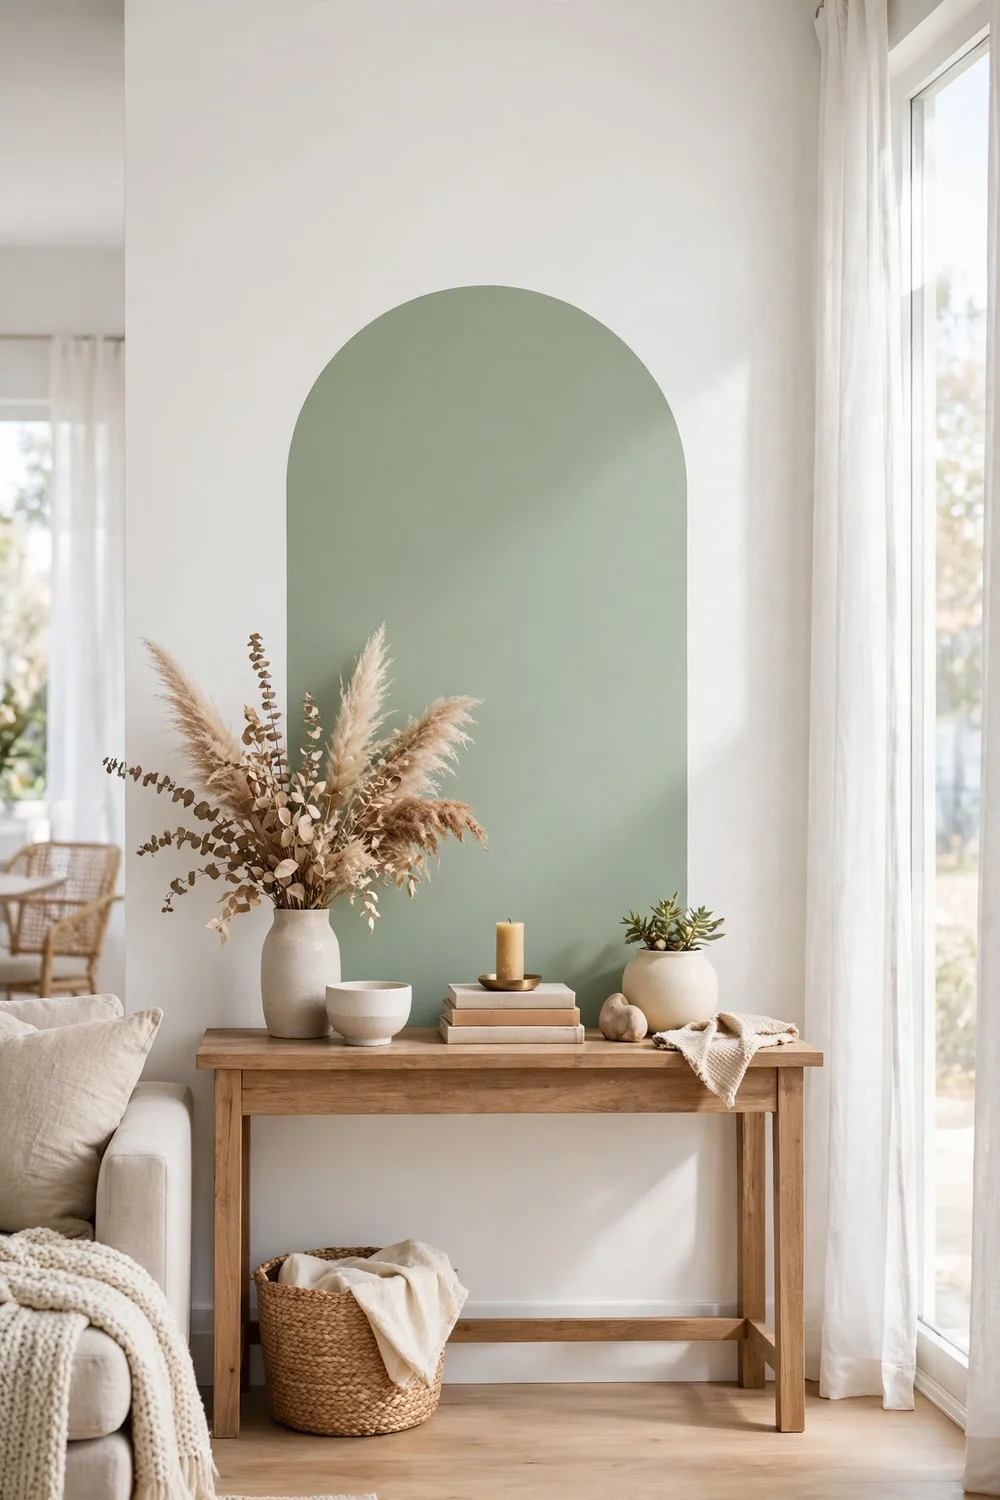
A painted arch is a simple paint trick with a big payoff. Using painter’s tape and a roller, you paint a soft arch shape on the wall behind a bed, desk, or console, instantly creating a focal point and a sense of architecture. It costs little more than a sample pot of paint and looks far more expensive than it is.
Styling tips:
- Choose a paint shade one or two tones deeper than the wall.
- Center the arch on the furniture piece below it.
- Keep the furniture and decor inside the arch minimal.
9. Basket Wall Arrangement
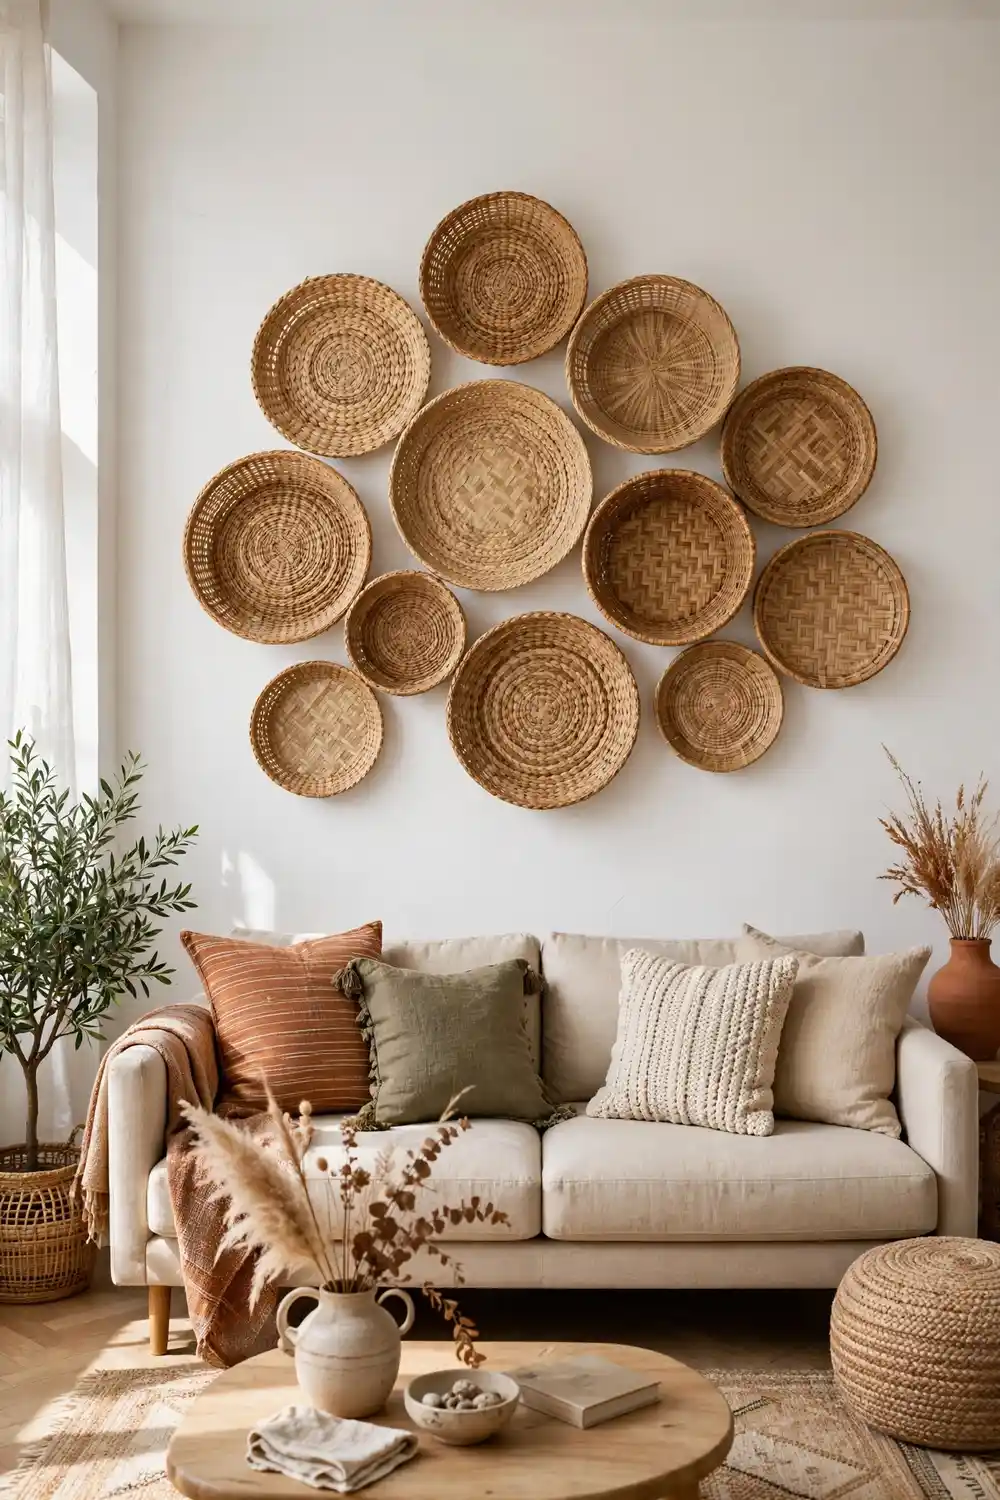
Woven baskets make a warm, textural wall display that feels collected over time. Gather flat baskets in different sizes from thrift stores or discount shops, arrange them on the floor first, then hang them in a loose cluster. The natural fibers add an earthy, global feel that works in hallways, dining rooms, and above sofas.
Styling tips:
- Mix round and oval baskets for visual variety.
- Start with the largest basket and build outward.
- Hang with small nails or adhesive hooks for easy rearranging.
10. DIY Wood Slat Feature Wall
A wood slat wall adds instant warmth and a modern, architectural feel. Thin wooden slats, spaced evenly and fixed vertically to the wall, create rhythm and shadow that flat paint cannot match. You can stain the slats for a rich look or paint them the wall color for a subtle, tone on tone effect.

Styling tips:
- Use a spacer block to keep gaps perfectly even.
- Run slats floor to ceiling for maximum impact.
- Pair the wall with soft textiles to balance the hard lines.
11. Chalkboard or Whiteboard Message Wall
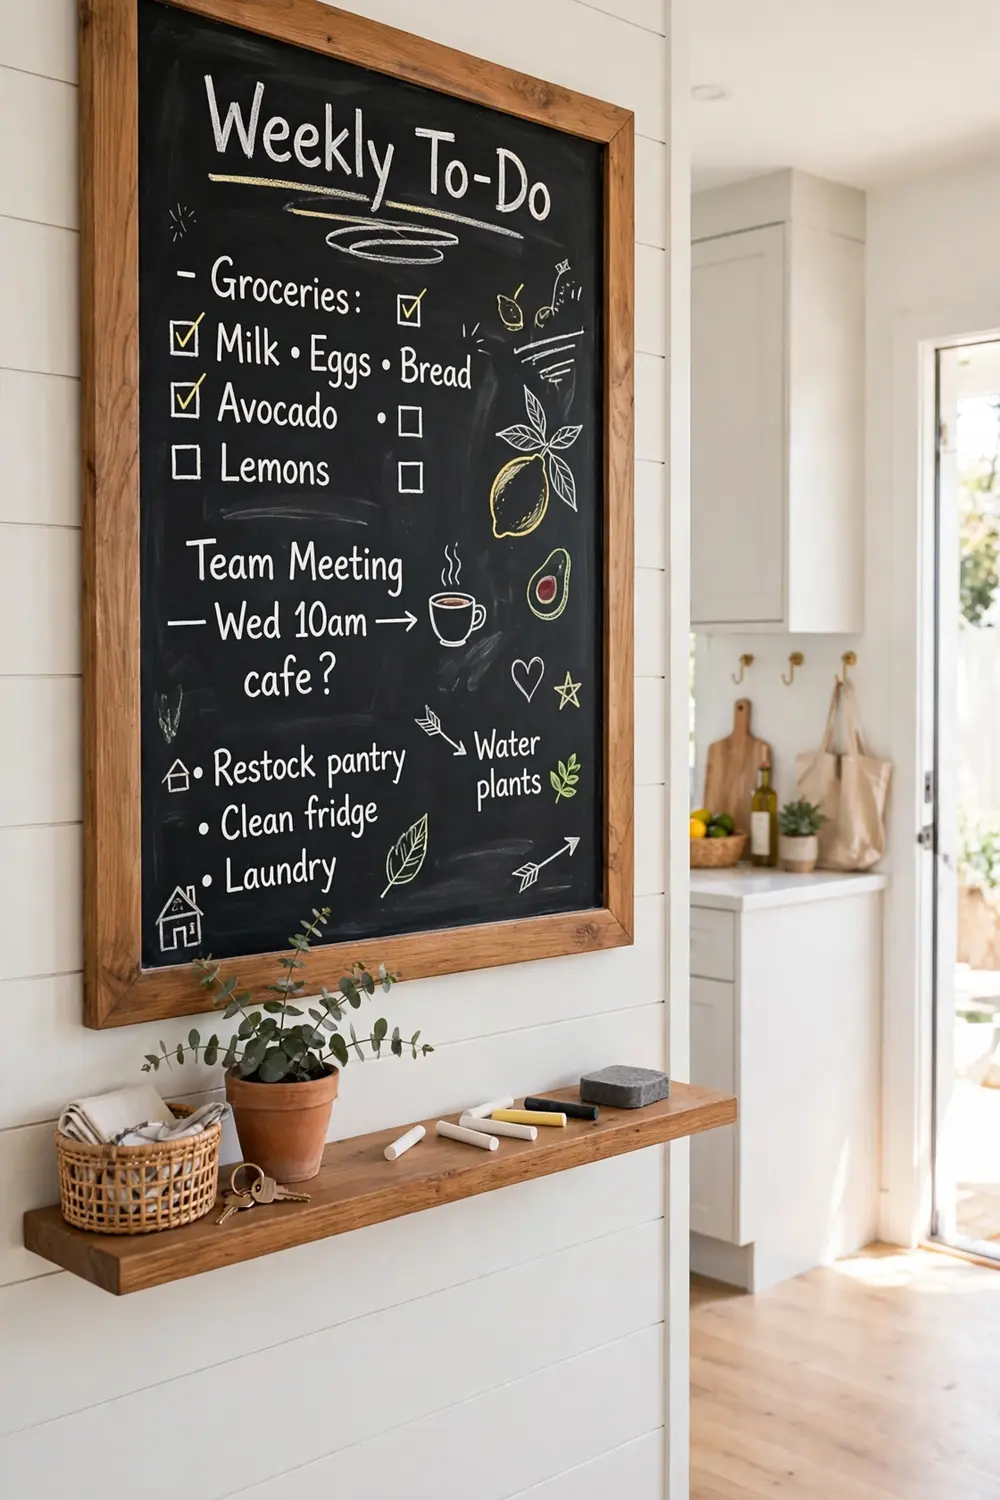
A message wall is both decor and daily life helper. Paint a section of wall with chalkboard paint or mount a framed whiteboard, then use it for notes, menus, doodles, and reminders. It is especially handy in kitchens and entryways, where the whole family can see it, and it pairs well with an organized home, much like these small pantry organization ideas.
Styling tips:
- Frame the chalkboard area with wood trim for a finished look.
- Keep a small shelf below for chalk, markers, and an eraser.
- Change the message weekly to keep the wall feeling fresh.
12. Framed Pressed Botanical Prints
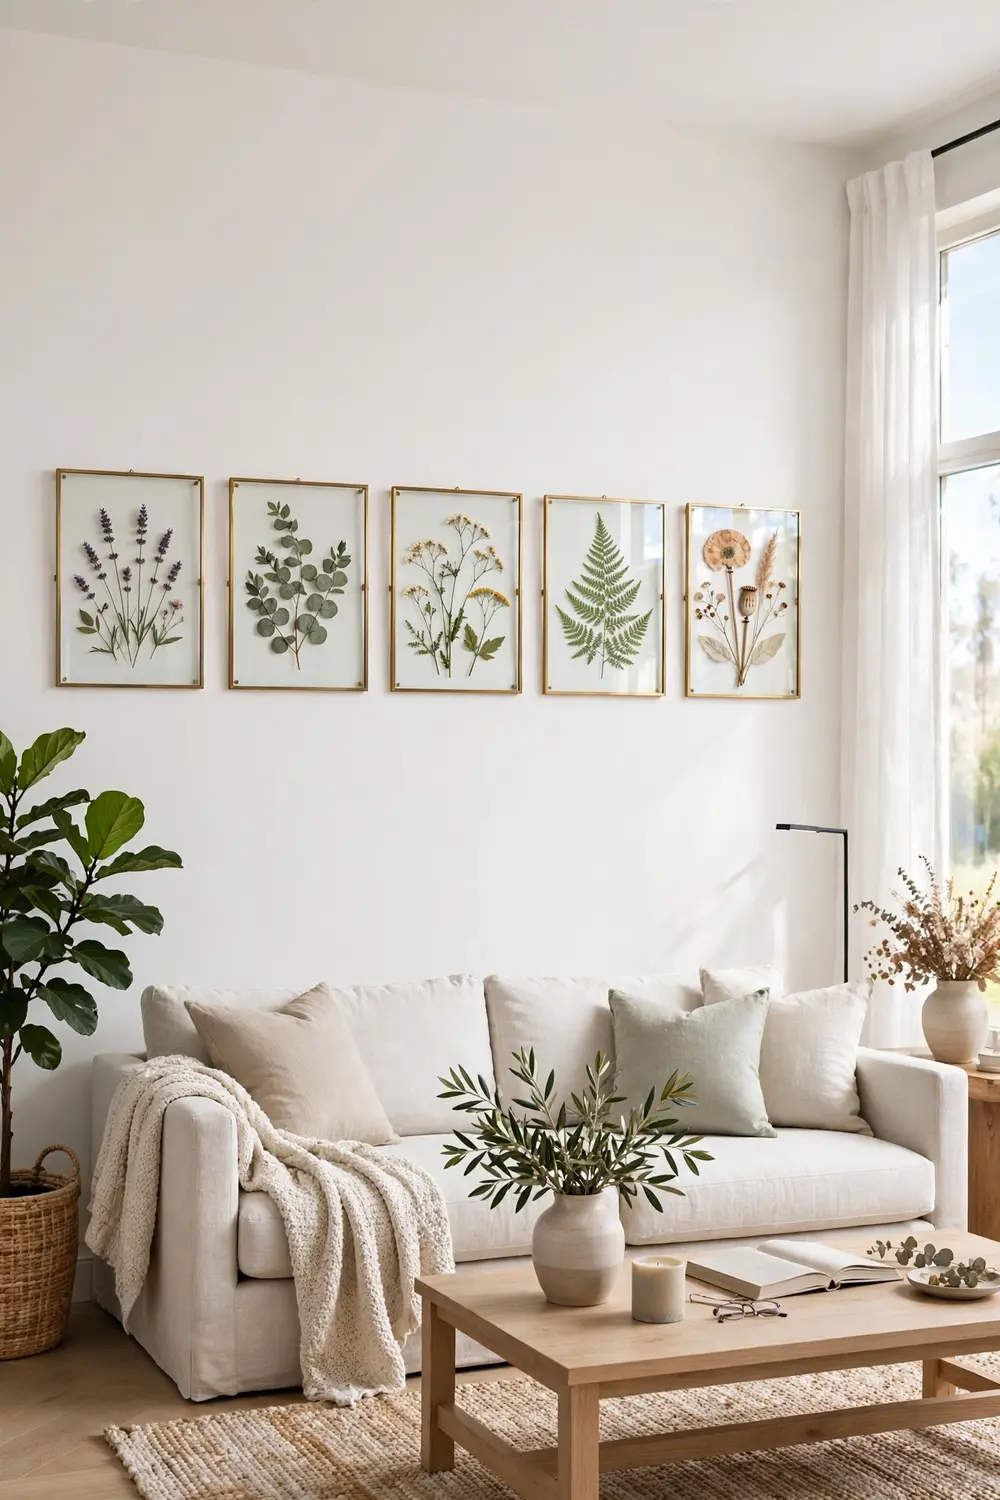
Pressed flowers and leaves, framed under glass, bring a quiet, nature inspired elegance to any wall. Press blooms between book pages for a few weeks, arrange them on plain paper, and frame them in simple glass frames. The result looks like a boutique botanical print, but it cost almost nothing and carries a personal touch.
Styling tips:
- Press flowers flat for at least two weeks for best results.
- Use identical frames for a clean gallery row.
- Hang botanical prints where they catch soft natural light.
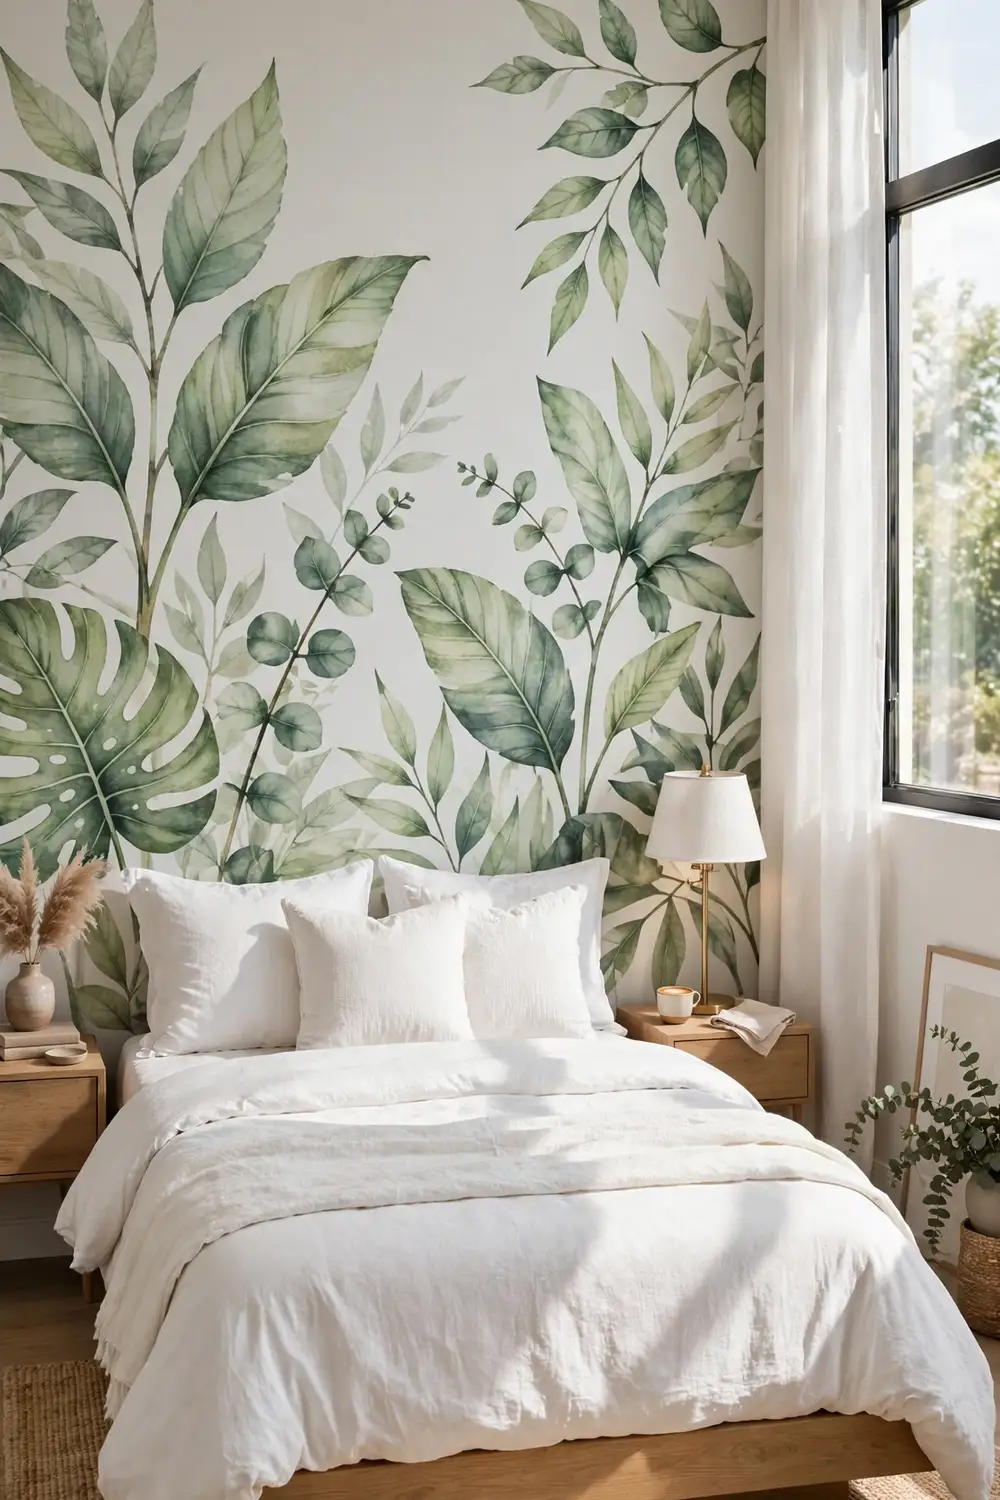
13. Peel and Stick Mural Accent Wall
Peel and stick murals have come a long way, and today’s versions look like hand painted art. From soft landscapes to bold botanical scenes, a mural turns one wall into a scene setter in a single afternoon, and it removes cleanly when you move out. It is the fastest transformation on this list, perfect for renters and commitment shy decorators.
Styling tips:
- Clean the wall and let it dry fully before applying.
- Apply from the top down, smoothing bubbles as you go.
- Keep other walls plain so the mural stays the star.
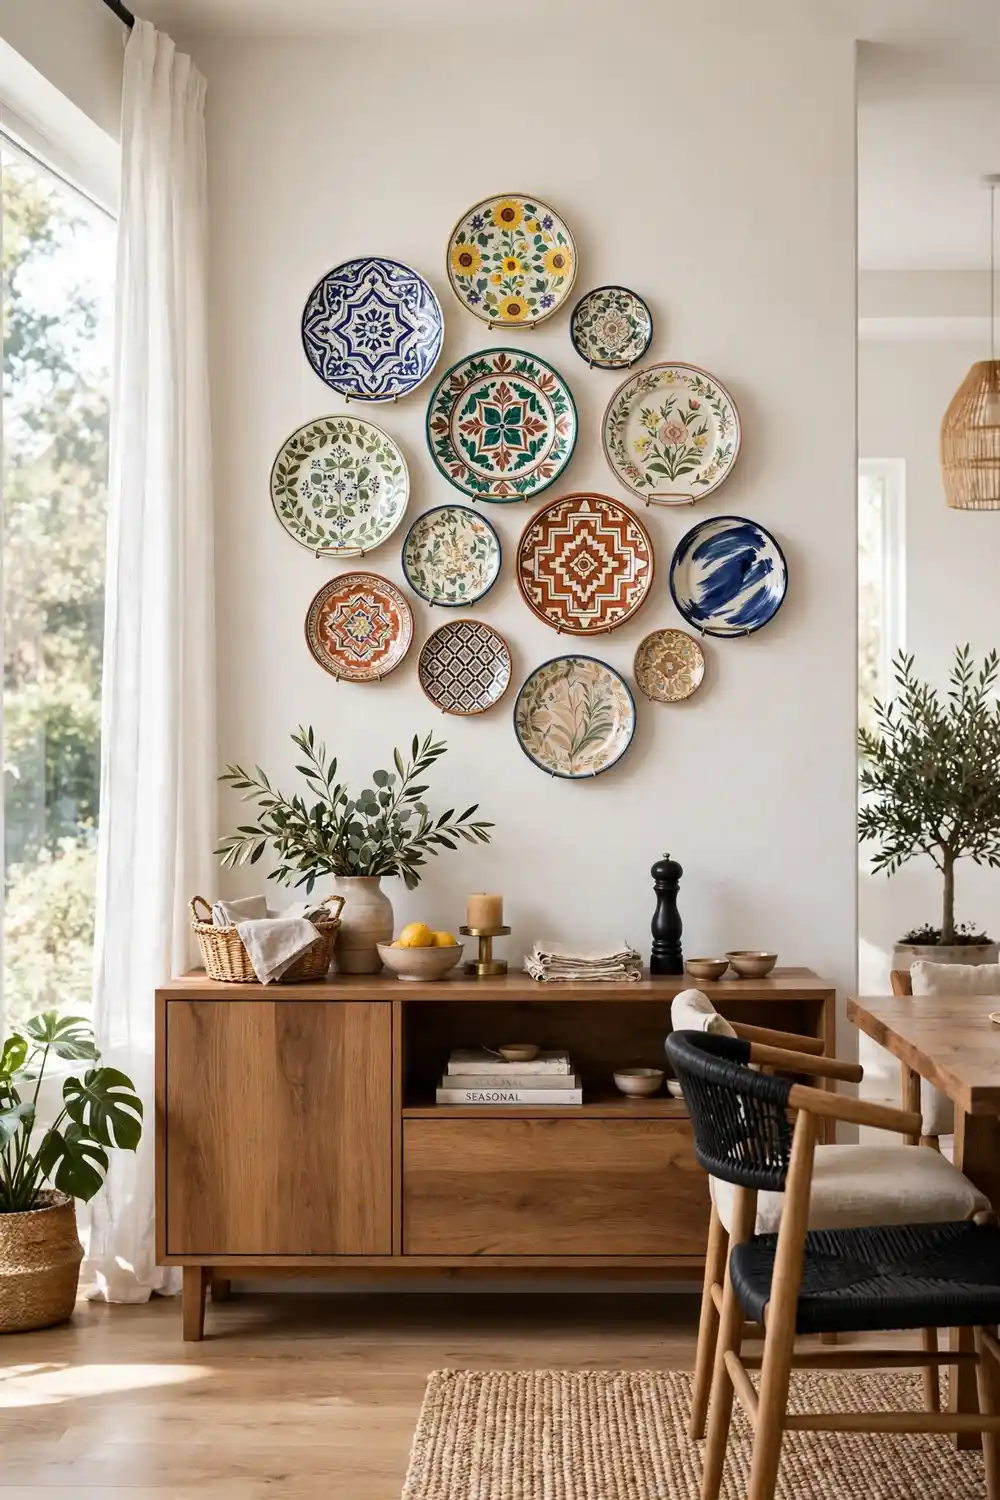
14. Plate Wall Display in Dining Area
A plate wall turns pretty dishes into art. Collect decorative plates in coordinating colors, mix in a few vintage finds, and hang them above a sideboard or dining table for a charming, collected look. It is a wonderful way to display plates that are too pretty to hide in a cupboard, and it fits beautifully alongside budget kitchen decor ideas for a cohesive dining space.
Styling tips:
- Use plate hangers sized to each plate for a secure hold.
- Mix solid plates with one or two patterned statement plates.
- Trace the layout on paper first to avoid extra nail holes.
Blank walls do not have to stay blank, and a great wall does not have to cost a fortune. Pick the idea that fits your space, your budget, and your mood, gather your supplies, and start this weekend. For more inspiration on choosing art and arranging displays, see the wall decor guides at The Spruce and Apartment Therapy, then stand back and enjoy a wall that finally feels like yours.
