
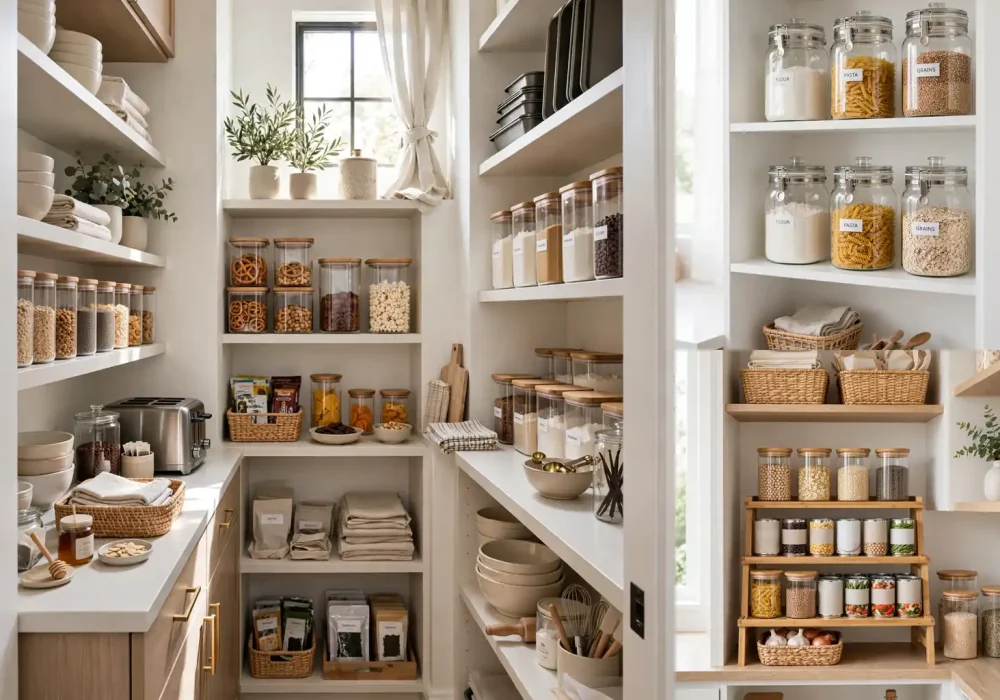
A small pantry is not a storage problem. It is a system problem. Most pantries fail because every item is fighting for the same flat shelf space while the door, the vertical gaps, and the deep corners sit completely unused. Fix the system and a tiny pantry can hold twice as much while looking twice as good.
The ideas below are built for real budgets and real weekends. Nothing here needs custom cabinetry or a full renovation. Each idea costs under thirty dollars, takes under two hours, and works in pantries as small as a single closet. Together they form a complete system that keeps working long after the initial motivation fades.
Every small pantry organization ideas lists exactly what to buy, what it costs, and how to set it up so it actually stays organized. Start with the empty shelf method in the guide below, then add the ideas that fit your space.
The Empty Shelf Method: Start Every Pantry Reset This Way
Do not organize around your current mess. Take everything out, wipe every shelf, and sort items into five piles on your kitchen table: daily use, weekly use, baking, snacks, and expired. The expired pile goes straight in the trash. Most people throw away ten to twenty percent of their pantry in this step alone.
Now measure your shelves before buying anything. Write down the width, depth, and height of each shelf plus the door width. Ninety percent of organization product returns happen because someone guessed the measurements. This collection of pantry ideas shows how much difference correct measurements make in tight spaces.
| Zone | Where it lives | What goes there |
|---|---|---|
| Daily use | Eye level shelf, front | Coffee, tea, breakfast items, cooking oils |
| Weekly use | Eye level shelf, back | Canned goods, pasta, rice, sauces |
| Snacks | Low shelf or pull out bin | Kids snacks, grab and go items |
| Baking | Top shelf | Flour, sugar, baking powder, mixes |
| Backstock | Deepest shelf or floor | Duplicates, bulk buys, rarely used items |
Put items back by zone, not by category. Zones match how you actually cook. When everything has a zone, putting groceries away takes five minutes and anyone in the house can do it. That is what makes the system survive past week two.
1. The Clear Canister System
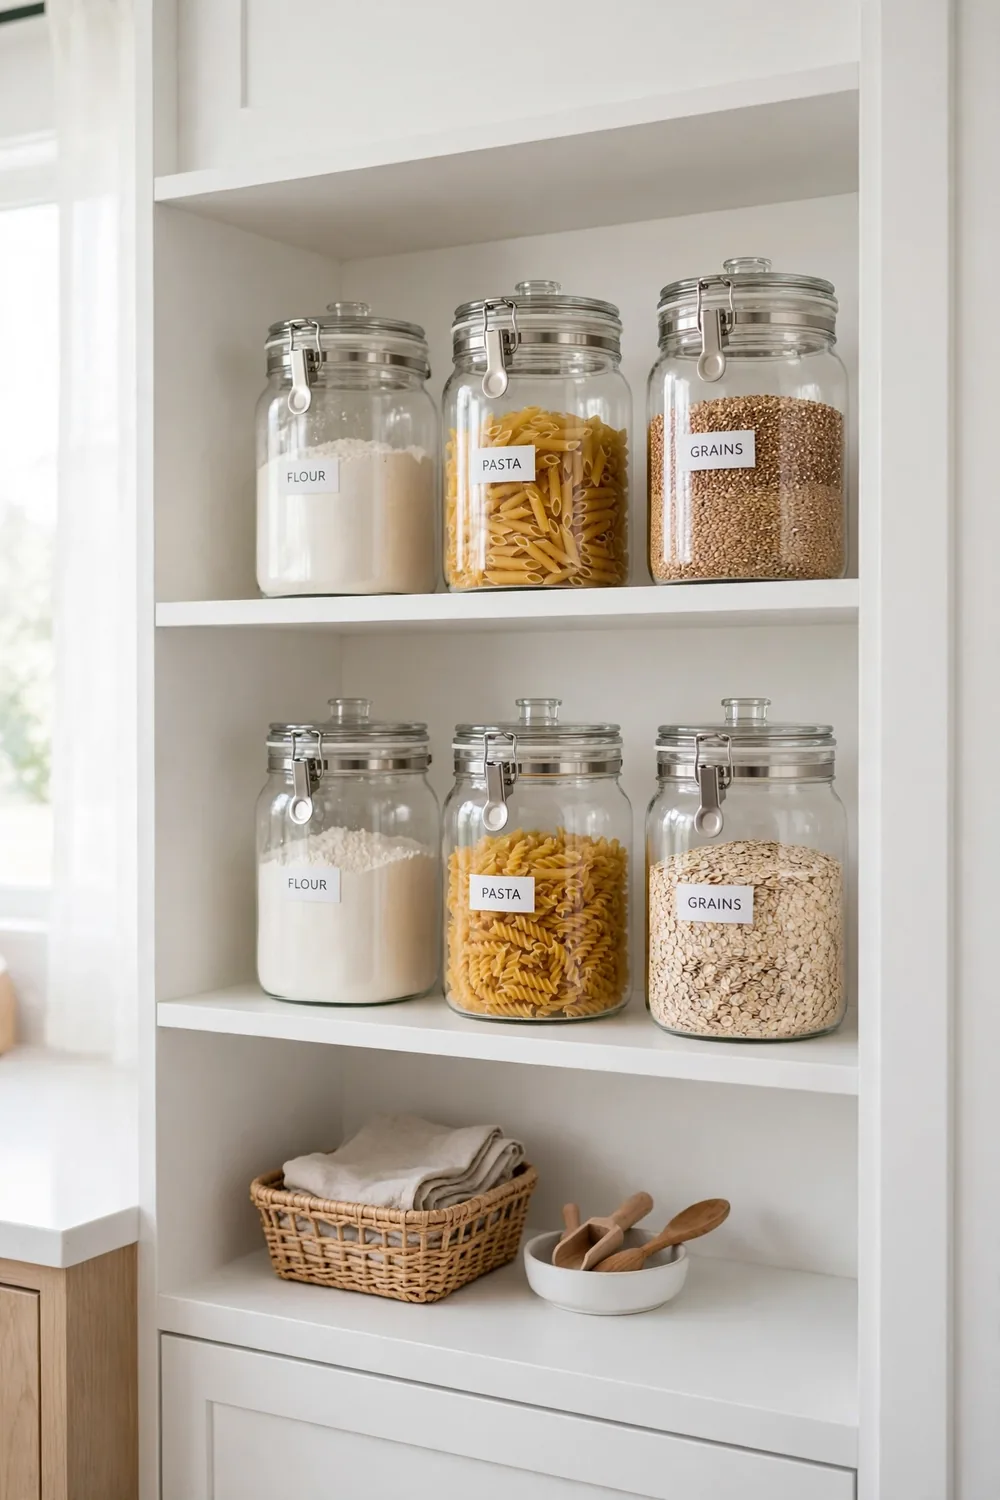
Decant flour, sugar, pasta, rice, and grains into clear airtight canisters. This single change does three things at once. It keeps food fresher, it lets you see exactly what you have, and it makes every shelf look instantly uniform and calm.
Cost: about twenty five dollars for a set of six canisters. Buy square canisters, not round. Square shapes waste zero shelf space. Choose one lid color for the whole set. Mixed lids are the fastest way to make canisters look cluttered.
Styling tips
- Line canisters in a single row, tallest at the back
- Keep the labels small and in the same spot on every canister
- Refill from bulk bags and keep the bags in backstock
2. Tiered Shelf Risers
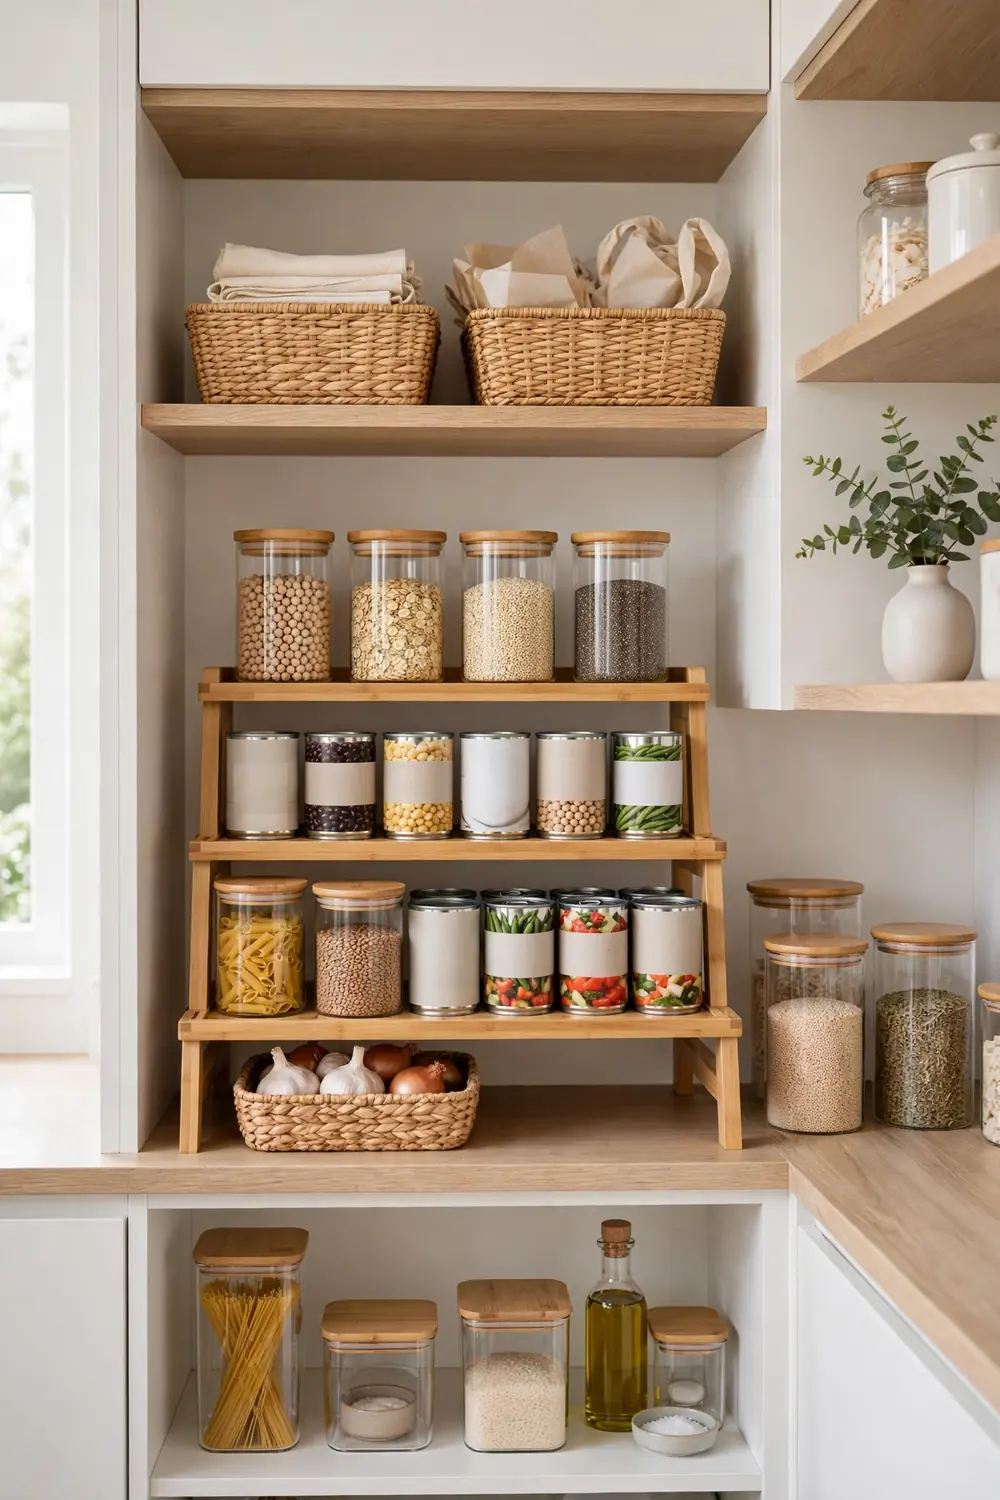
A flat shelf hides everything behind the front row. Tiered risers lift each row like stadium seating so every can and jar stays visible. This ends the classic problem of buying a third jar of something because you could not see the two behind it.
Cost: about fifteen dollars per riser. Bamboo risers look warmer than wire ones and suit modern pantries. Measure your shelf depth first. The riser should leave two inches of space in front for labels to be readable.
Styling tips
- Group identical items together on each tier
- Face all labels forward, it takes seconds and looks ten times tidier
- Use risers for cans and jars only, not for tall bottles
3. Door Mounted Spice Racks
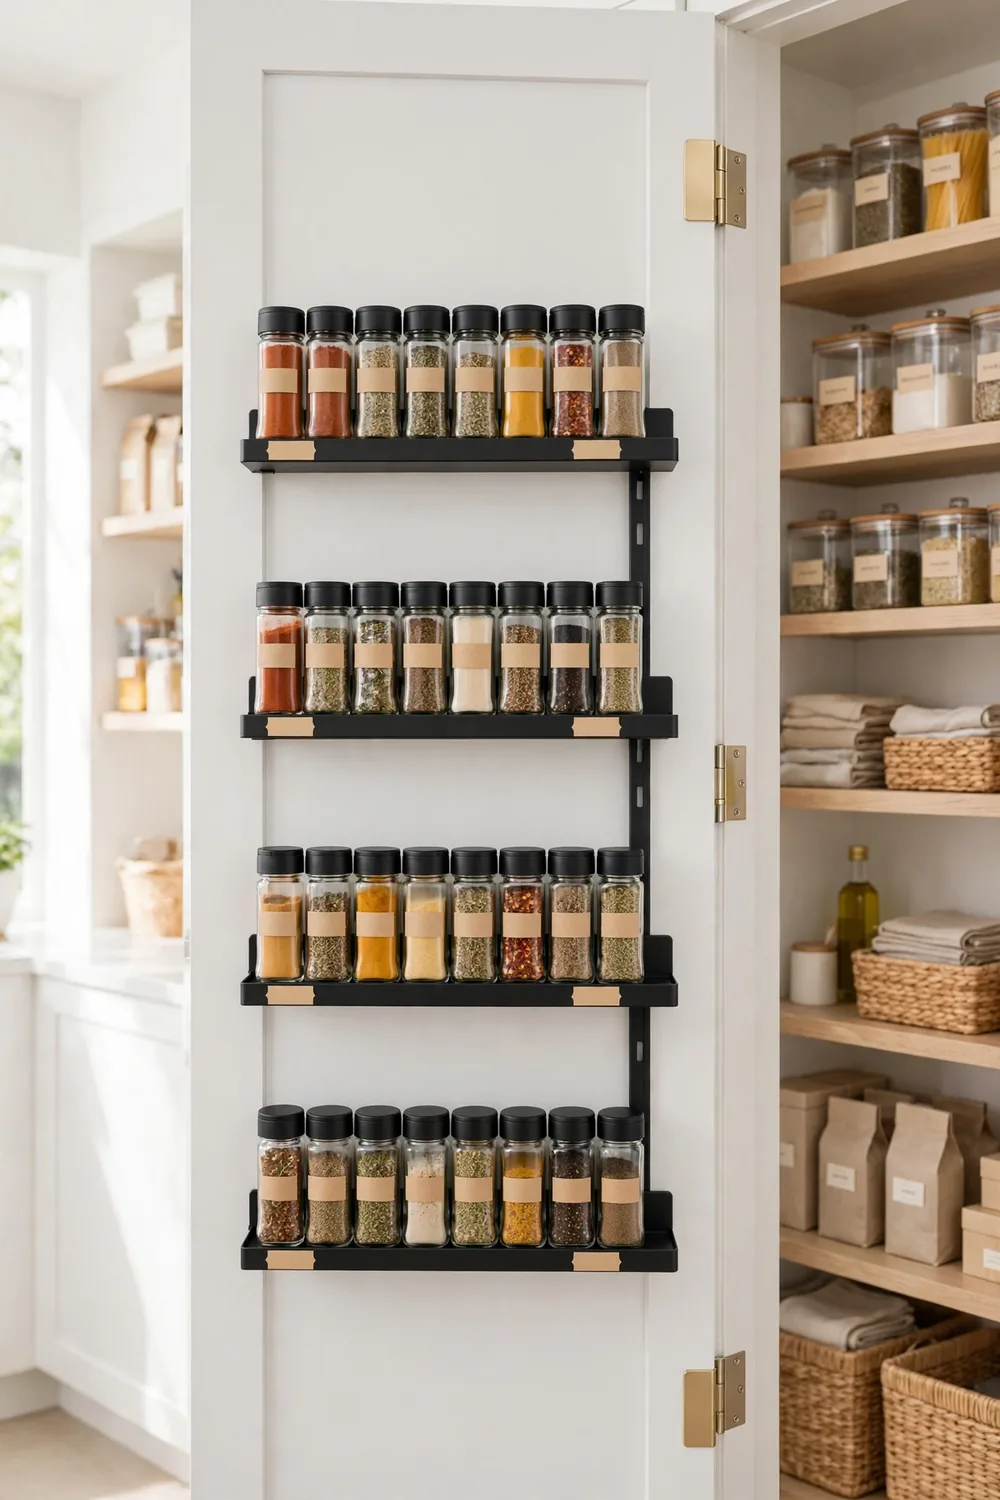
The inside of the pantry door is free real estate. Slim mounted racks turn it into a full spice wall that holds twenty to thirty jars without touching a single shelf. Spices are the number one item people lose in deep pantries, and this solves it completely.
Cost: about twenty dollars for two racks and uniform jars. Decant spices into matching jars. The uniform look is not just pretty, it lets you read every label at a glance which is the real point.
Styling tips
- Alphabetize the jars, future you will be grateful
- Keep daily spices at eye level, rare ones at the top
- Check the door still closes fully before loading every rack
4. Lazy Susan Turntables

Deep shelves and corner spots become black holes where bottles go to expire. A turntable brings the back row to you with one spin. Oils, vinegars, sauces, and condiments are perfect candidates because they are used often and come in awkward shapes.
Cost: about twelve dollars per turntable. Wood turntables look better than plastic and wipe clean just as easily. One large turntable beats two small ones, fewer items get stuck in the middle.
Styling tips
- Group by use, all cooking oils on one, all condiments on another
- Keep tall bottles in the center, short ones on the edge
- Wipe the turntable monthly, sticky rings defeat the purpose
5. Pull Out Basket Drawers
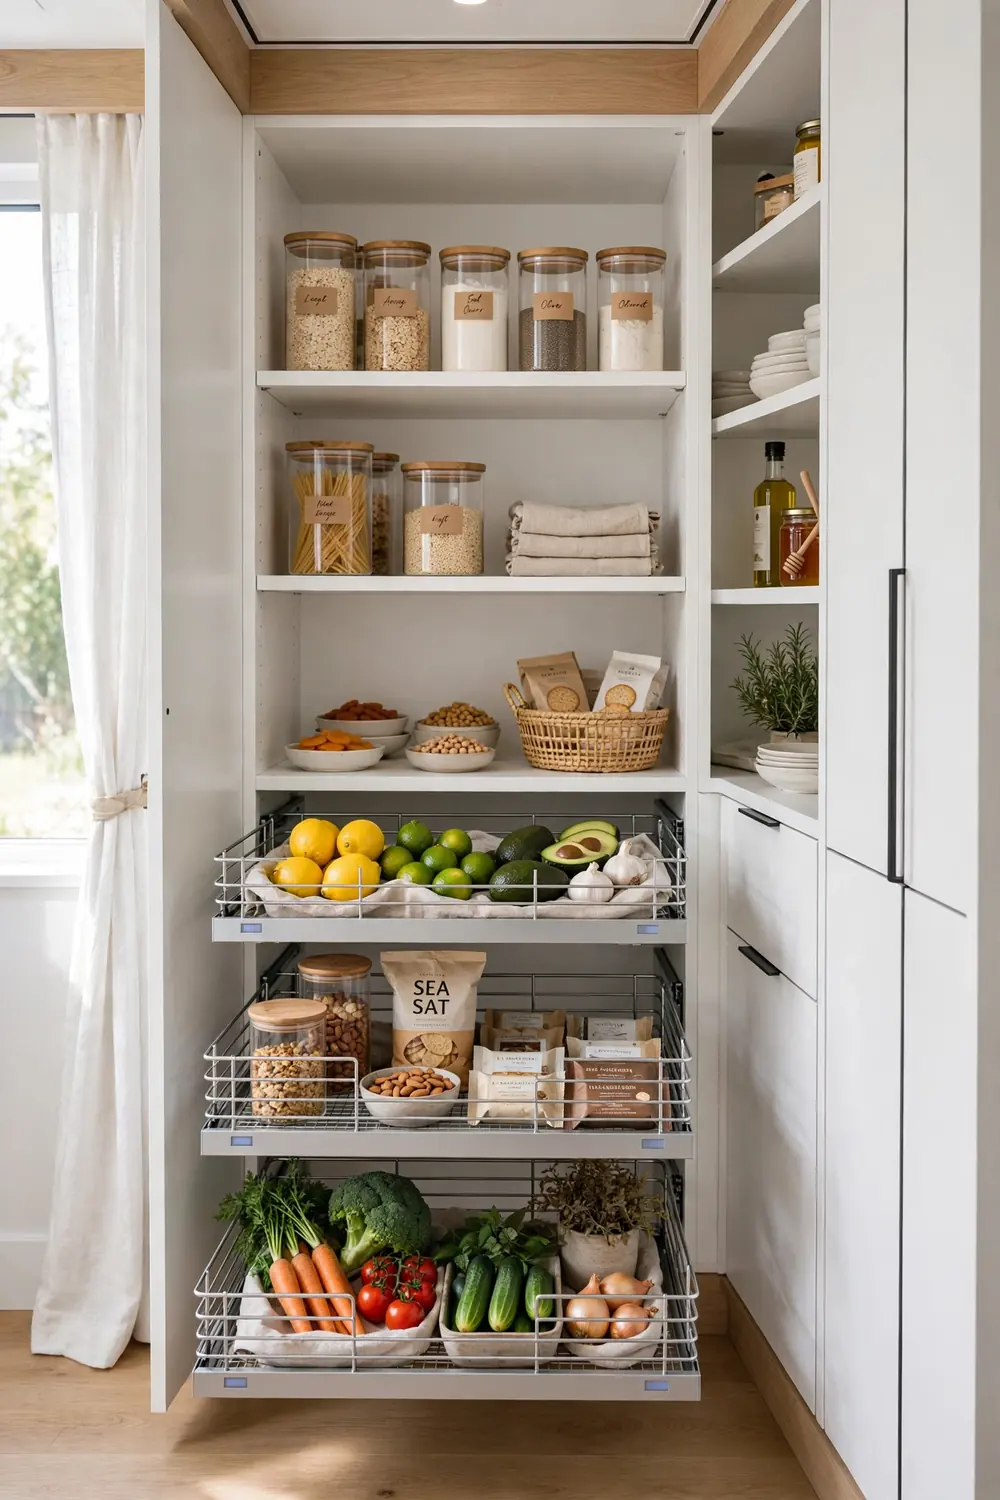
Low shelves are hard to reach and easy to ignore. Stackable pull out baskets convert them into drawers you can see into and slide toward you. Snacks, produce, and packets all work beautifully here.
Cost: about thirty dollars for a set of three. Wire baskets let you see contents from the side which solid bins do not. If your shelves are wire, add a flat liner first so the baskets slide smoothly.
Styling tips
- Assign one basket per person for snacks, arguments end immediately
- Keep produce baskets near the front for quick grabbing
- Label the front of each basket so the system survives busy weeks
6. Minimal Printed Labels
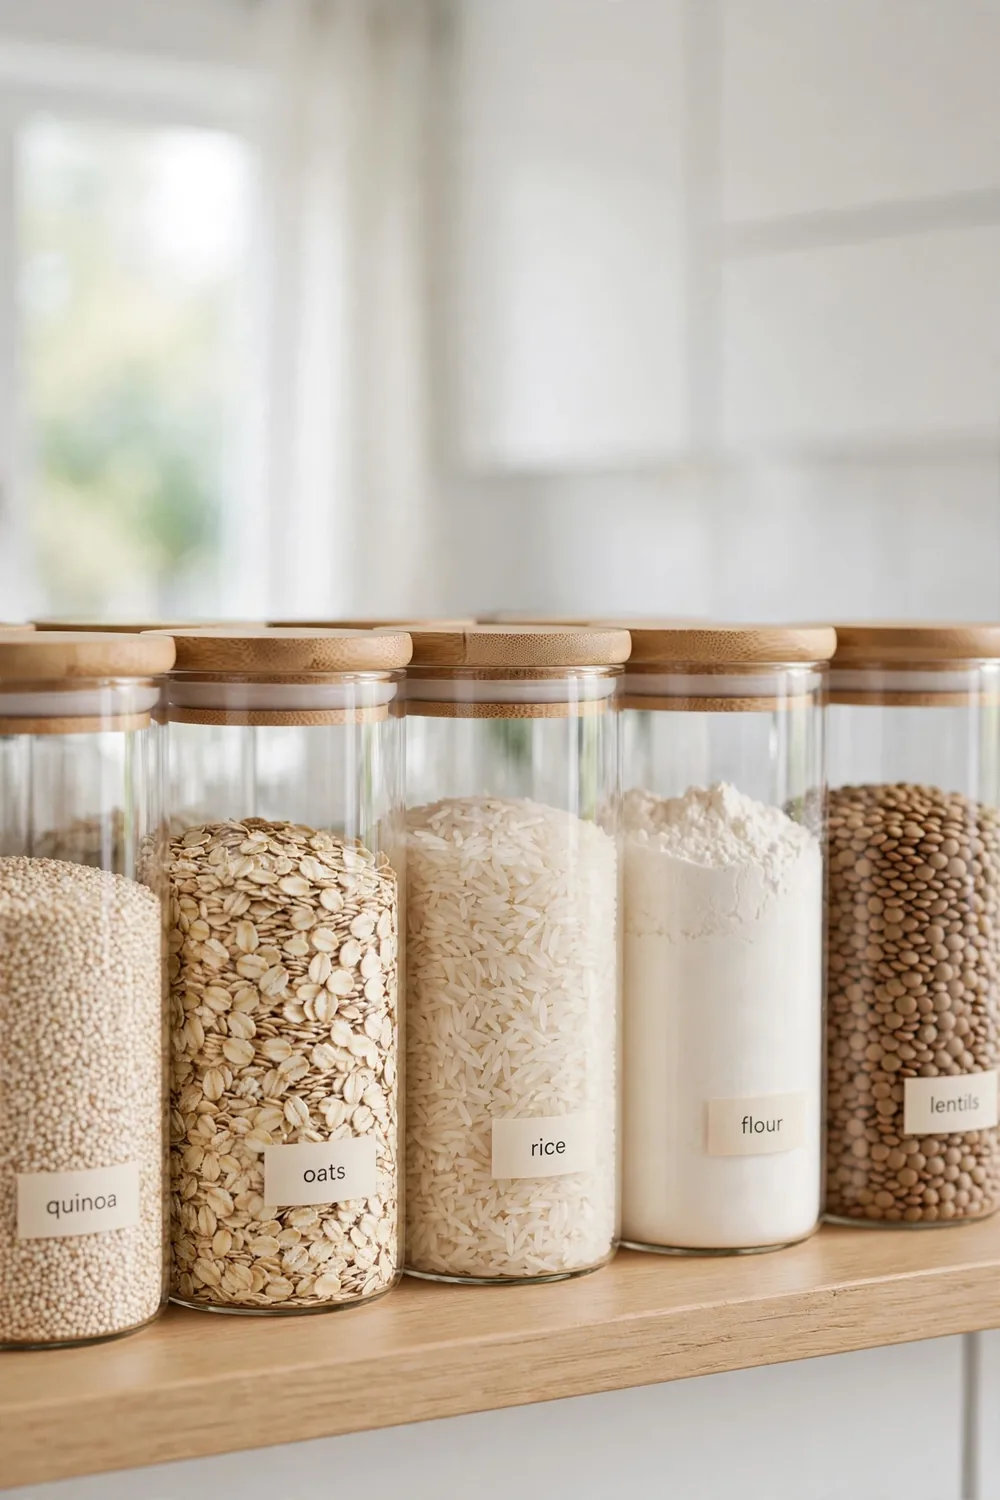
Labels are the difference between organized for a photo and organized for real life. When every container is labeled, anyone can put groceries away correctly and nothing migrates to the wrong shelf. Print them in one simple font, black on cream, all the same size.
Cost: about ten dollars for waterproof label paper. Waterproof matters. Pantry labels meet steam, spills, and oily fingers. Regular paper labels curl and peel within a month.
Styling tips
- One font, one size, one position on every container
- Label the shelf edge too for zones, not just the containers
- Include the expiry month on backstock labels
7. Stackable Bins With Handles
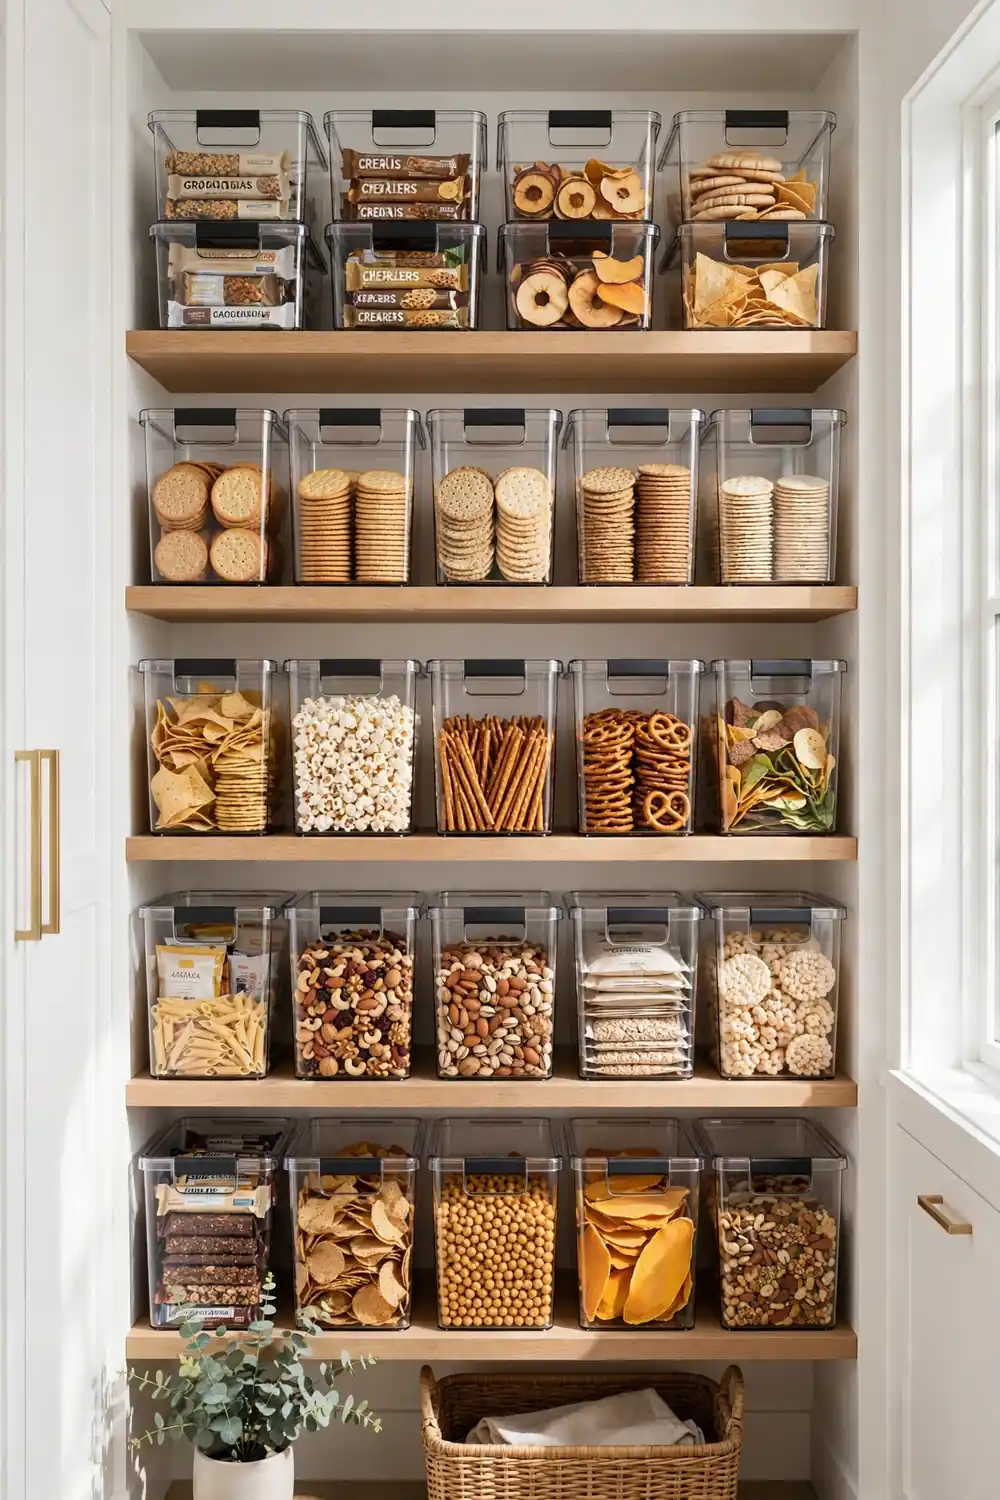
Loose packets are pantry chaos. Stackable bins with handles corral them into neat pullable units. Chips, granola bars, seasoning packets, and tea boxes all behave once they live in a bin. The handles matter more than you think, they turn every bin into a drawer.
Cost: about twenty dollars for a set of four. Clear bins keep the airy look of an organized pantry. Frosted bins hide clutter better if your household is less disciplined.
Styling tips
- One category per bin, never mix snacks and baking
- Stack no more than two high or the bottom bin becomes unreachable
- Line bins up with fronts flush for the cleanest look
8. Under Shelf Hanging Baskets
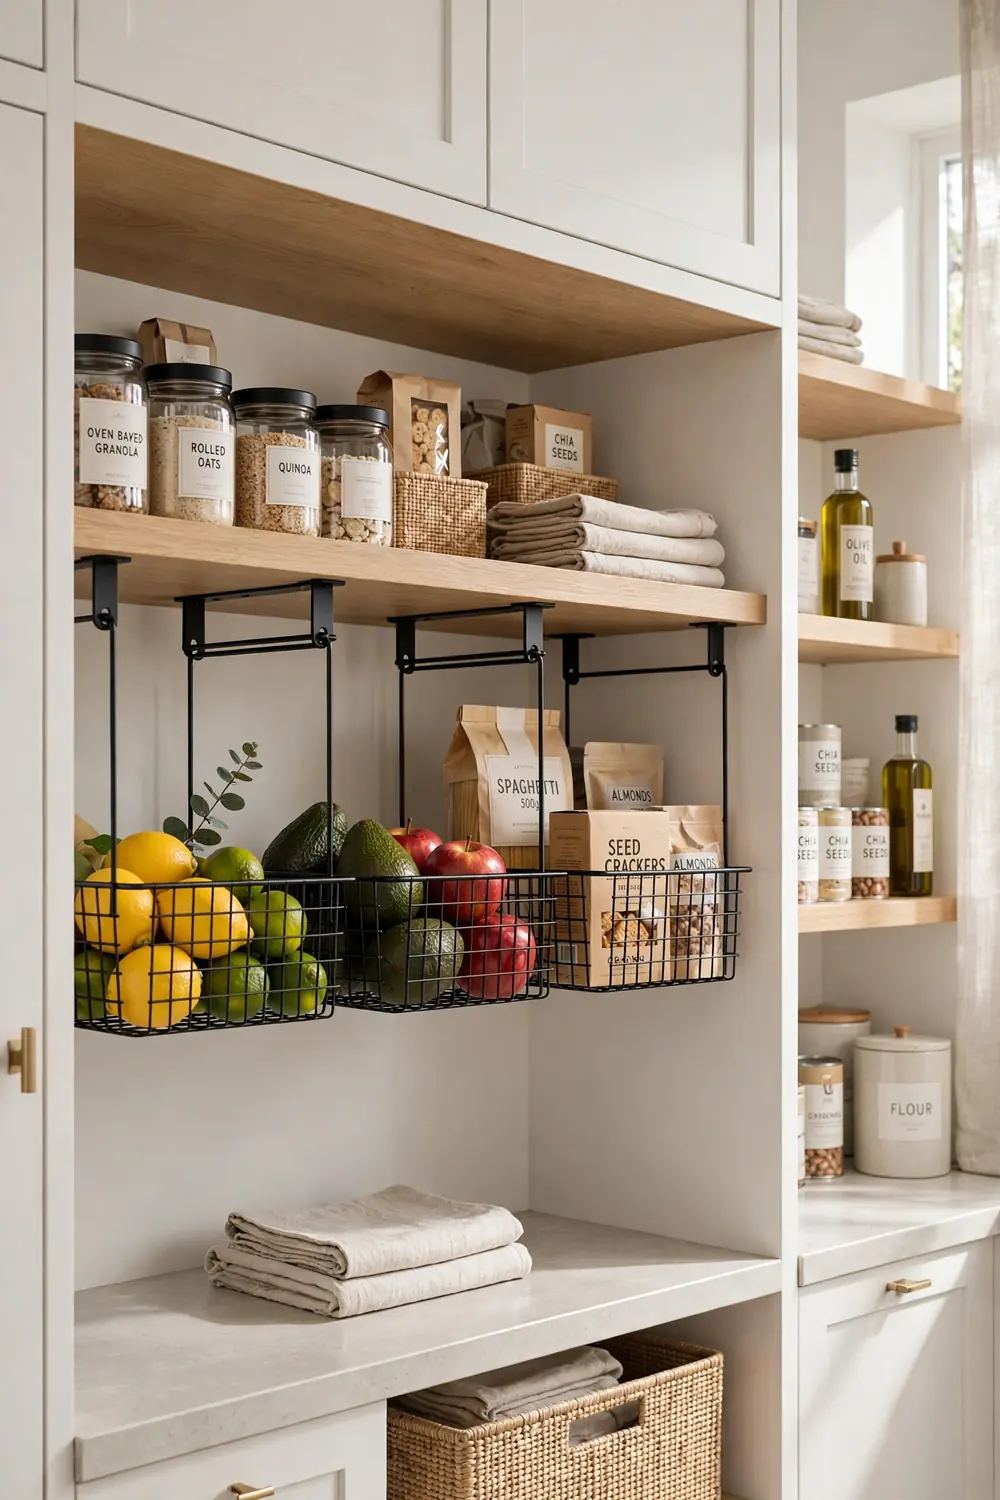
Every shelf has six to eight inches of dead air above the items on it. Clip on hanging baskets steal that space back with zero tools and zero drilling. They are perfect for mugs, wrap boxes, and flat packets that slide around on shelves.
Cost: about fifteen dollars for a set of two. Check your shelf thickness before buying, the clips need a snug fit. These work on wood shelves best, wire shelves need the flat arm style.
Styling tips
- Keep hanging baskets light, heavy items strain the clips
- Use them for grab and go items you reach for daily
- Leave finger space above so items slide out easily
9. Magazine Holders for Wrap and Foil
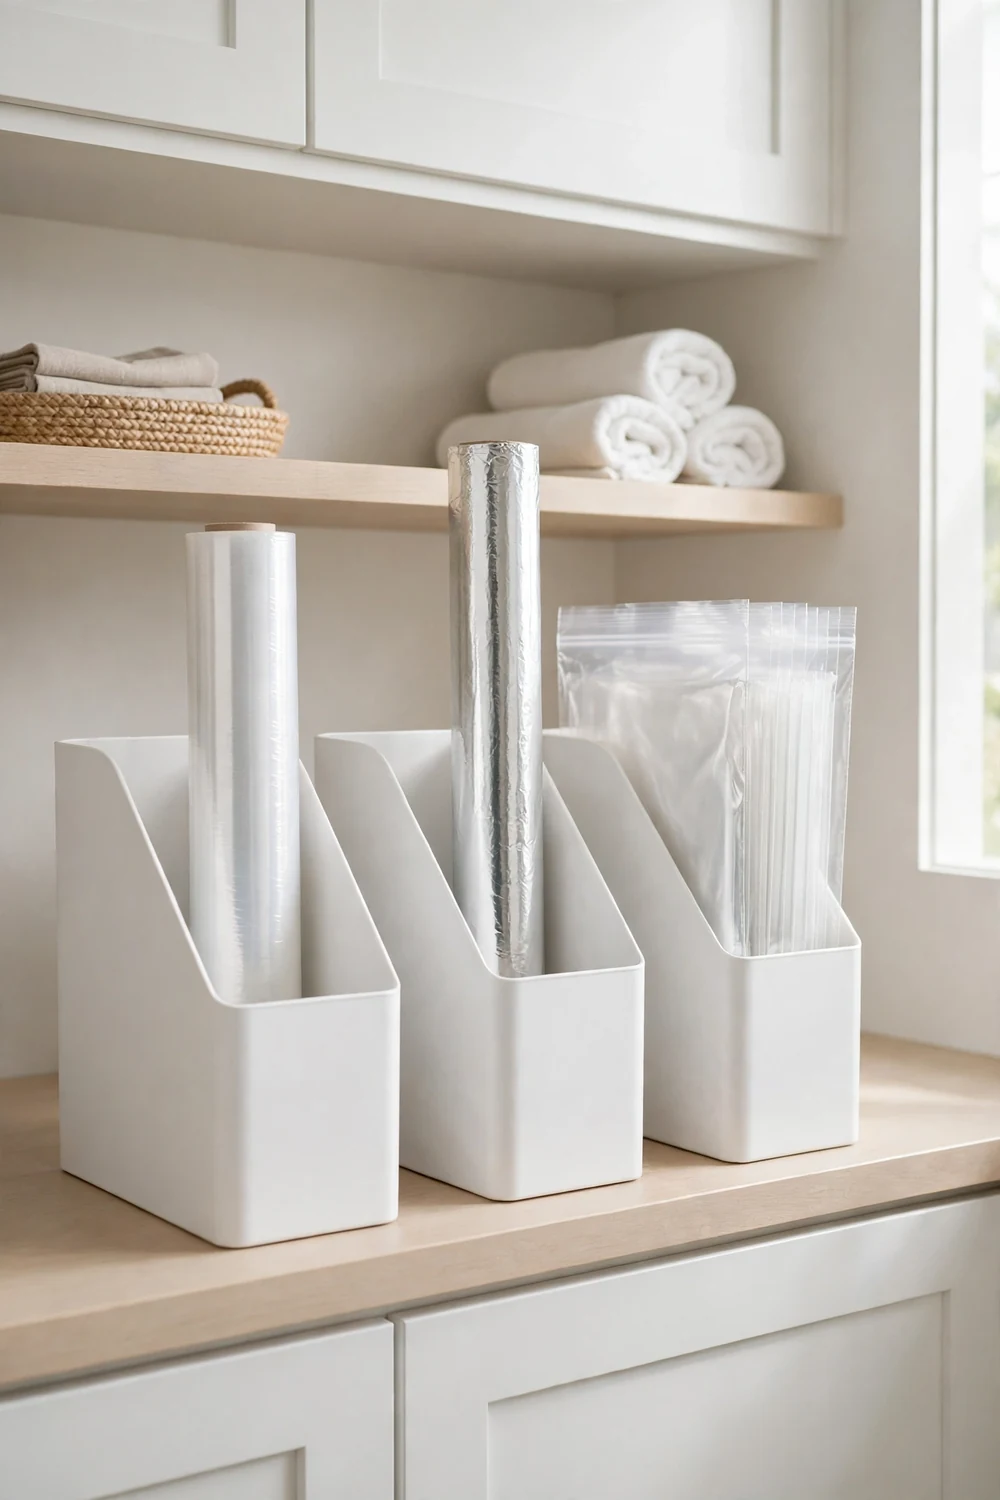
Cling wrap, foil, and zip bags come in long floppy boxes that never stack. Stand them upright in magazine holders and they file like books. This trick costs almost nothing and fixes one of the most annoying pantry categories.
Cost: about twelve dollars for four holders. White or clear holders disappear on the shelf. Cut the holder height down if the boxes stick out too far, a clean line looks far tidier.
Styling tips
- Group all wrap products in one holder row
- Face the box openings outward for easy tearing
- This also works brilliantly for cutting boards, just like mason jar storage keeps small items visible
10. Tension Rod Dividers
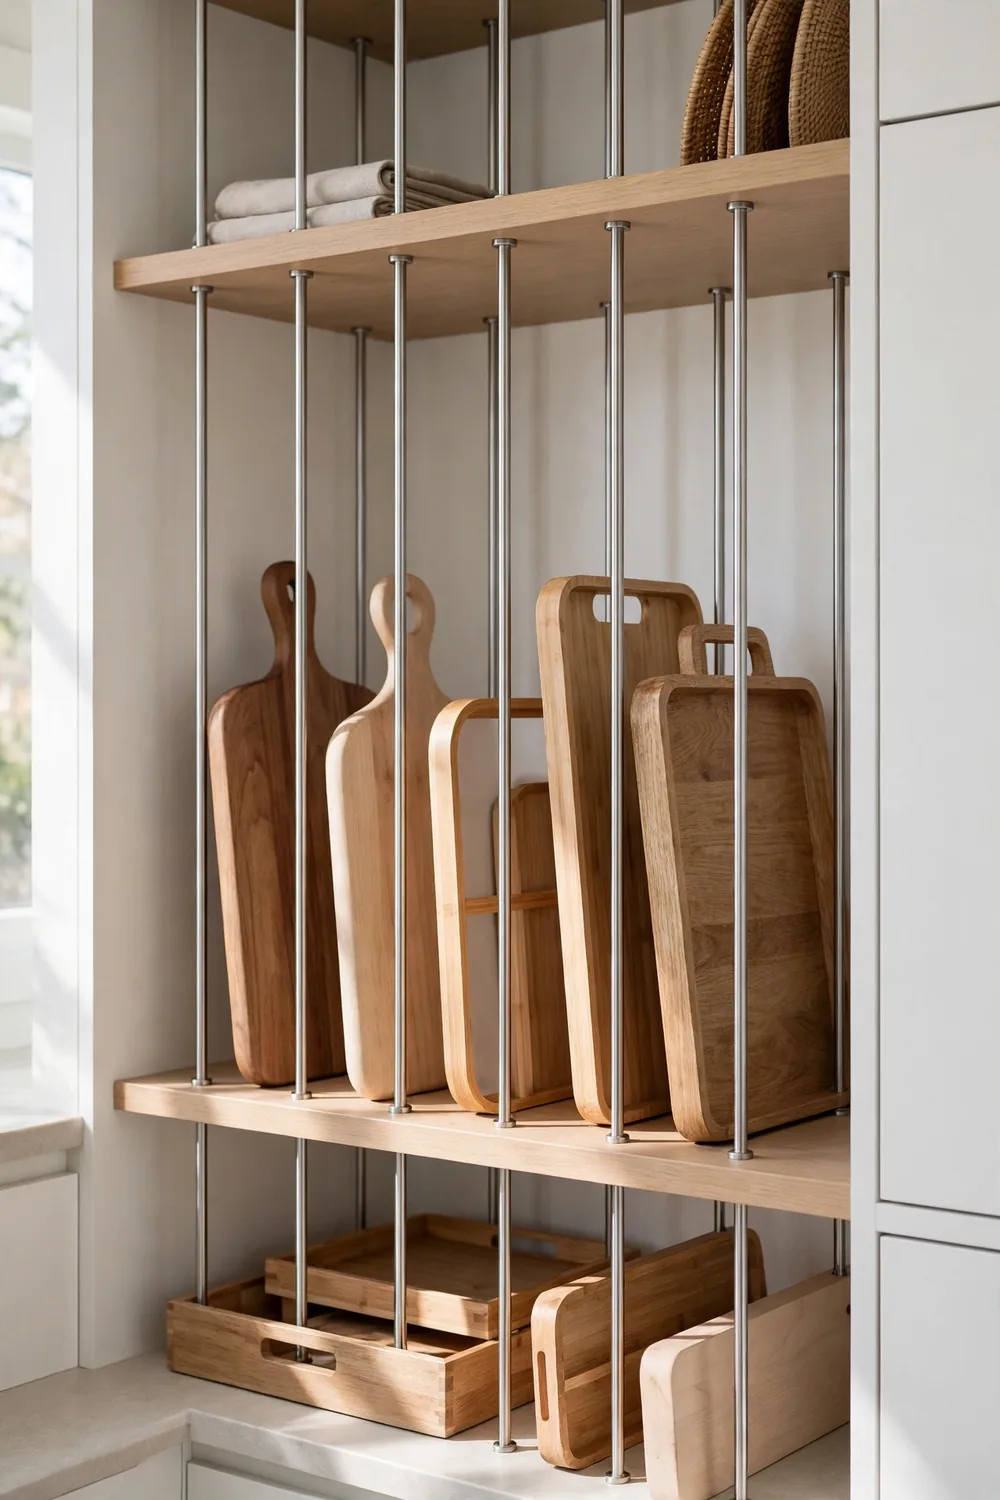
Cutting boards, trays, and baking sheets stacked flat are impossible to access. Two tension rods mounted a few inches apart create vertical slots that file them upright. Pull one out without moving anything else.
Cost: about ten dollars for two rods. Measure the shelf opening and buy rods that extend one inch beyond each side for a firm grip. This is fully renter friendly, no holes and no damage.
Styling tips
- Sort by size, largest boards at the back
- Keep daily boards in the front slots
- Wipe rods when you wipe shelves so they stay grippy
11. Back of Door Pocket Organizer
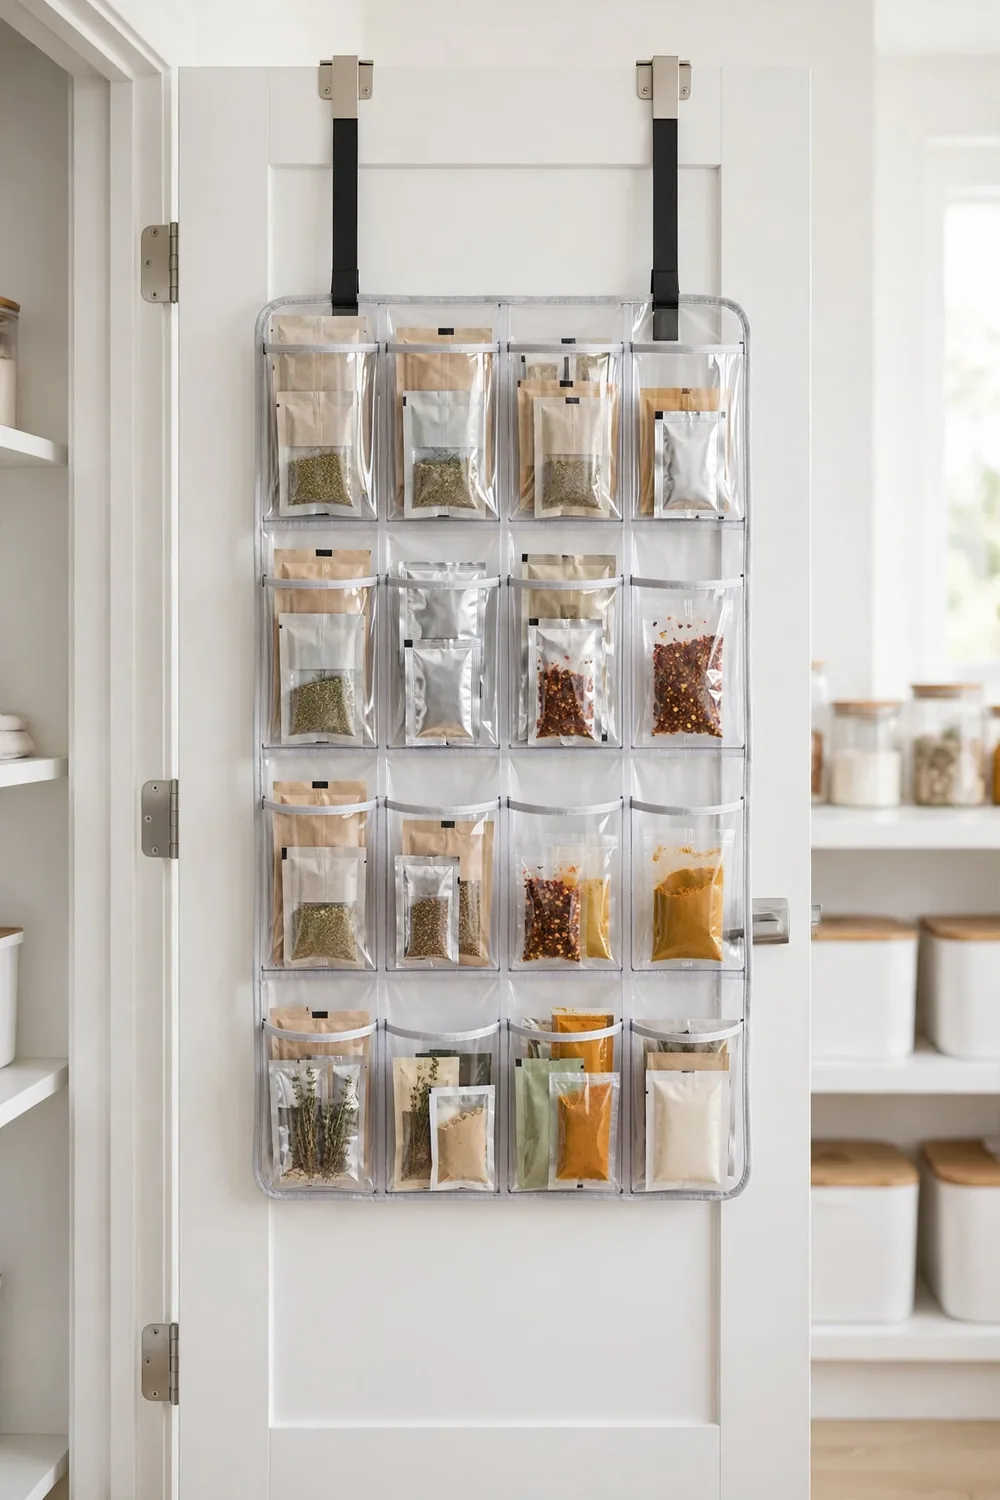
Small packets are the glitter of pantries, they get everywhere. A clear over the door pocket organizer gives every sachet, seasoning mix, and snack pack its own visible home. Clear pockets beat fabric ones because you can see everything without digging.
Cost: about fifteen dollars. Hang it on the inside of the pantry door where it stays hidden but reachable. This is also the perfect spot for the items kids grab themselves, which keeps little hands out of the main shelves.
Styling tips
- One packet type per pocket, no stuffing
- Put kids snacks in the lowest pockets
- Declutter the pockets monthly, they attract strays
12. The Zone System

This is the idea that holds all the others together. Divide your pantry into zones by routine: a breakfast station with everything for mornings, a snack station, a baking station, and a cooking station. Each zone gets its own shelf area and its own containers.
Cost: zero dollars, it is pure arrangement. Zones work because they match real life. Nobody thinks in categories like canned goods. Everyone thinks it is breakfast time, where is my stuff. When the pantry mirrors your routines, it practically organizes itself. Pair the cooking zone with your coffee station setup nearby and mornings run on autopilot.
Styling tips
- Put the breakfast zone at eye level, it gets the most traffic
- Keep baking zones higher, they are used less often
- Review zones every season, routines change and zones should too
Pantry Mistakes That Waste Your Space
| Mistake | Why it wastes space | The fix |
|---|---|---|
| Buying products before measuring | Half the bins do not fit and get returned or crammed | Measure every shelf and the door before spending a dollar |
| Keeping everything in original packaging | Boxes are half air and impossible to stack neatly | Decant dry goods into square uniform containers |
| One deep row per shelf | Everything behind the front row disappears and expires | Risers and turntables bring the back row forward |
| No labels | Family members put things in random spots within days | Label every container and every zone edge |
| Ignoring the door | The largest unused surface in a small pantry | Racks on the door free up two full shelves |
Final Thoughts on Small Pantry Organization Ideas
A small pantry does not need more space. It needs a system built around how you actually cook and snack. Start with the empty shelf method this weekend, add three or four ideas from this list, and live with them for a week before buying more. The best pantry is not the prettiest one on day one. It is the one that still looks organized on day one hundred.
