
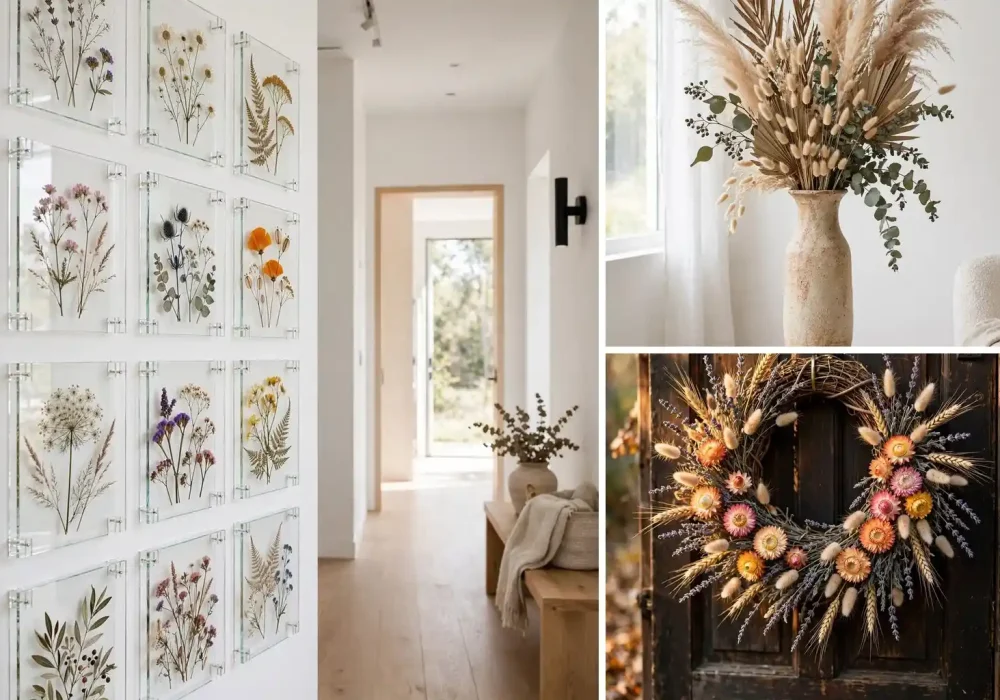
Pressed flowers are having their biggest moment in years. Pinterest named dried and pressed flowers one of its top 2026 hobby trends, with searches up over 450 percent, and it is easy to see why. Pressed botanicals turn free garden flowers into art that never wilts, costs almost nothing to make, and looks like something from an expensive boutique.
Every pressed flower decor idea below includes the how to, because a pretty picture without steps does not get clicked. Before the ideas, you will learn the three drying and pressing methods, so you can make every single project on this list.
What makes this craft so addictive is how forgiving it is. You do not need artistic skill. You need flowers, something heavy, and a little patience. A ten year old can press flowers successfully on the first try, and the results look genuinely professional when framed. Let us start with the methods, then get into the twelve ideas.
How to Dry & Press Flowers: 3 Beginner Methods
Not all flowers press equally well. Flat faced blooms like pansies, violets, daisies, cosmos, and ferns press beautifully. Thick flowers like roses and peonies need to be taken apart petal by petal or dried another way. Pick flowers in the morning after the dew dries but before the midday heat, when colors are most vivid.
Book pressing: takes 2 to 4 weeks. Best for flat flowers, ferns, and leaves. Cost: free (heavy books).
Wooden flower press: takes 2 to 3 weeks. Best for color retention and pressing in bulk. Cost: $15 to $25 for a press.
Silica gel drying: takes 3 to 7 days. Best for keeping the 3D shape (wreaths, arrangements). Cost: $10 to $15 per bag.
Also Read: 12 Dollar Tree Thanksgiving Decor DIYs That Look Expensive
Method 1: Book Pressing (the classic)
Place flowers between two sheets of plain paper (printer paper, not newspaper, since the ink transfers). Tuck the paper sandwich inside the heaviest book you own, then stack more books on top. Check after one week and replace the paper if it feels damp. Most flowers are done in two to four weeks. They should feel papery and crisp, with no moisture left.
Method 2: Wooden Flower Press
A flower press is two wooden boards with bolts and cardboard layers. It presses more evenly than books and holds far more flowers at once. Layer cardboard, paper, flowers, paper, cardboard, and tighten the bolts firmly. The even pressure gives you flatter, better colored results than books, and serious crafters swear the color retention is noticeably better.
Method 3: Silica Gel (for 3D dried flowers)
For projects where you want the flower to keep its shape, such as wreaths, vase arrangements, and bell jars, bury blooms in silica gel crystals in an airtight container. The gel pulls moisture out in days while holding the petals in position. Roses, lavender, and hydrangeas dry beautifully this way and keep far more color than air drying.
Pro tip: Press more than you need. About one in five flowers will brown, tear, or press unevenly. Pressing extras means you always have perfect specimens for your projects.
1. Framed Botanical Wall Art
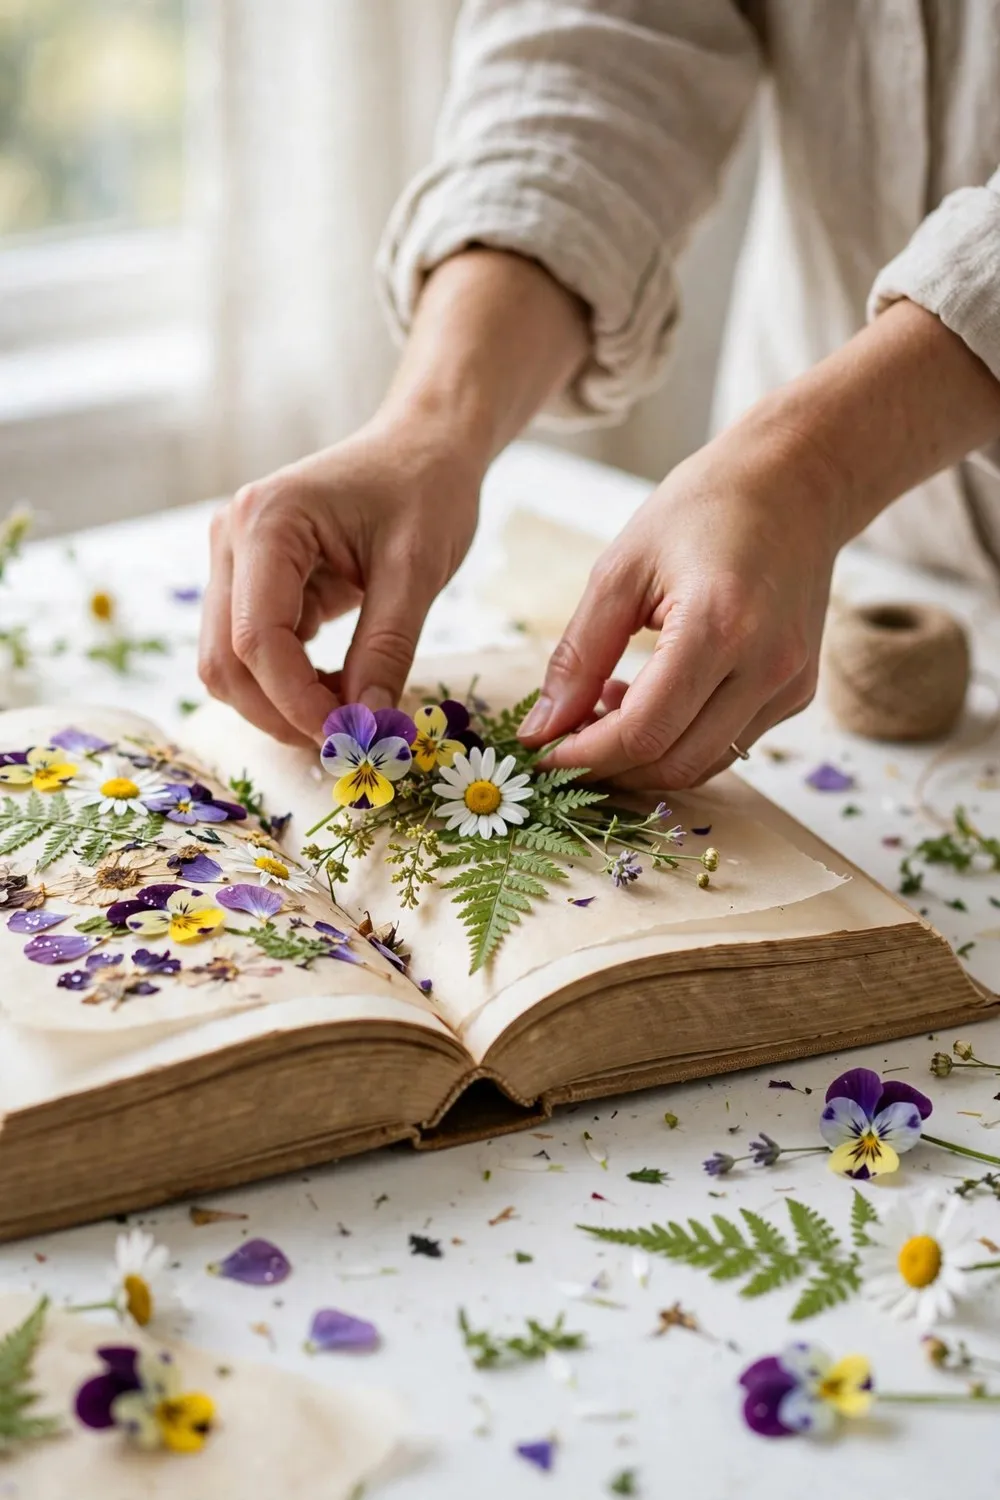
The signature pressed flower project: arrange pressed blooms on acid free paper inside a float frame, where glass on both sides makes the flowers look suspended. A grid of three to six matching frames down a hallway looks like a high end botanical print collection.
What you need: float frames ($8 to $12 each), acid free cardstock, craft glue dots, tweezers.
How to: Plan your layout on the paper first without glue. Start with the largest flower as the anchor, add medium blooms, then fill gaps with ferns and tiny blossoms. Attach each piece with a tiny dot of glue, let dry, then sandwich in the frame.
Time: 30 minutes per frame. Cost: about $10 per frame.
2. Pressed Flower Phone Case
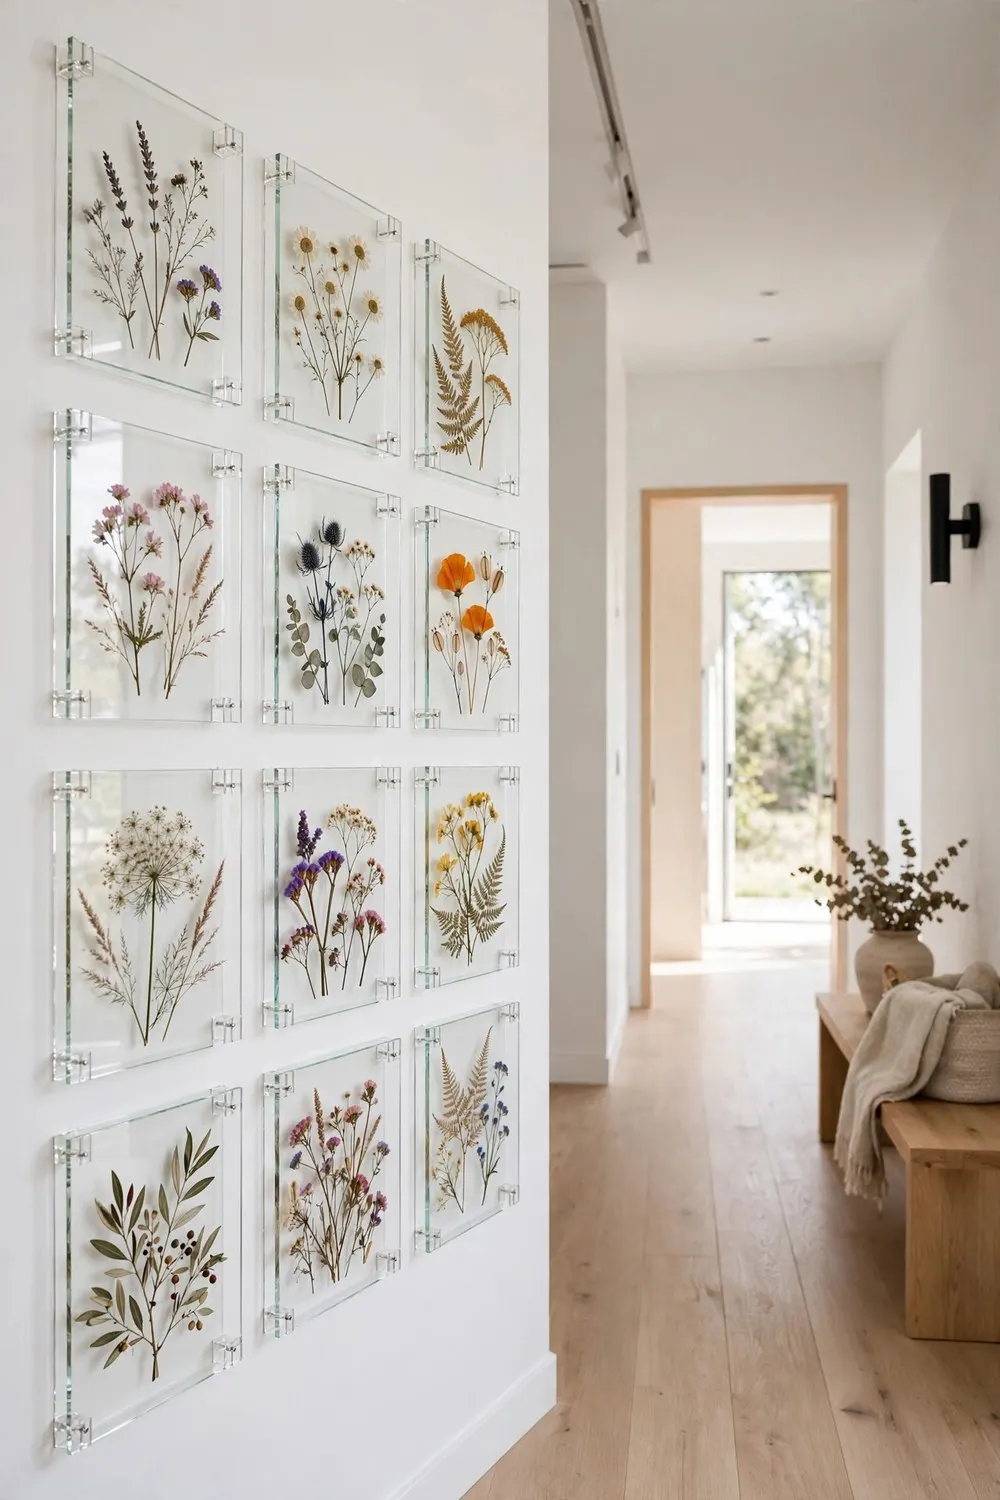
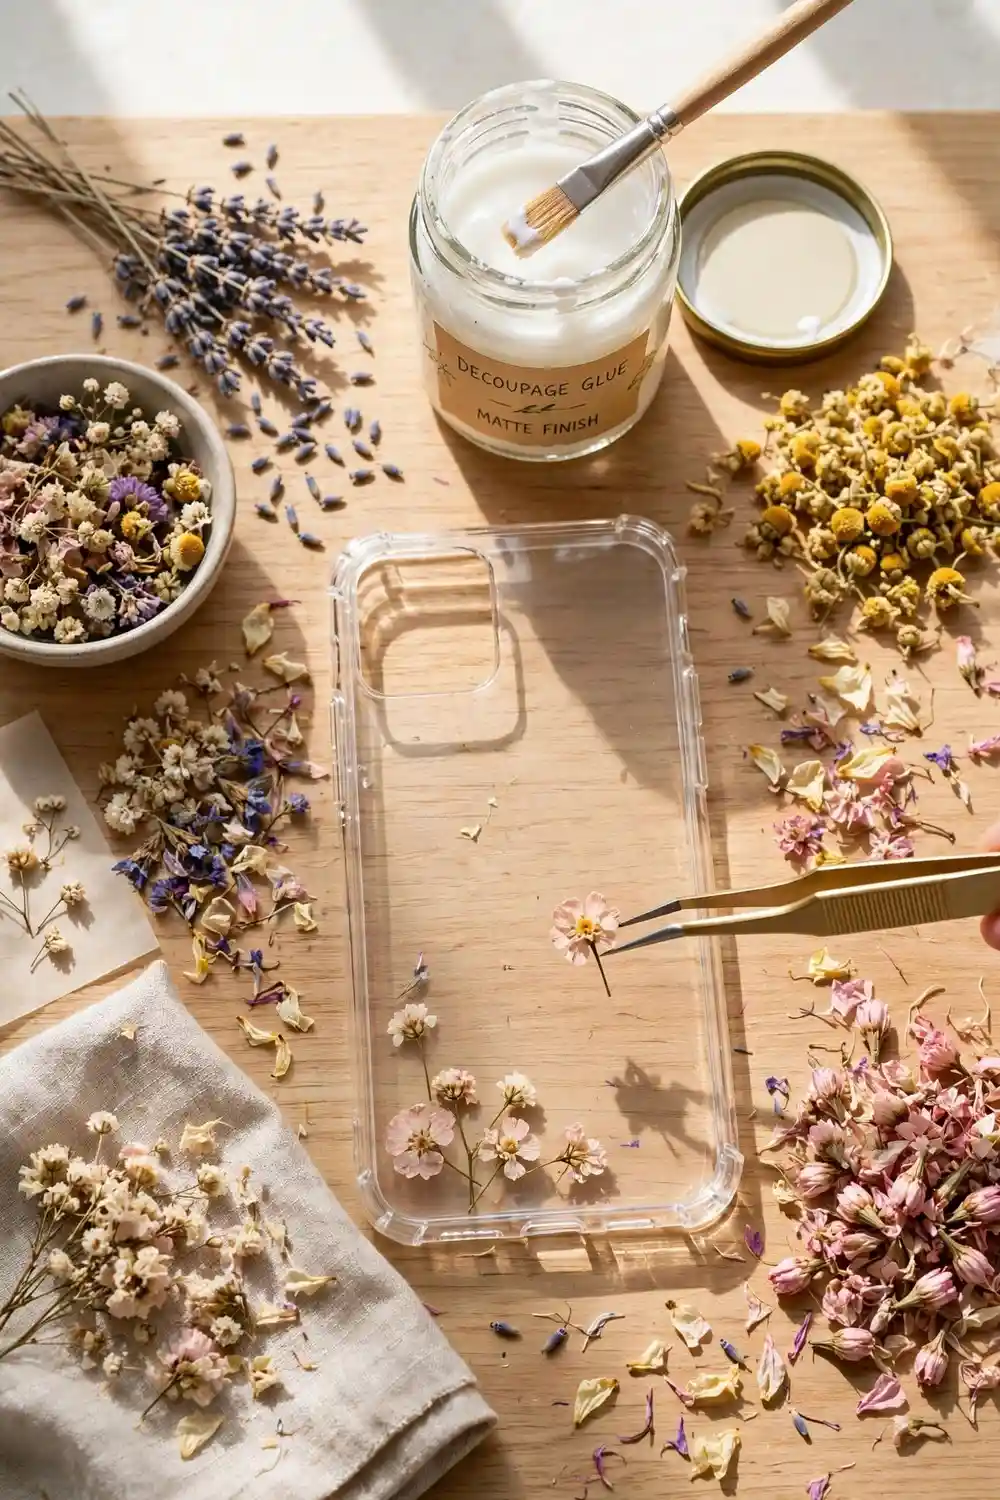
A clear phone case, a few tiny pressed flowers, and clear drying decoupage glue turn a boring case into a custom botanical accessory. This is one of the most pinned pressed flower projects because it is personal, giftable, and genuinely easy.
What you need: clear phone case, small pressed flowers, Mod Podge or clear resin, small brush.
How to: Arrange tiny flowers on the inside of the case back. Brush a thin layer of decoupage medium over them, let dry completely, then add a second thin coat to seal. Keep layers thin, because thick coats trap bubbles.
Time: 20 minutes plus drying. Cost: under $5 if you own the glue.
3. Dried Flower Wreath
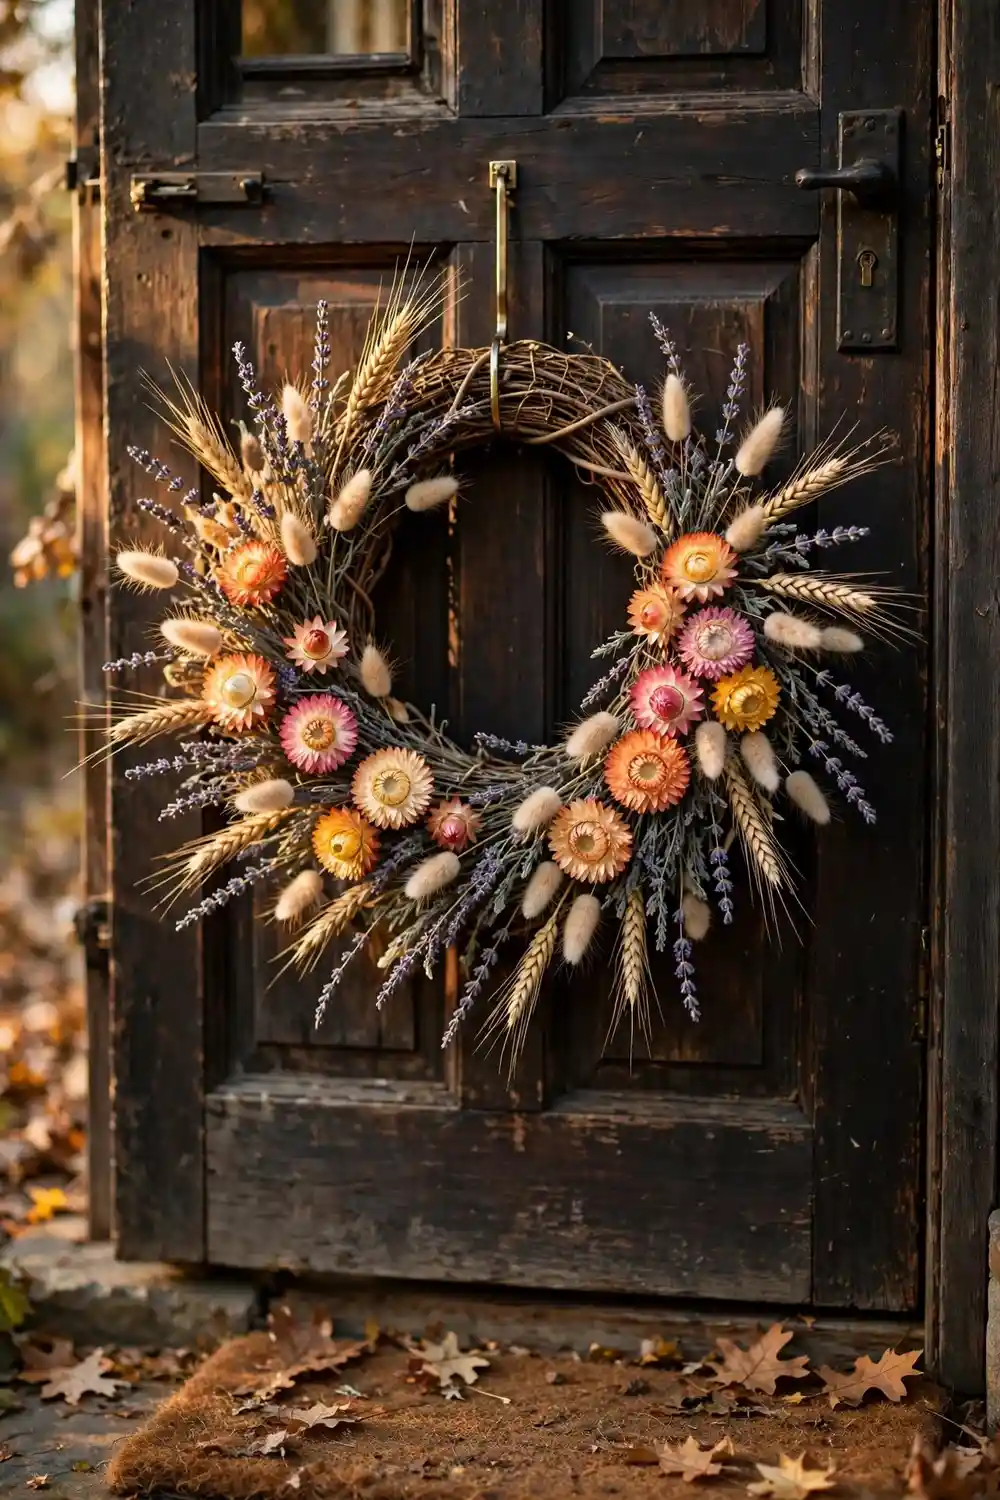
A grapevine wreath base wrapped with dried lavender, wheat, strawflowers, and bunny tails makes a front door or wall piece that lasts for years. Unlike fresh wreaths, this one never needs replacing, and dried wreaths photograph beautifully for fall and spring alike.
What you need: grapevine wreath base ($6 to $10), dried flowers, floral wire, wire cutters.
How to: Make small bundles of 3 to 5 stems, wire each bundle, then wire the bundles to the wreath base overlapping in one direction. Work all the way around, then fill thin spots with single stems. Hang with a wide ribbon.
Time: 45 to 60 minutes. Cost: $12 to $20.
4. Pressed Flower Bookmarks
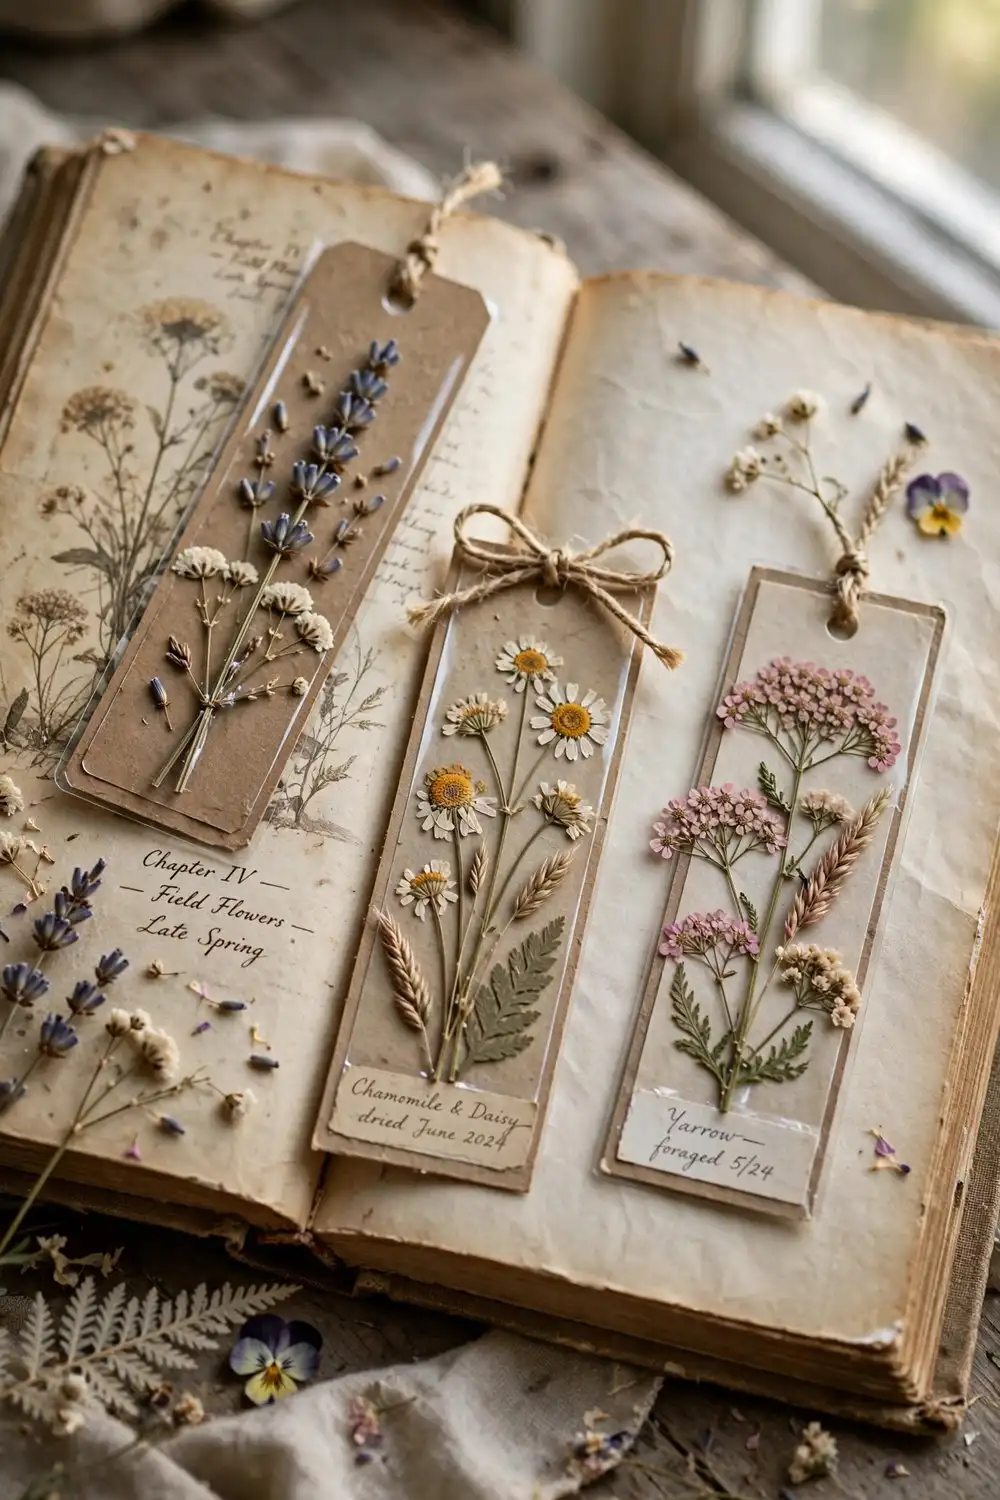
Laminated pressed flower bookmarks are the perfect first project: nearly free, done in minutes, and they make lovely gifts. Teachers, book clubs, and Mother’s Day: everyone loves these.
What you need: pressed flowers, cardstock strips, self sealing laminating pouches, ribbon.
How to: Glue a small arrangement onto a cardstock strip, slide into a laminating pouch, and run through a laminator (or seal by hand with firm pressure). Punch a hole at the top and tie ribbon through it.
Time: 10 minutes each. Cost: under $1 each.
5. Hanging Dried Flower Installation

Tie dried flower bundles to a fallen branch or wooden dowel and hang it over a dining table, bed, or in an empty corner. This “floating garden” look is all over Pinterest and costs almost nothing if you dry your own flowers.
What you need: branch or dowel, dried flower bundles, twine, ceiling hooks.
How to: Cut twine to varied lengths (12 to 24 inches). Tie a flower bundle to each length, then tie the lengths along the branch at different points. Hang the branch from two ceiling hooks with sturdy twine. Keep it away from high traffic areas where it will be bumped.
Time: 1 hour. Cost: $5 to $10.
6. Pressed Flower Resin Coasters
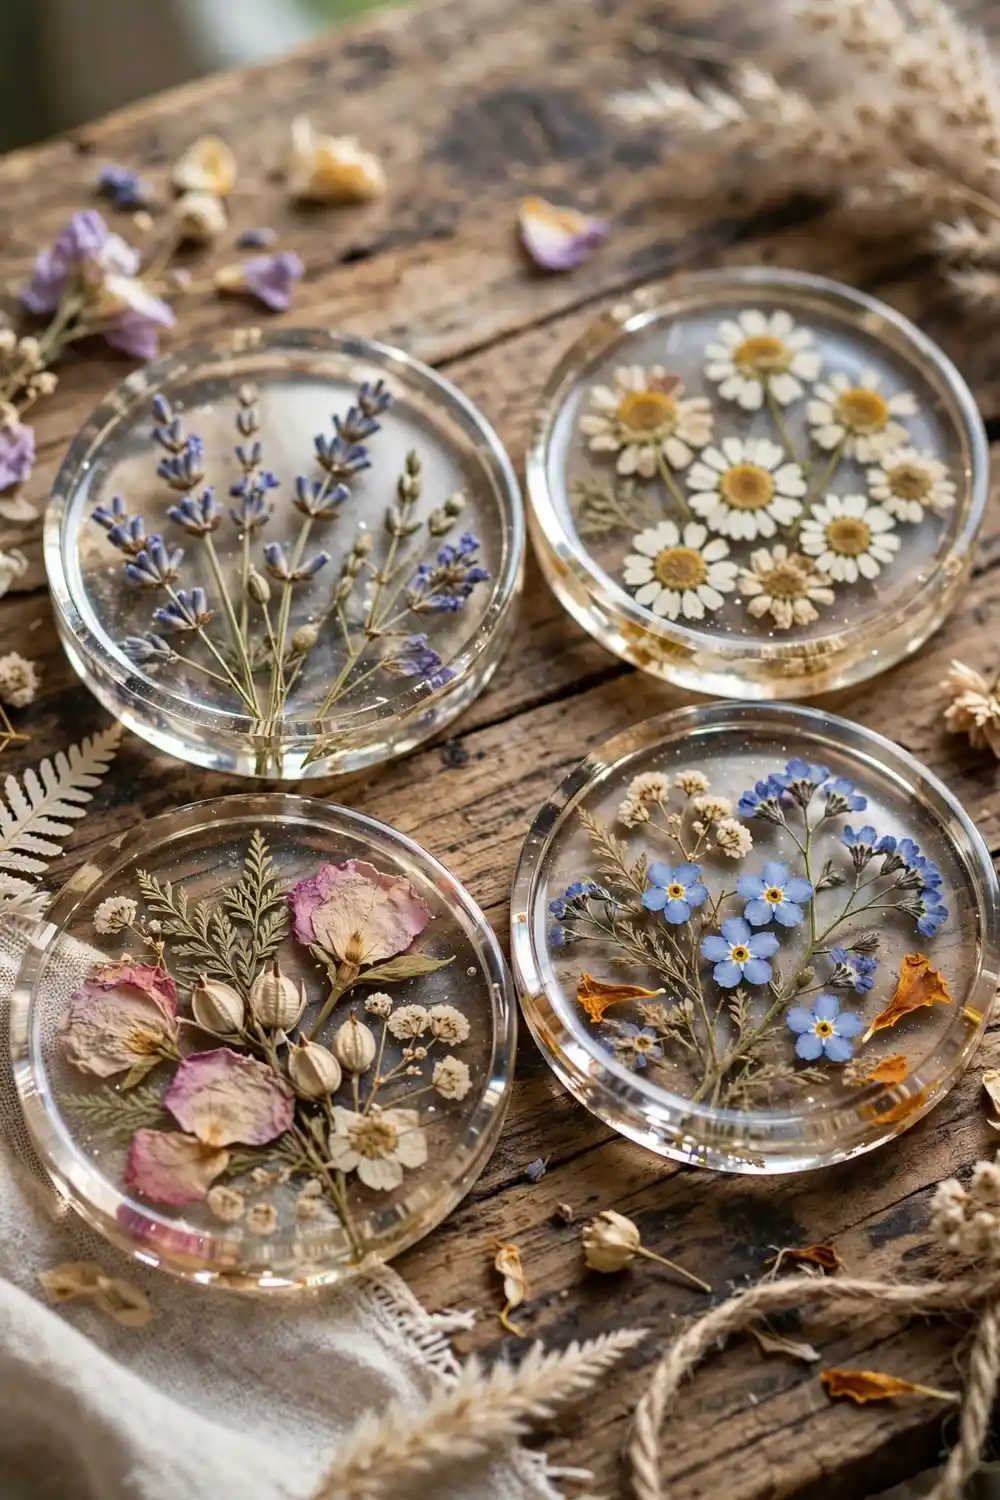
Clear resin coasters with pressed flowers suspended inside look like they came from an artisan shop. They are waterproof, heat resistant, and genuinely useful. It is the rare craft that is both beautiful and functional.
What you need: silicone coaster molds, clear epoxy resin kit ($20 to $30), pressed flowers, gloves, mixing cups.
How to: Mix resin per the kit instructions. Pour a thin base layer, let it get tacky (about 20 minutes), arrange flowers with tweezers, then pour the top layer to cover. Pop surface bubbles with a quick pass of a heat gun or straw breath. Cure 24 hours before demolding.
Time: 30 minutes active, 24 hours cure. Cost: about $4 per coaster after the kit.
7. Dried Lavender Bundles
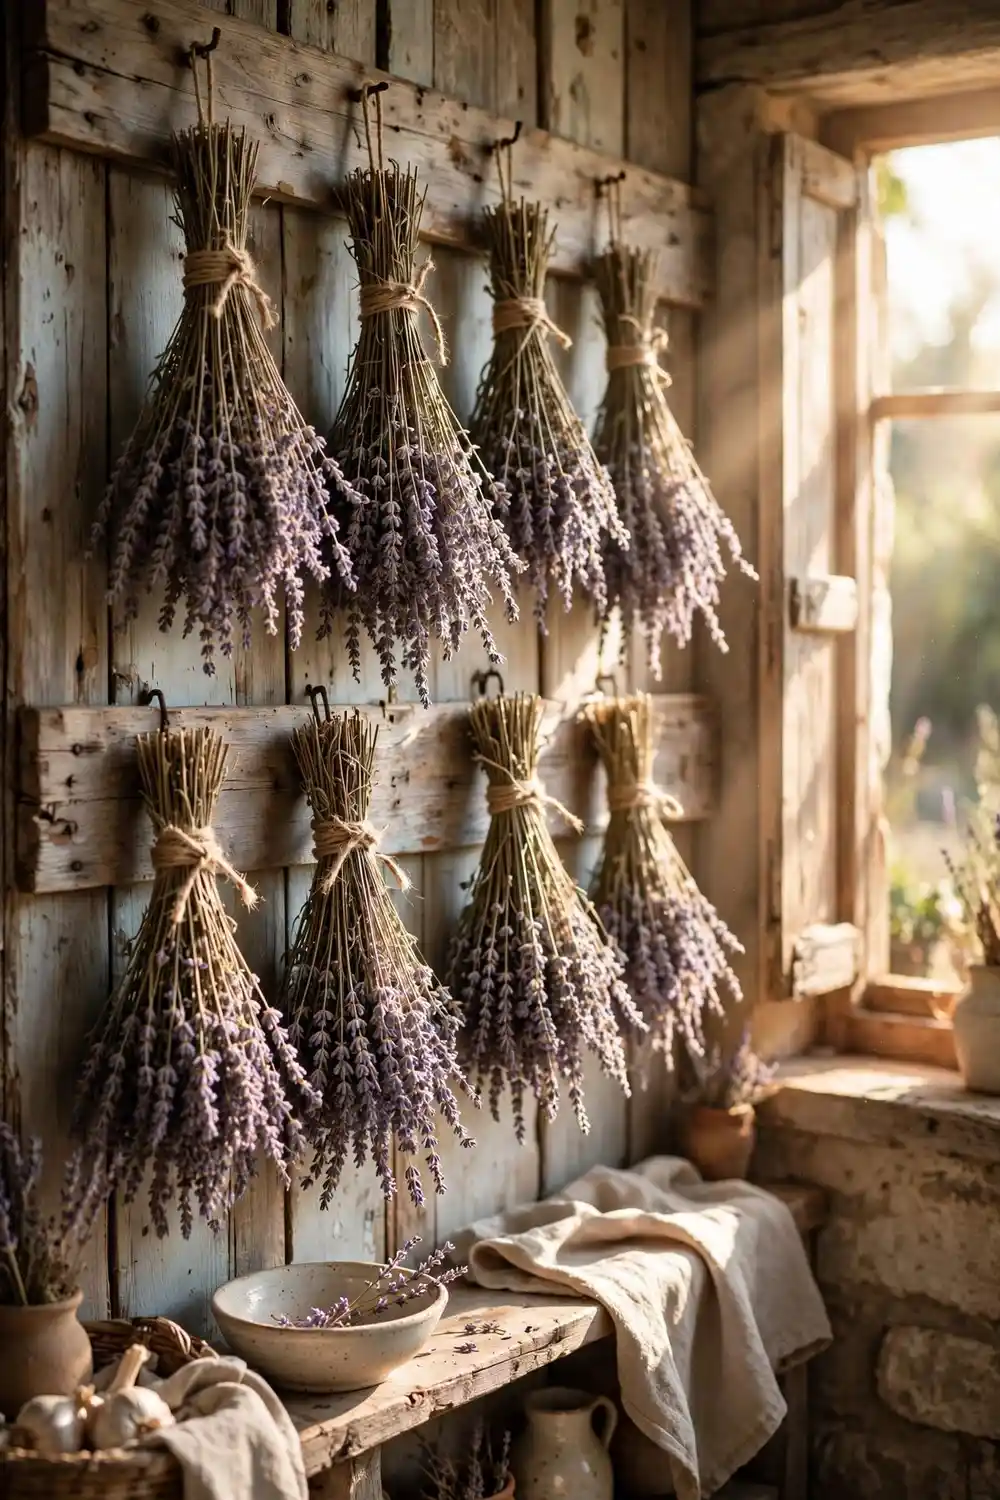
The simplest project on this list: tie dried lavender into bundles with twine and hang them in the kitchen, bathroom, or bedroom. They smell wonderful for months, look effortlessly French, and take five minutes.
What you need: dried lavender stems, twine or ribbon.
How to: Gather 20 to 30 stems, align the heads, and tie tightly just below the flower heads. Stems shrink as they dry, so tie it tighter than feels necessary. Hang upside down in a dry spot for two weeks if not already dry.
Time: 5 minutes per bundle. Cost: free if you grow lavender, a few dollars per bundle otherwise.
8. Botanical Gallery Wall
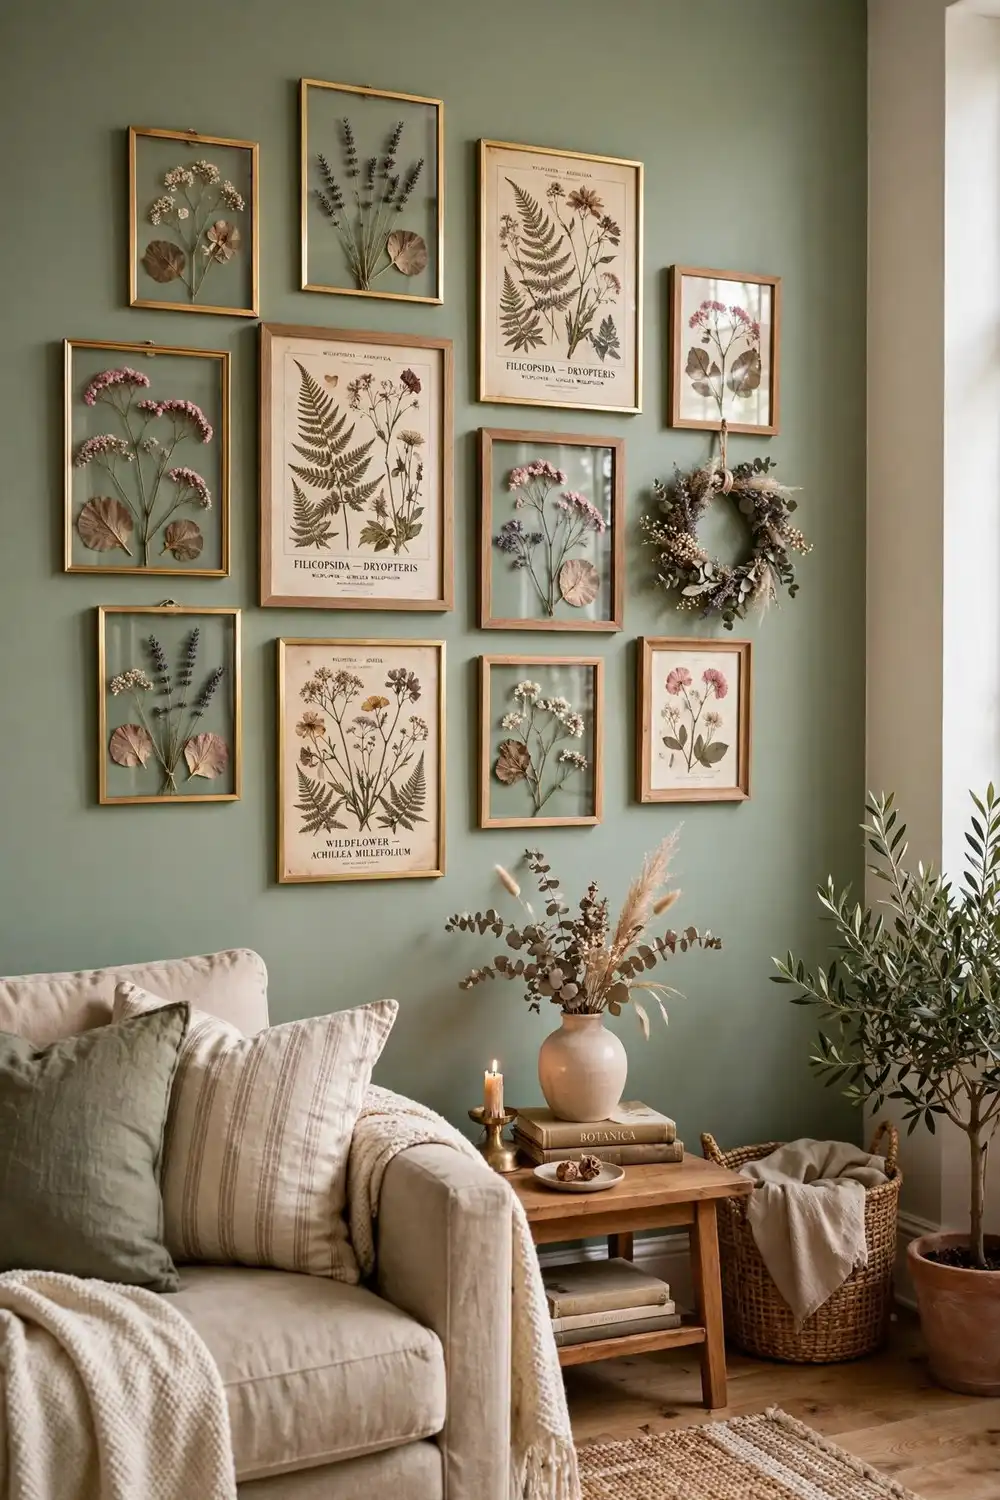
Combine framed pressed flowers with vintage botanical prints, small mirrors, and dried wreaths for a full gallery wall. Mixing real pressed specimens with printed art gives the wall depth and makes the real flowers stand out.
What you need: 5 to 9 frames in mixed sizes, pressed flower art (see idea 1), botanical prints, hanging hardware.
How to: Lay the arrangement on the floor first. Start with the largest frame slightly off center, build outward, keeping 2 to 3 inches between frames. Hang the heaviest pieces on studs or anchors.
Time: 1 to 2 hours. Cost: $30 to $60 depending on frames.
9. Pressed Flower Candles
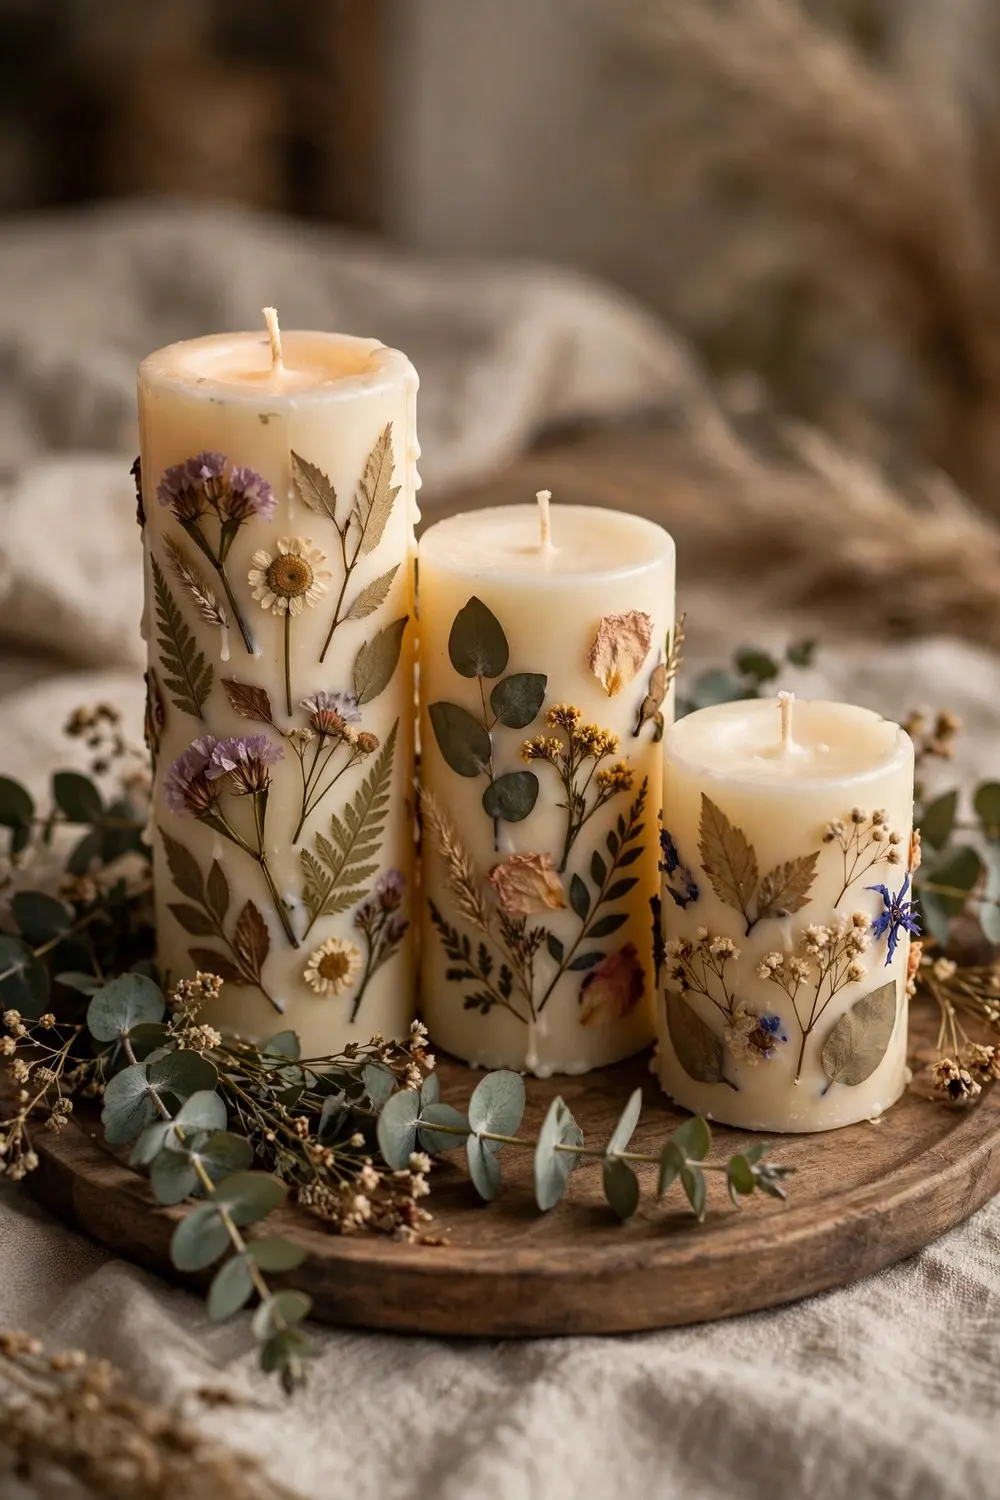
Press tiny dried flowers onto the outside of pillar candles using the heat of a spoon, and no glue is needed. The wax melts just enough to grip the petals. These look stunning in clusters and make beautiful handmade gifts.
What you need: plain pillar candles, tiny pressed flowers, metal spoon, tealight.
How to: Heat the back of a metal spoon over a tealight flame. Press a flower against the candle and smooth the hot spoon over it for 2 to 3 seconds so the surface wax melts and seals the petal. Work quickly and keep the spoon hot.
Time: 15 minutes per candle. Cost: $2 to $4 per candle.
10. Dried Flower Vase Arrangements
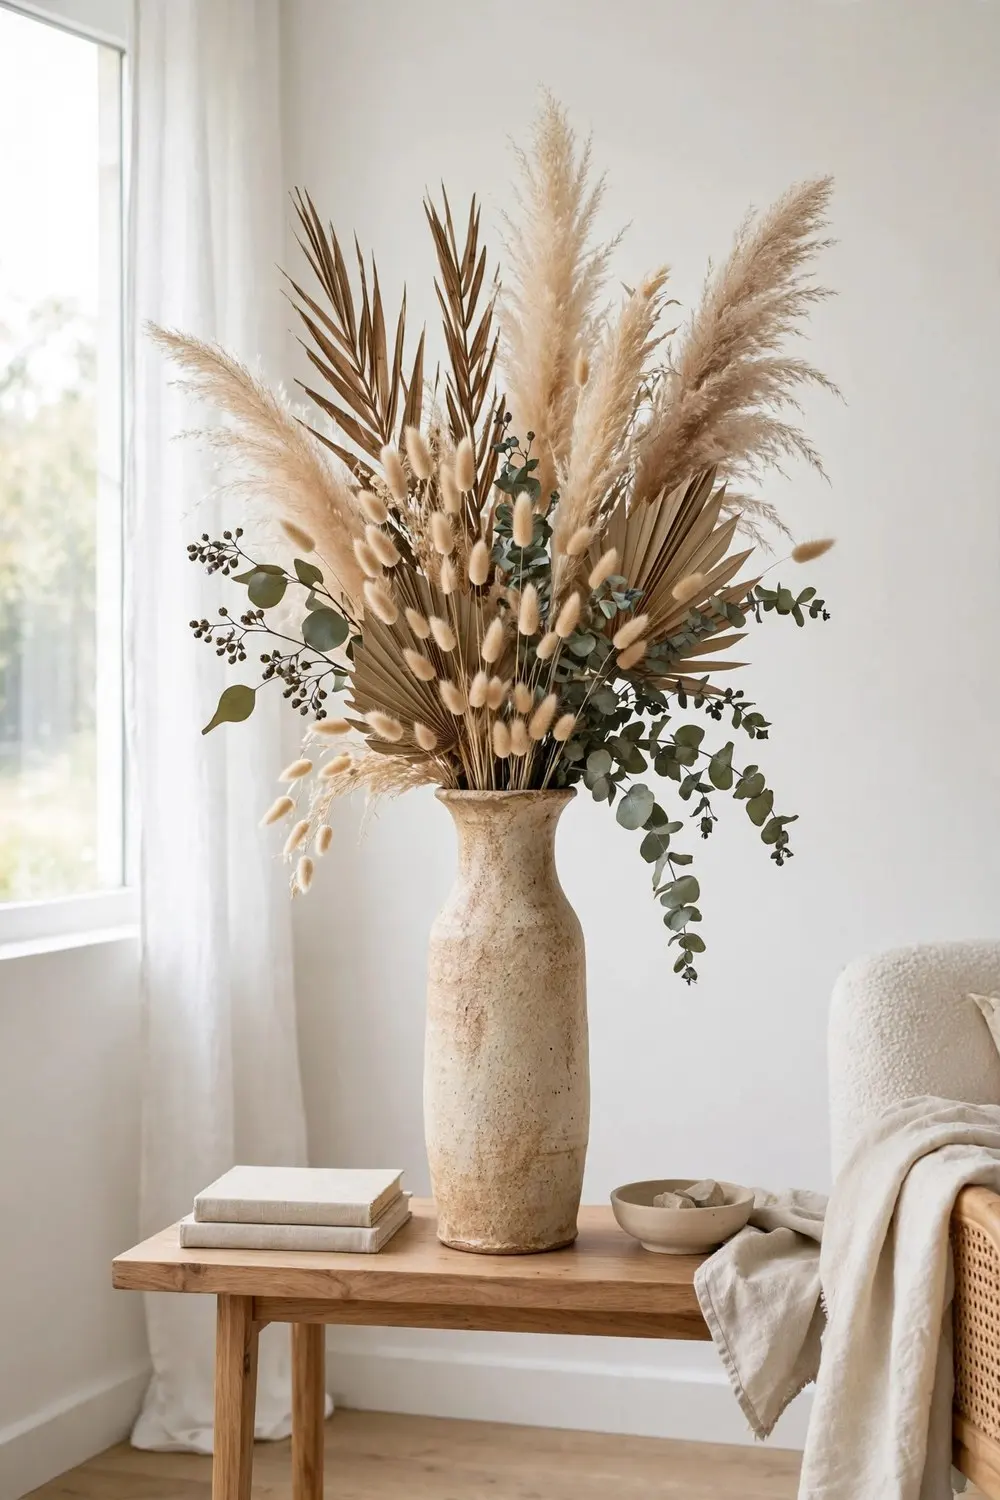
A tall ceramic vase filled with pampas grass, dried palm spears, bunny tails, and preserved eucalyptus is the lowest maintenance statement decor that exists. No water, no wilting, no replacing. Just dust it occasionally.
What you need: vase, assorted dried stems ($15 to $30 for a full bunch set).
How to: Start with the tallest stems in the center, add medium stems around them, then fill gaps with wispy textures like bunny tails. Odd numbers of each stem type look most natural. Trim stems so the arrangement is roughly 1.5 times the vase height.
Time: 15 minutes. Cost: $20 to $40 total.
11. Pressed Flower Phone Cover
Blank covers decorated with pressed flowers beat any store bought cover. Keep a stash of finished cards and you will never buy a $6 mobile cover again.
What you need: blank cover, pressed flowers, glue dots.
How to: Arrange a small cluster on the card front. One hero bloom plus two or three tiny fillers is the classic formula. Glue dots hold petals without wrinkling the card. Write the occasion on the back so you remember what you made.
Time: 10 minutes per card. Cost: under $1 per card.
12. Glass Bell Jar Display
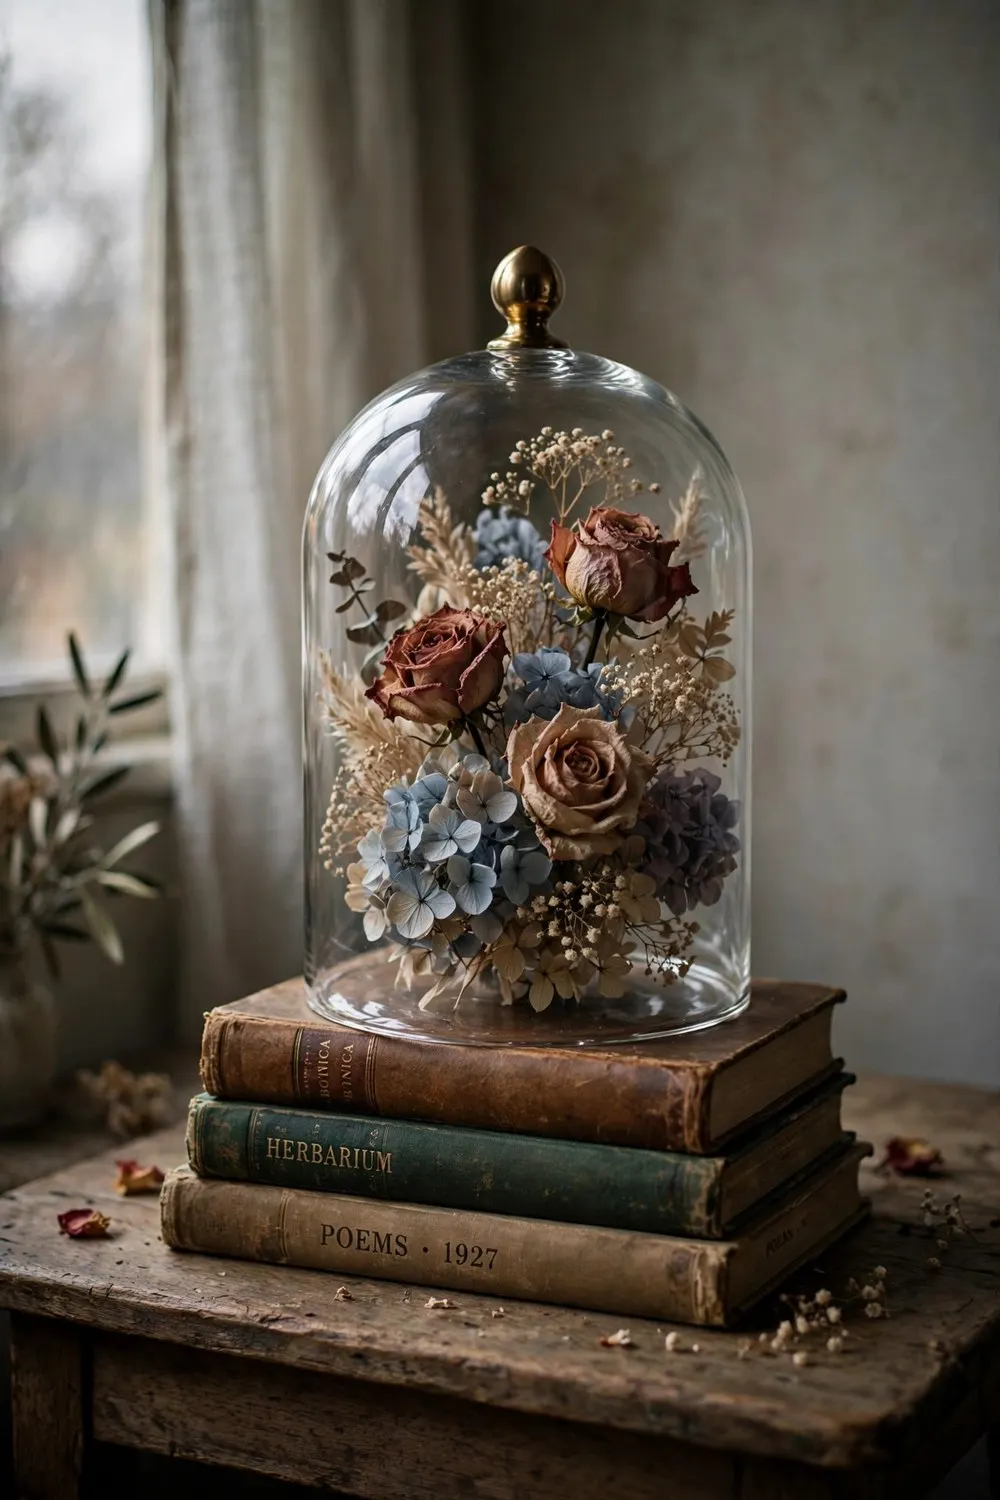
A cluster of dried blooms under a glass cloche turns simple flowers into a museum piece. This is the easiest “fancy” project here: arrange, cover, done. It also keeps dust off fragile petals.
What you need: glass cloche or bell jar ($10 to $20), small vase or block of floral foam, dried flowers.
How to: Build a small arrangement in a short vase that fits under the dome. Place the dome over it on a wooden base or stack of books. Dried roses, hydrangeas, and baby’s breath look especially good under glass.
Time: 15 minutes. Cost: $12 to $25.
Pressed Flower Mistakes to Avoid
Pressing damp flowers: mold grows inside the press. Fix: pick after the dew dries and pat with a paper towel.
Using newspaper: ink transfers to petals. Fix: use plain printer paper or blotting paper.
Too few flowers pressed: half will brown or tear and your project stalls. Fix: press three times what you think you need.
Gluing before planning: the layout looks crowded or lopsided. Fix: arrange everything dry first, photograph it, then glue.
Direct sunlight on finished art: colors fade within months. Fix: hang pressed art away from sunny windows.
Final Thoughts
Pressed flower decor is the rare craft that is genuinely free to start, impossible to mess up badly, and produces results people assume you bought. Start with the book method and one simple project, the bookmarks or the lavender bundles, and you will have finished pieces within the month. Once you see how good pressed flowers look in a frame, you will be pressing every bloom in the garden.
For more seasonal crafting, our dollar tree Thanksgiving decor diys stretch a tiny budget across a whole holiday table, and learning how to dry flowers pairs perfectly with fall decorating season.
