
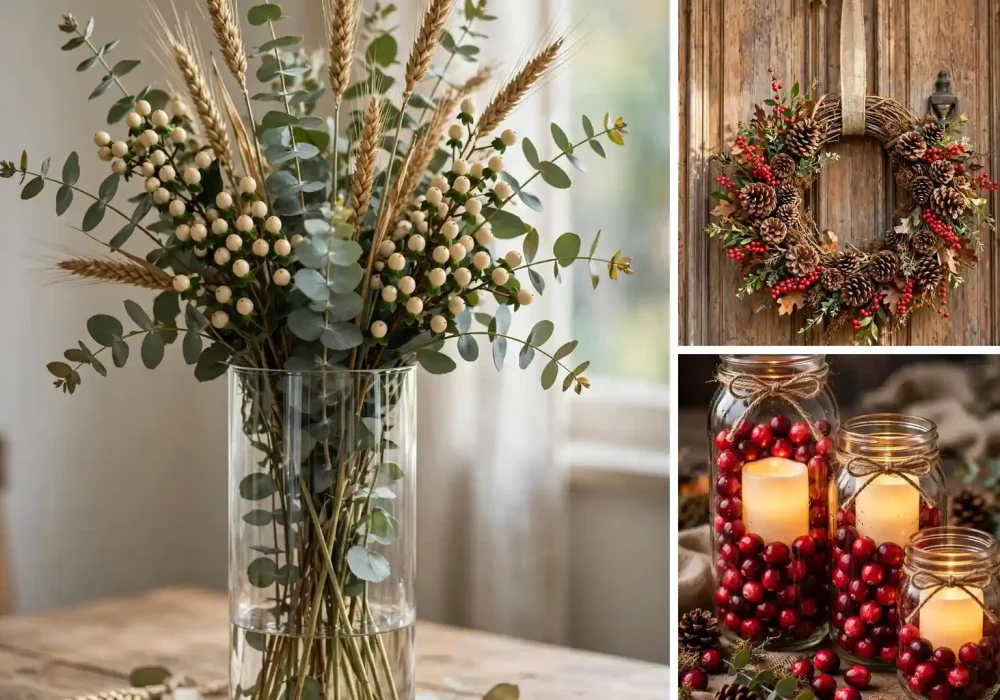
Thanksgiving has a way of making even confident decorators nervous. The table needs to look abundant. The house needs to feel warm. And the budget needs to survive it all.
Here is the secret experienced hosts know. Dollar Tree is a Thanksgiving decor goldmine. With a few dollar store finds and an hour of crafting, you can build centerpieces, wreaths, and table settings that look like they came from a boutique.
These 12 Dollar Tree Thanksgiving decor DIYs are all beginner friendly. Each one lists exactly what you need, how long it takes, and what it costs. Pick three or four, spend one weekend afternoon, and your home will be holiday ready.
Why Dollar Tree Is a Thanksgiving Decor Goldmine
Thanksgiving decor is naturally suited to dollar store crafting. The whole aesthetic is built on natural textures like burlap, wood, pinecones, and wheat. These are exactly the materials Dollar Tree stocks every fall.
The trick is knowing what to buy and what to skip. Buy anything with good bones. Glass vases, wooden signs, foam pumpkins, and plain wreath forms are all excellent quality for the price. Skip anything that already looks cheap, like pre decorated items with glued on glitter. You are going to be the decorator here, not the store.
Another advantage is scale. Thanksgiving calls for abundance, and abundance is expensive at regular prices. At a dollar a stem, you can build the overflowing centerpiece of your dreams without flinching.
Buy early in the season for the best selection. The good fall inventory sells out weeks before Thanksgiving, so shop in October when the shelves are full.
Also Read: 12 Realistic Fall Home Decor Changes You Can Do Today
1. Stacked Pumpkin Topiary
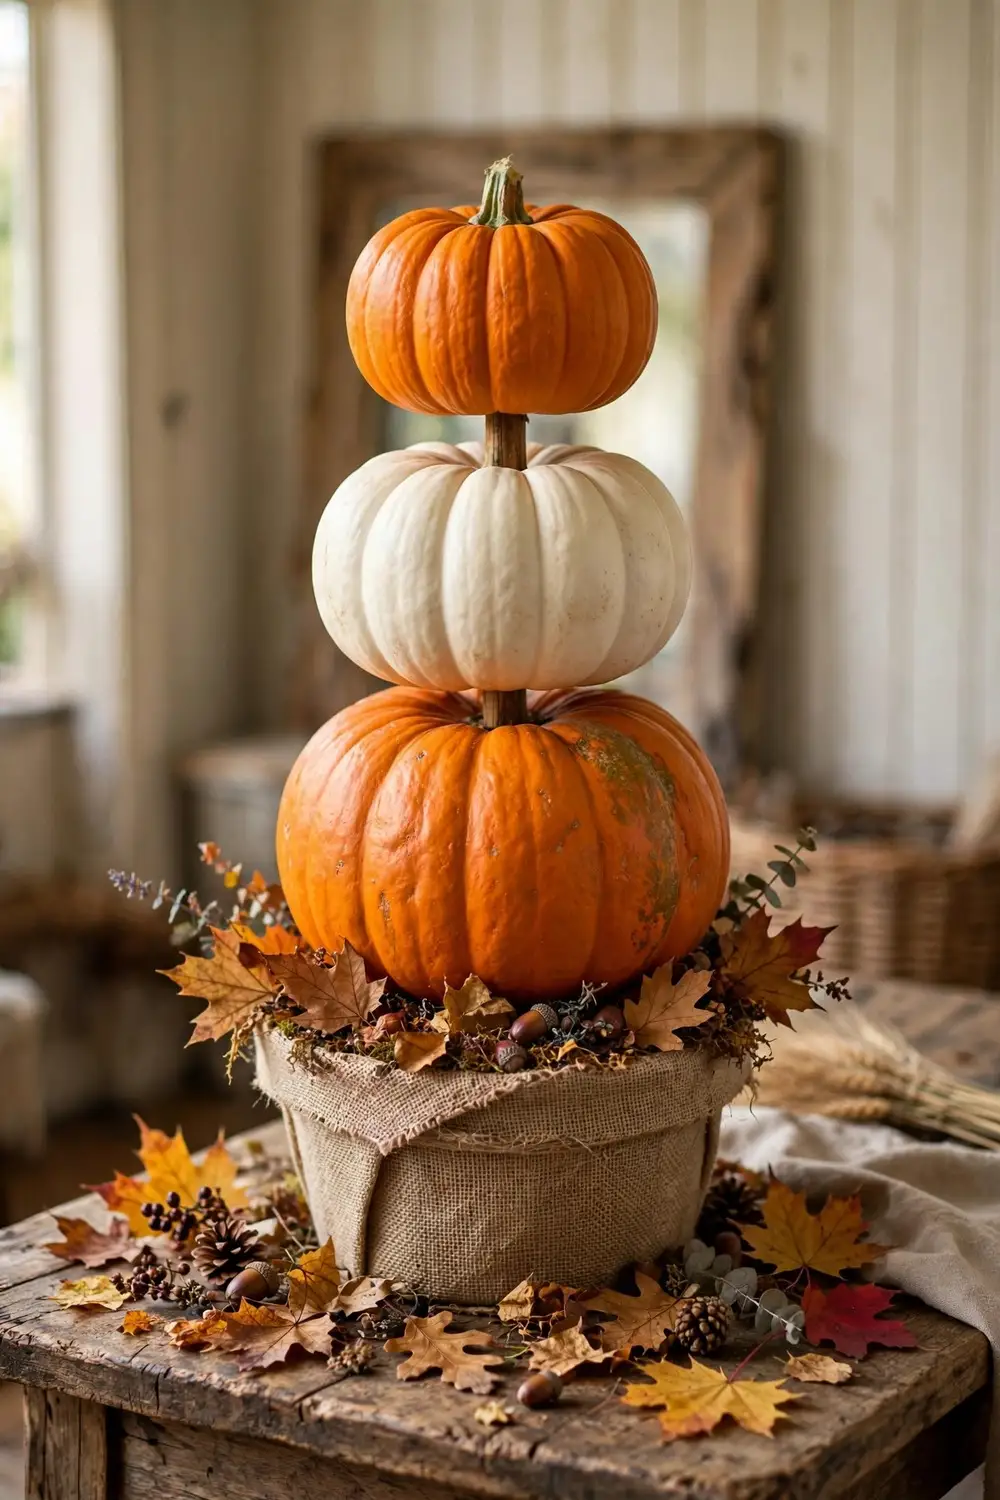
This is the project that makes people ask where you bought it. A stacked pumpkin topiary brings instant height and drama to an entryway table or porch.
You will need: 3 foam pumpkins in graduated sizes, 1 wooden dowel, 1 small flower pot, faux fall leaves, hot glue gun.
Start by pushing the dowel through the center of all three pumpkins, largest on the bottom. Set the dowel into the flower pot filled with crumpled paper for stability. Now tuck faux leaves into the gaps between pumpkins with dabs of hot glue.
The magic is in the finishing. Wrap the pot in burlap ribbon and tie it with twine. Add a few acorns or mini pinecones around the base. Suddenly three foam pumpkins look like a designer fall arrangement.
Cost: about $7 | Time: 30 minutes
Pro tip: Spray the finished topiary lightly with a matte clear sealer. It unifies the finish and makes foam look like real painted pumpkin.
2. Fall Leaf Garland for the Mantel
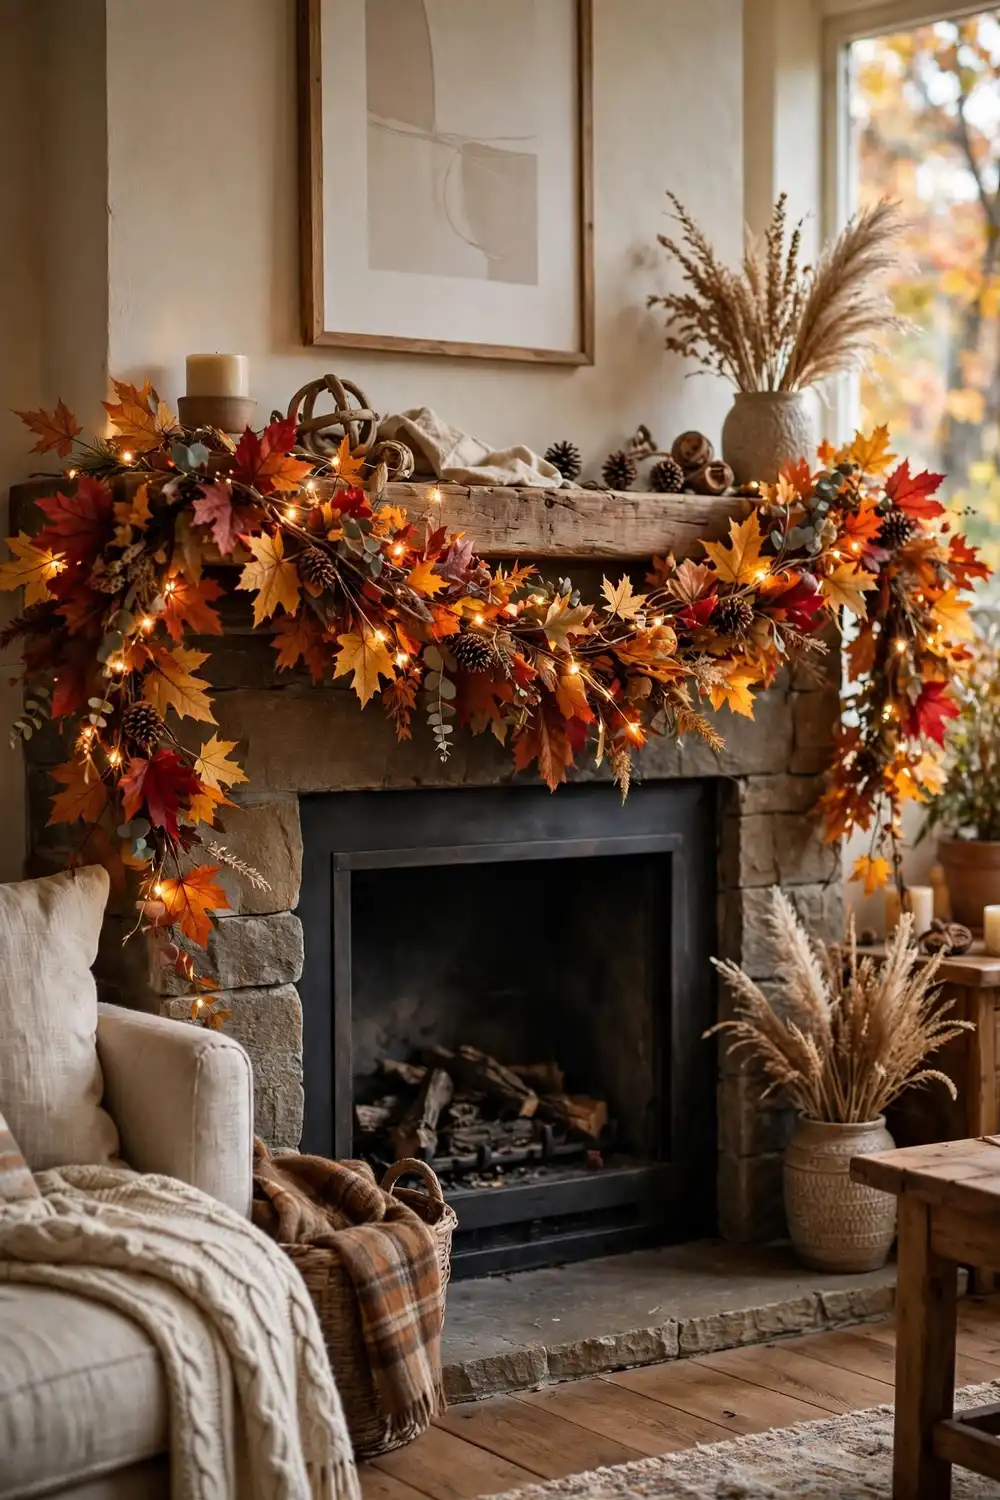
A lush leaf garland transforms a mantel in minutes, and the dollar store version rivals the expensive kind.
You will need: 4 to 5 packs of faux fall leaf garlands, floral wire, small pinecones, battery fairy lights.
Lay your garlands end to end and wire them together, overlapping the joints so no gaps show. This doubling up is what makes it look full instead of sparse. Weave in pinecones every foot or so with short wire twists.
Drape the finished garland across your mantel, letting the ends trail down both sides. Tuck the battery pack for the fairy lights behind one end and weave the lights through the leaves. The warm glow against the fall colors is pure magic at night.
Cost: about $8 | Time: 25 minutes
Pro tip: Mix two different leaf garland styles, like maple and oak. The variety of shapes reads as expensive and natural.
3. Stenciled Burlap Table Runner
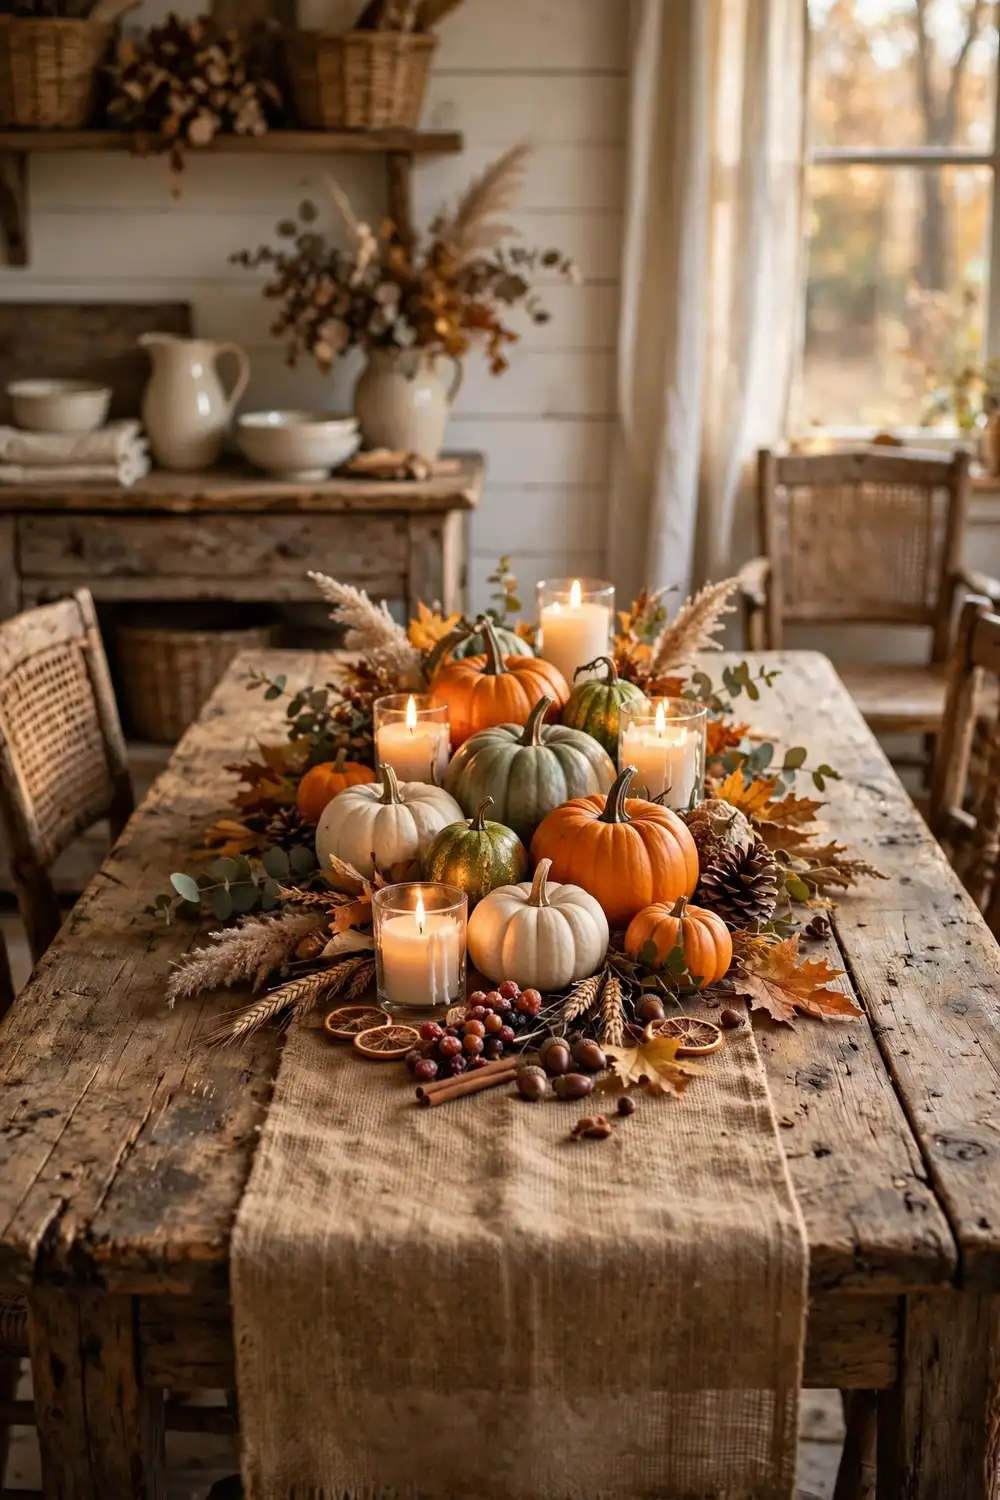
A custom table runner with a Thanksgiving message looks straight out of a farmhouse catalog. This version costs a fraction of the price.
You will need: 1 burlap table runner, alphabet stencils, brown or black craft paint, foam brush, painter’s tape.
Lay the runner flat and tape your stencils in the center spelling a word like GATHER or THANKFUL. Dab the paint on with the foam brush using an up and down motion, not strokes. Strokes push paint under the stencil edges.
Let it dry completely, then lightly sand the letters with fine sandpaper. This distressing step is what makes it look vintage instead of crafty. Shake off the dust and your runner is ready.
Cost: about $5 | Time: 40 minutes including drying
Pro tip: Practice your dabbing technique on scrap burlap first. The right pressure gives crisp letters with zero bleed.
4. Cranberry and Candle Mason Jar Centerpieces
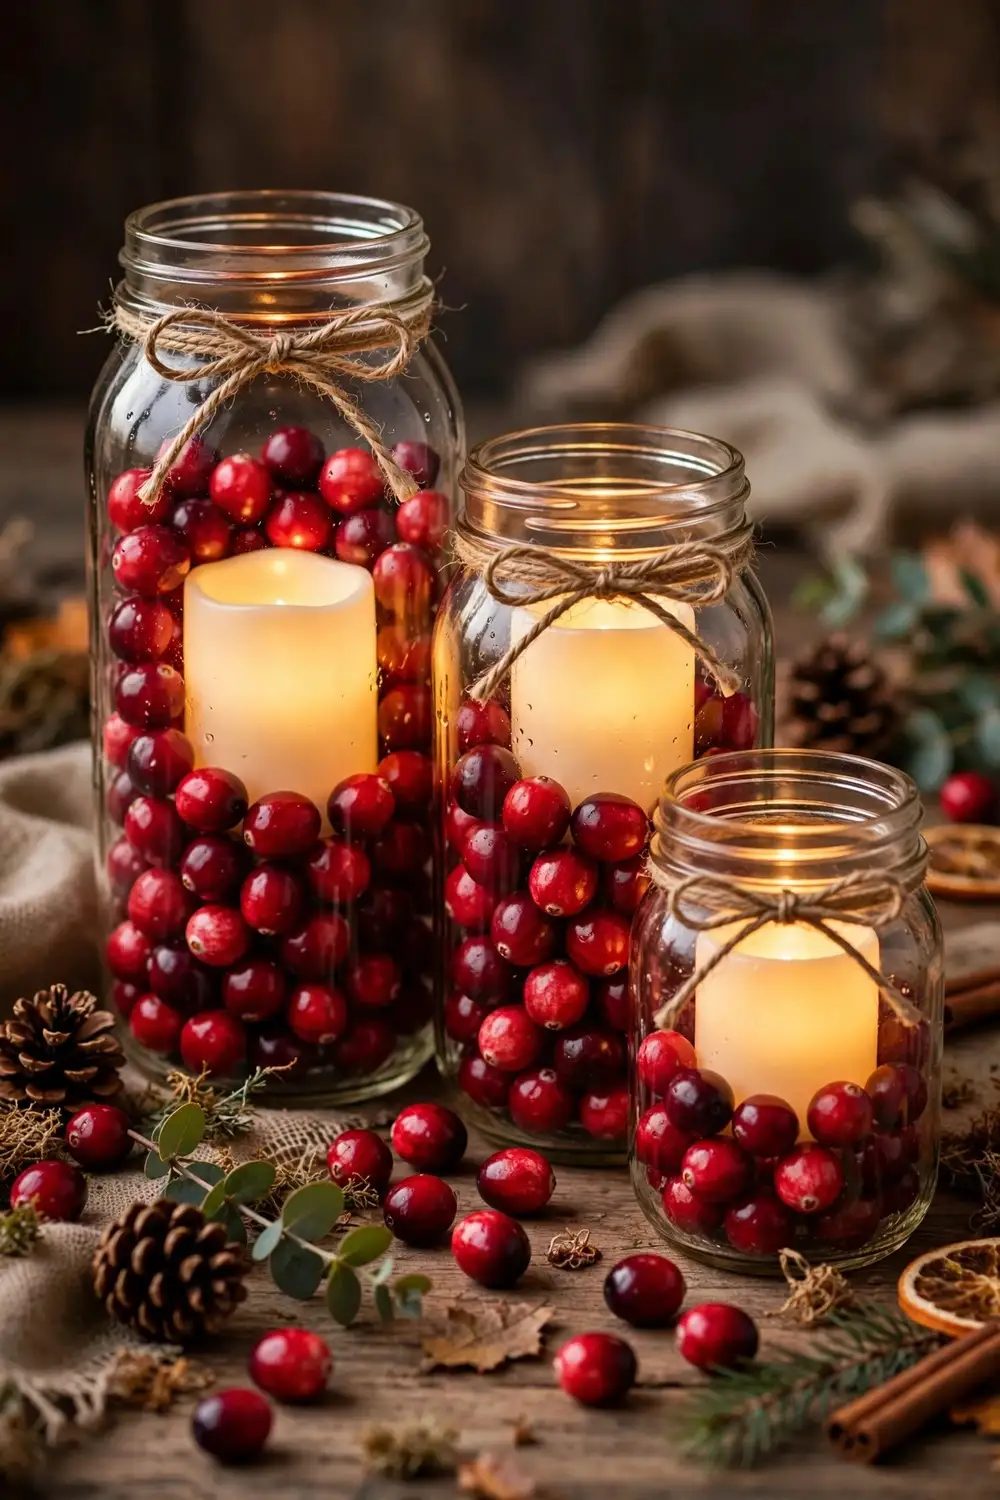
Nothing says Thanksgiving like candlelight, and these mason jar centerpieces take almost no effort.
You will need: 3 mason jars in varied heights, 1 bag of faux cranberries, 3 flameless tea lights, twine, small sprigs of greenery.
Fill each jar about one third full with faux cranberries. Nestle a flameless tea light into the berries so it sits steady. Add a sprig of greenery tucked against the glass for contrast.
Tie twine around each jar neck with a simple bow. Group the three jars in the center of your table at slightly different depths. The red berries against the candle glow create the coziest centerpiece imaginable.
Cost: about $6 | Time: 15 minutes
Pro tip: Use flameless candles, not real ones. The berries sit close to the flame area, and flameless gives you zero worry all evening.
5. Pinecone and Berry Wreath
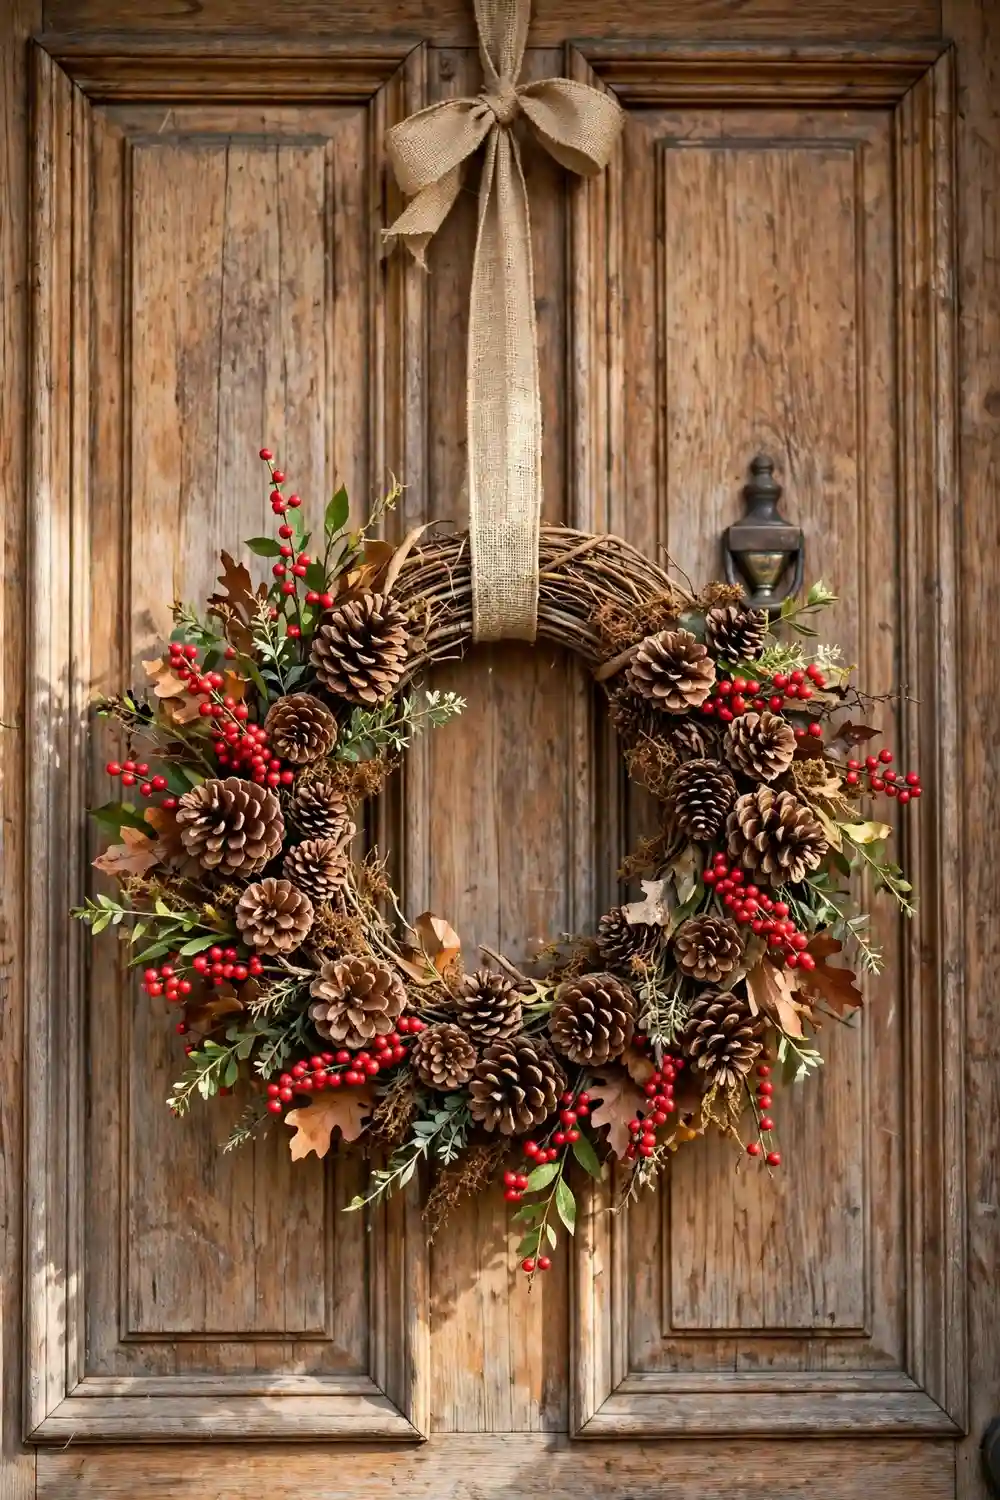
A full looking fall wreath for under ten dollars feels like a magic trick. Here is how it works.
You will need: 1 grapevine wreath form, 2 bags of faux pinecones, 1 pack of berry picks, hot glue gun.
Start by gluing the largest pinecones evenly around the wreath, spacing them like numbers on a clock. Fill the gaps with medium and small pinecones, turning each one to a slightly different angle for a natural look.
Cut the berry picks into short sprigs and tuck them between the pinecones with hot glue. The pops of red against the brown pinecones are what make this wreath sing. Hang it with a wide burlap ribbon.
Cost: about $9 | Time: 45 minutes
Pro tip: Work in sections and step back every few minutes. It is easy to overfill one area, and balance is everything in a wreath.
6. Mini Pumpkin Place Card Holders
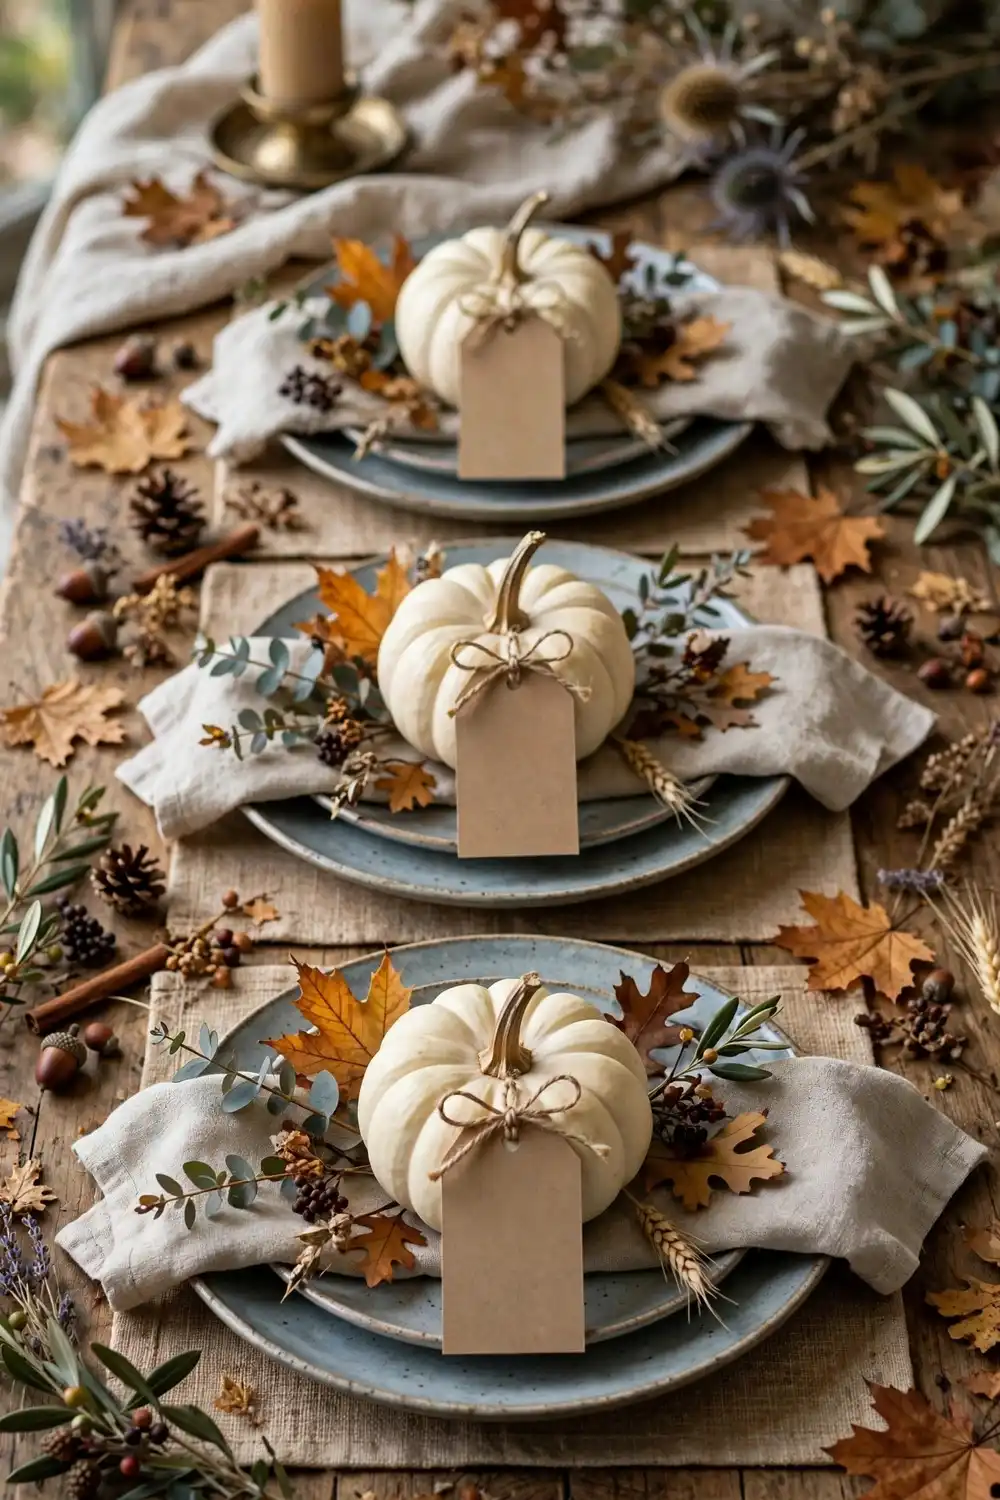
Personalized place cards make guests feel cherished, and these pumpkin holders are almost too cute.
You will need: 1 bag of mini foam pumpkins, kraft paper tags, fine tip marker, twine, small scissors.
Cut a small slit in the top of each mini pumpkin, just deep enough to hold a tag. Write each guest’s name on a kraft tag with the marker in your best handwriting. Thread twine through the tag hole and tie it in a bow.
Slip the tag into the pumpkin slit and set one at each place setting. Guests can take them home as favors, which means your decor doubles as a gift.
Cost: about $4 for 8 settings | Time: 20 minutes
Pro tip: Write names in a simple faux calligraphy. Thick downstrokes and thin upstrokes with a regular marker look impressively fancy.
7. Eucalyptus and Wheat Harvest Centerpiece
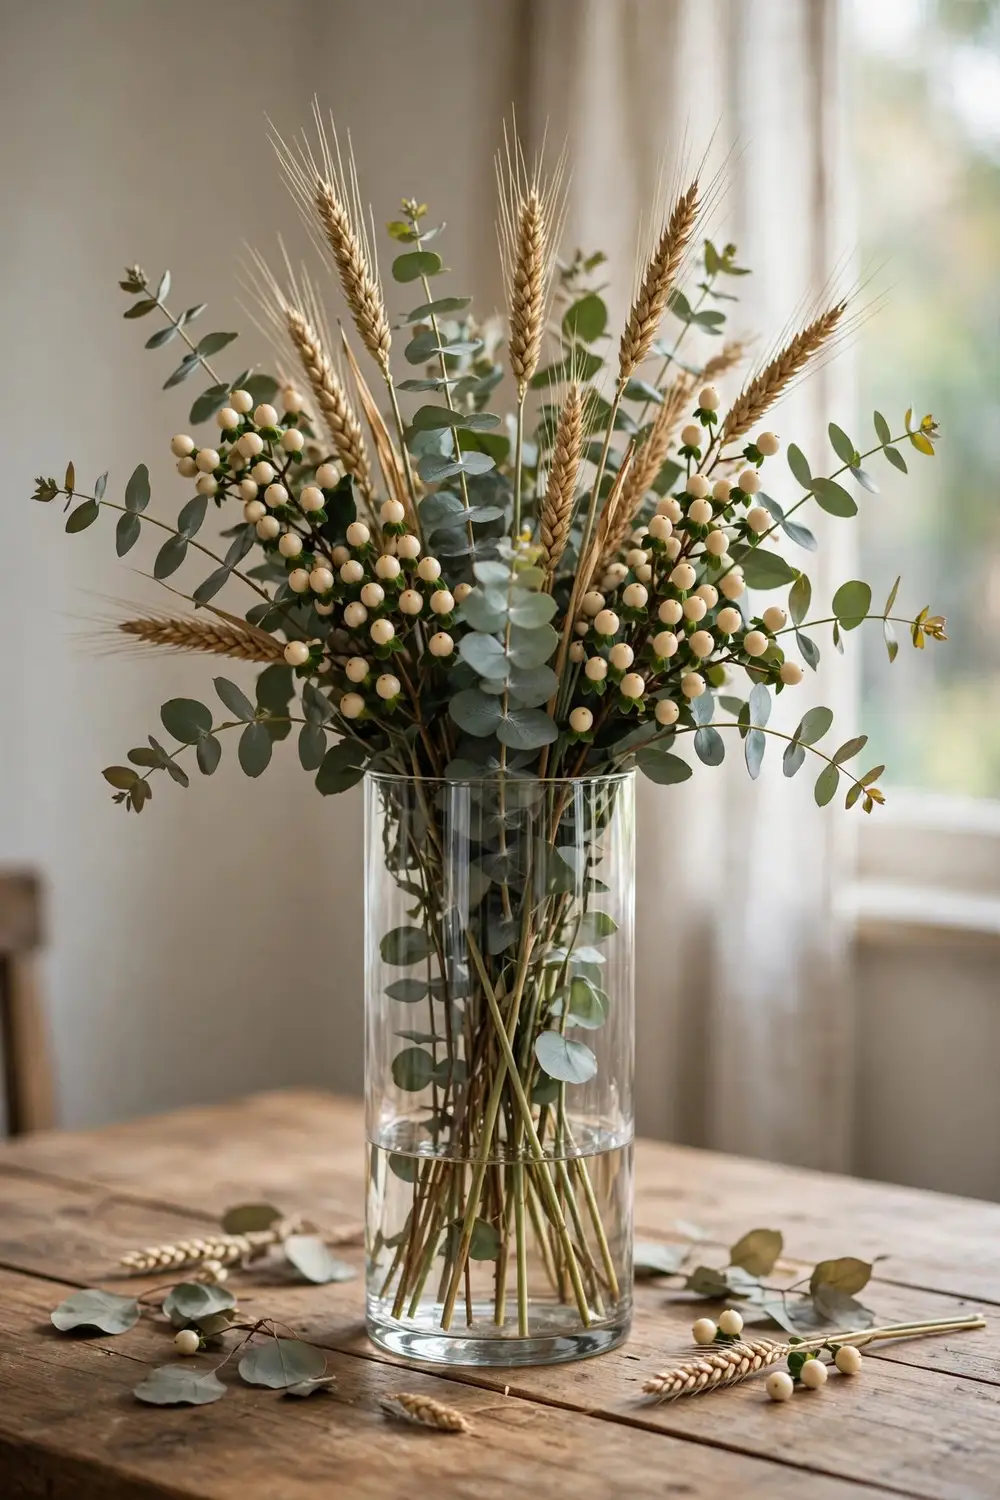
This centerpiece looks like it came from a floral studio. The secret is all in the vessel and the layering.
You will need: 1 tall glass cylinder vase, 3 packs of faux eucalyptus stems, 2 packs of wheat stems, 1 pack of cream berries.
Fill the vase one third with water beads or clear marbles to anchor the stems. Start with the eucalyptus, spreading stems outward at angles to create a full shape. Add wheat stems in the center for height.
Finish by tucking cream berry sprigs throughout. The berries catch the light and add the festive touch that says Thanksgiving rather than everyday. Place it on a wood slice or charger for extra presence.
Cost: about $10 | Time: 20 minutes
Pro tip: Odd numbers of each stem type look natural. Think 5 eucalyptus, 3 wheat, 3 berry sprigs rather than even pairs.
8. Give Thanks Chalkboard Sign
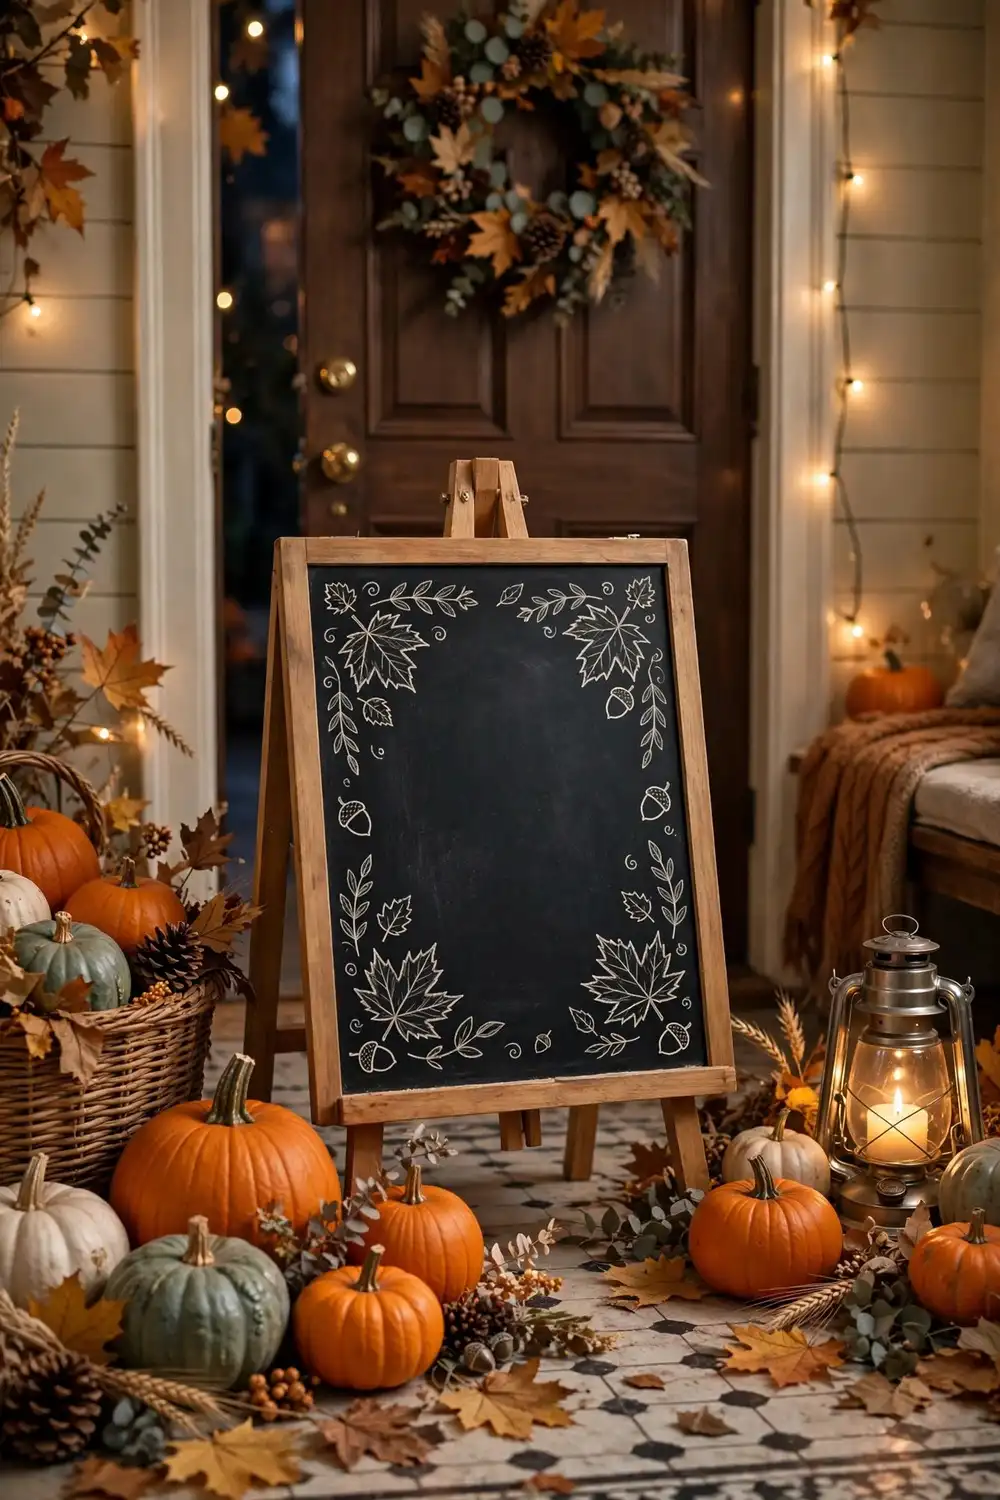
A welcoming sign sets the tone the moment guests arrive. This chalkboard version looks hand lettered by a professional.
You will need: 1 small chalkboard easel sign, chalk markers in white and gold, fall leaf stickers or stencils.
Plan your layout lightly in pencil first. Write GIVE THANKS large in the center with the white marker, then add smaller flourishes like a border of dots or leaves with the gold marker. Fill any empty corners with small leaf doodles.
Chalk markers give you crisp lines that regular chalk cannot match, and they wipe off with a damp cloth if you make a mistake. Prop the finished sign in your entryway or on the buffet table.
Cost: about $4 | Time: 25 minutes
Pro tip: Take a photo of your layout before committing with marker. Seeing it on screen reveals spacing issues your eyes miss.
9. Acorn Filled Hurricane Vases
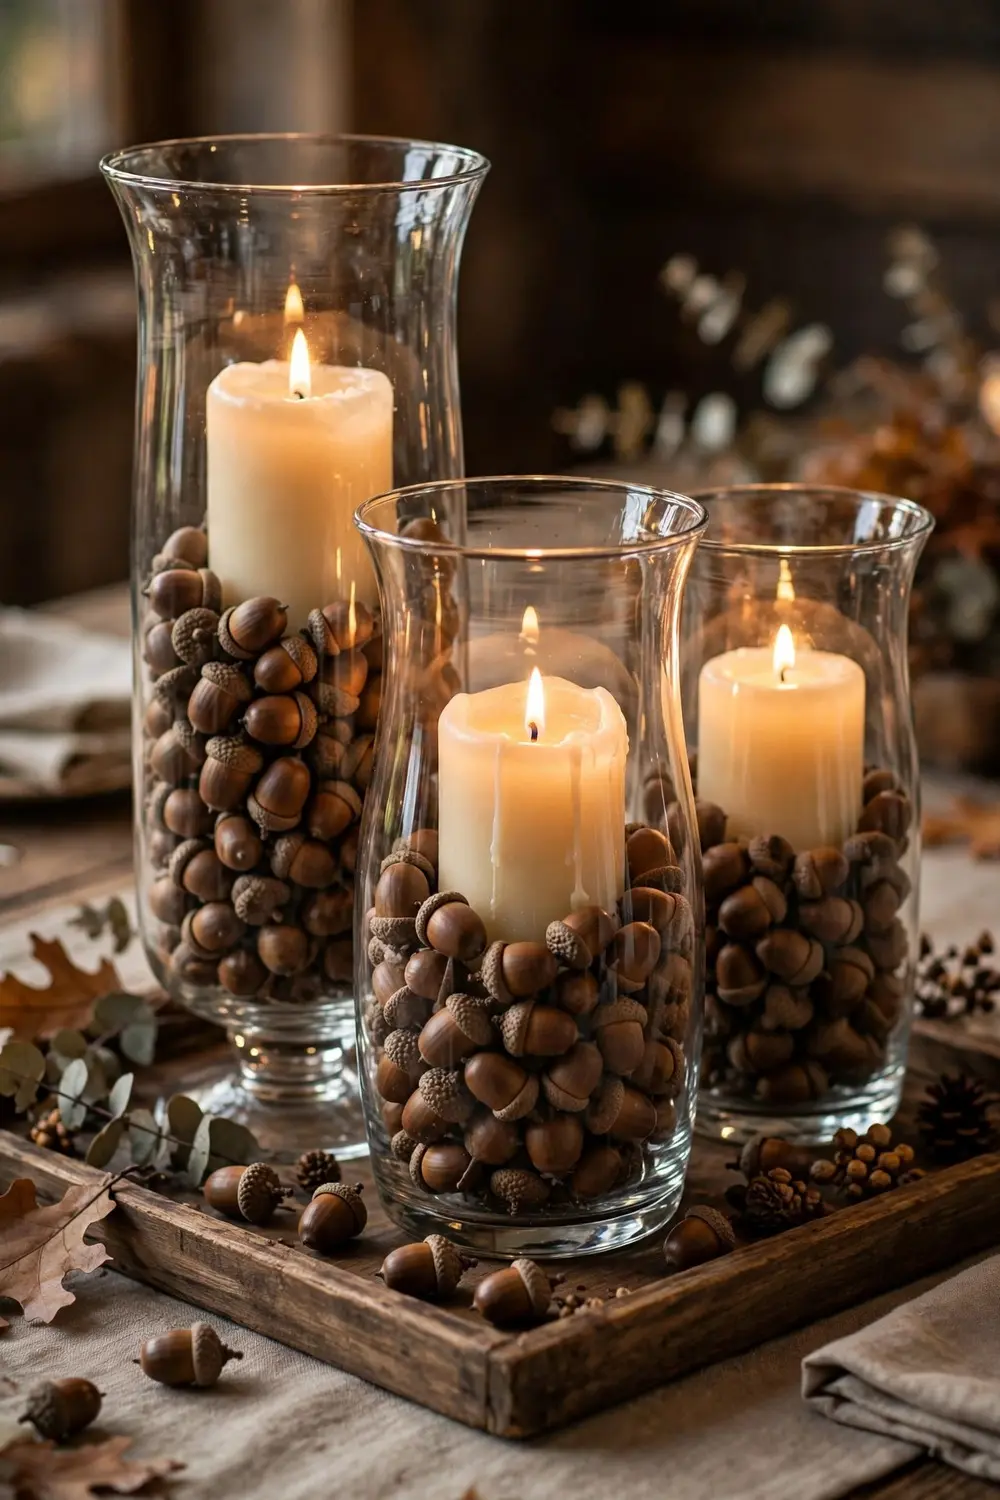
Sometimes the simplest projects have the biggest impact. These hurricane vases prove it.
You will need: 2 to 3 glass hurricane vases in varied heights, 2 bags of faux acorns, pillar candles to fit.
Fill each hurricane about halfway with faux acorns. The texture and warm brown tones are gorgeous on their own. Set a cream or white pillar candle into the acorns so it stands steady.
Group the hurricanes together on a tray or runner down the table center. The varying heights create rhythm, and the candlelight flickering through the glass is pure Thanksgiving warmth.
Cost: about $8 | Time: 10 minutes
Pro tip: Add a handful of dried orange slices or cinnamon sticks among the acorns. The scent and color take it to another level.
10. Corn Husk Door Swag
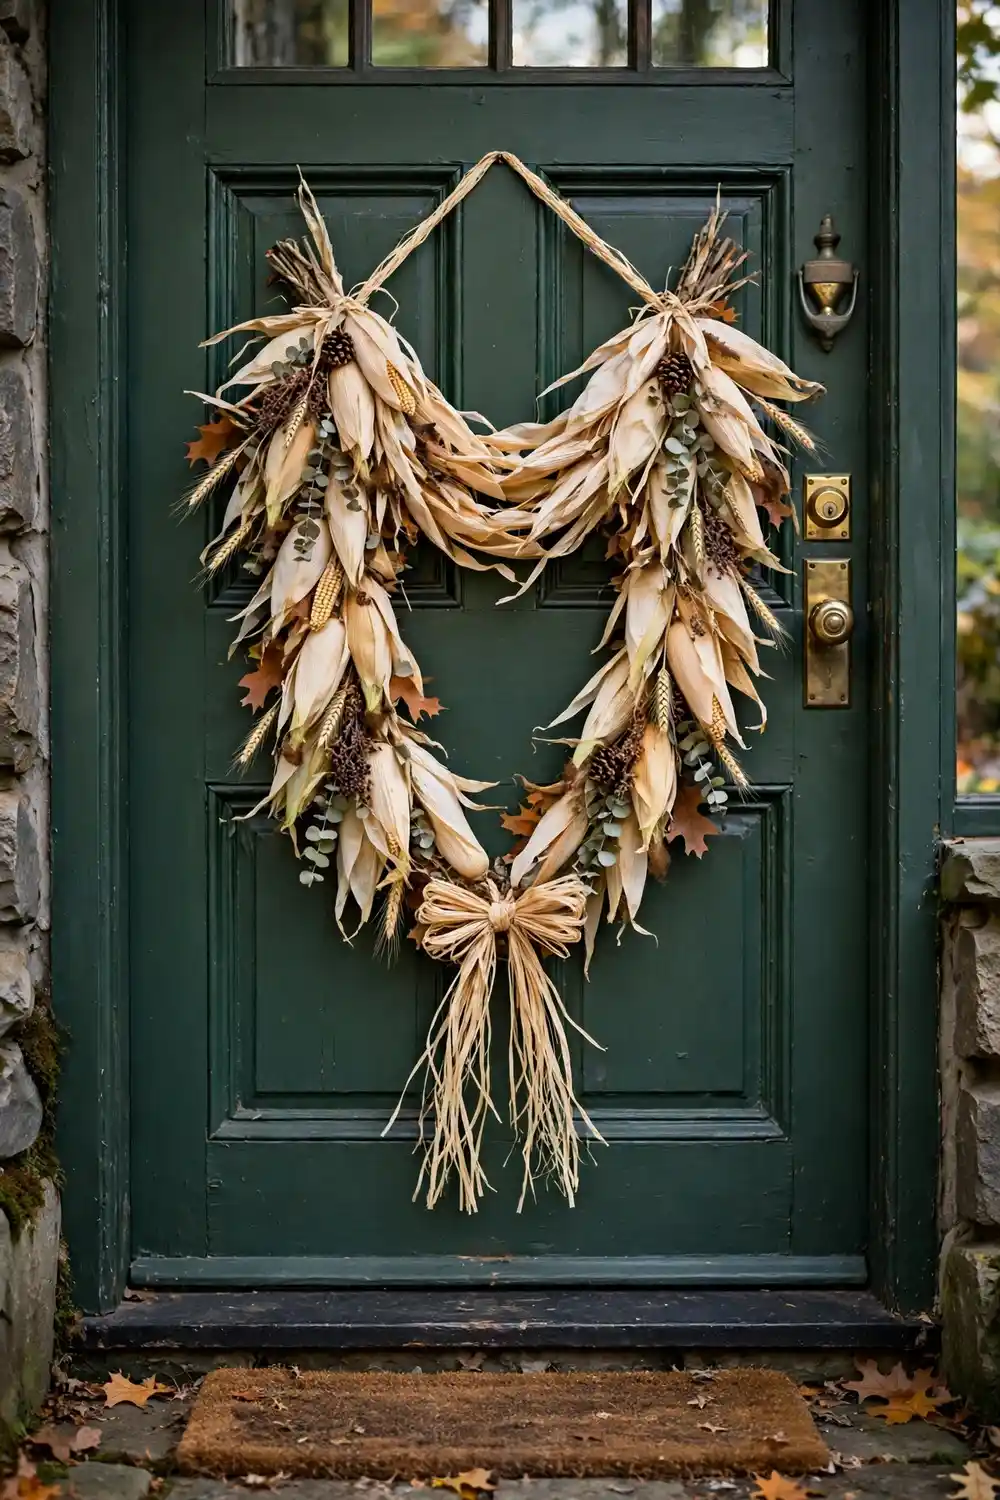
Skip the traditional wreath and hang a corn husk swag instead. It is unexpected, textural, and very Thanksgiving.
You will need: 2 packs of faux corn husk picks, 1 small grapevine swag base or wire form, raffia ribbon, hot glue.
Fan the corn husk picks outward from the center of your base, alternating directions for fullness. The natural tan color needs no enhancement, so resist adding too much. A simple raffia bow at the top is the perfect finish.
The beauty of this project is its restraint. Where other fall decor shouts, the corn husk swag whispers. It looks especially good on a dark colored door where the pale husks pop.
Cost: about $6 | Time: 20 minutes
Pro tip: Mist the finished swag very lightly with water and let it dry. This relaxes any stiff packaging creases in the husks.
11. Tiered Tray Fall Vignette
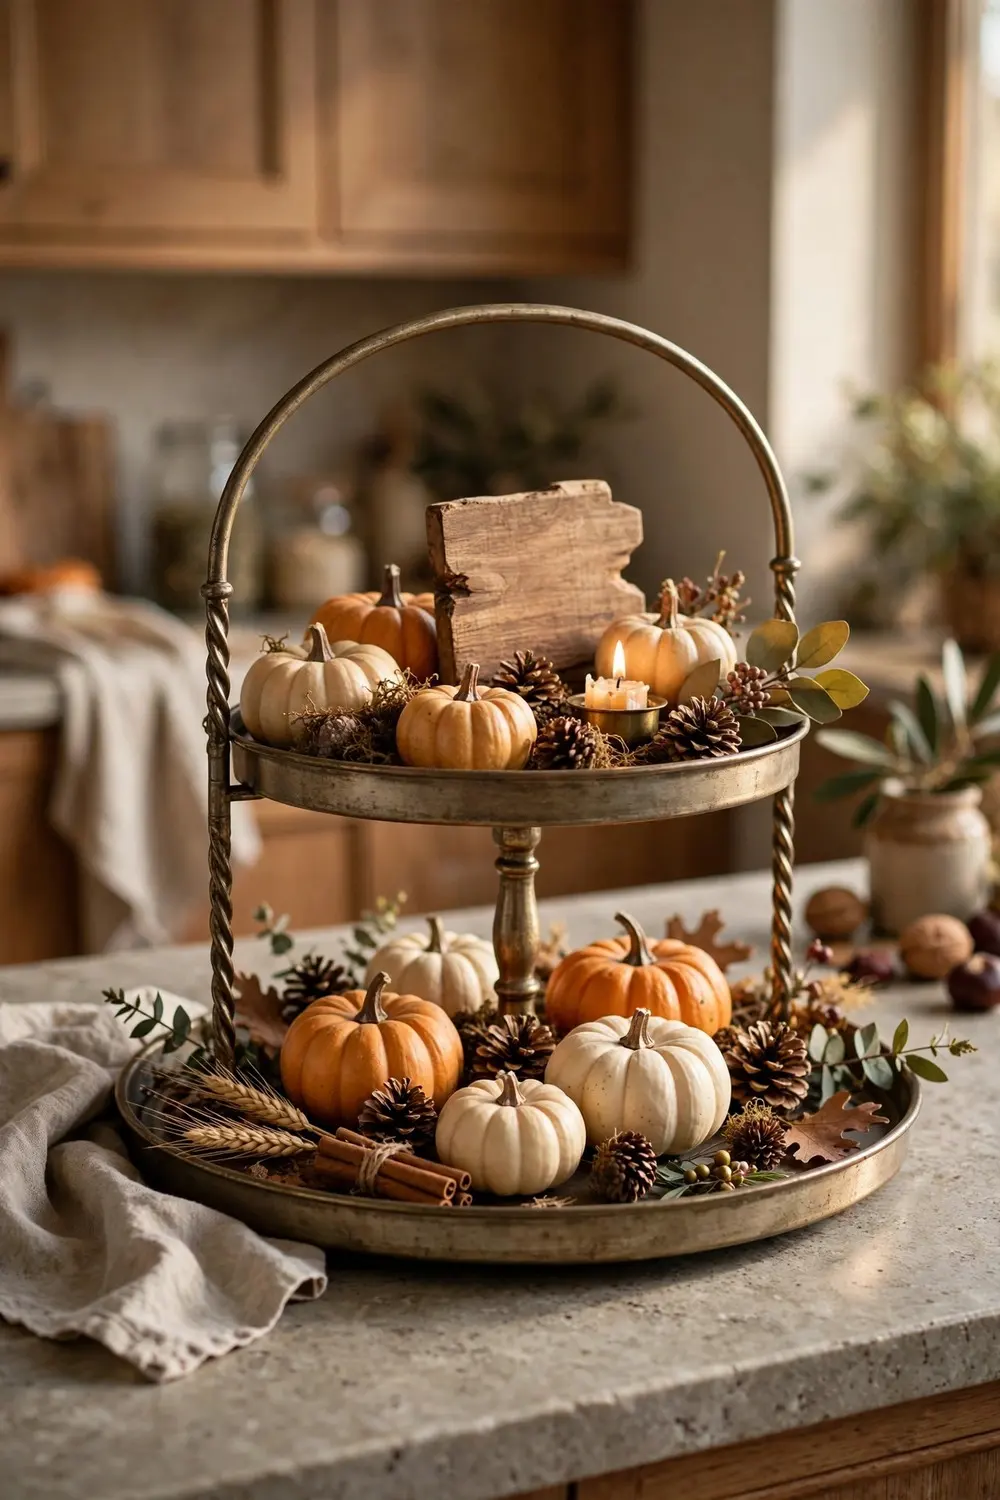
Tiered trays are the darling of seasonal decorating, and the dollar store has everything you need to style one.
You will need: 1 two tiered metal tray, mini pumpkins, small wooden signs, faux leaves, mini candles, small pinecones.
Start with the largest items on the bottom tier and work up. Place a small wooden sign with a fall word as your anchor piece. Surround it with mini pumpkins and pinecones, tucking leaves into gaps.
The top tier gets the delicate items. A tiny candle, one perfect mini pumpkin, and a sprig of berries. Step back and check the balance. Each tier should feel full but not crowded, like a little still life.
Cost: about $9 | Time: 20 minutes
Pro tip: Stick to three colors across the whole tray. Orange, cream, and brown is classic. A limited palette is what makes it look curated.
12. Twine Wrapped Napkin Rings
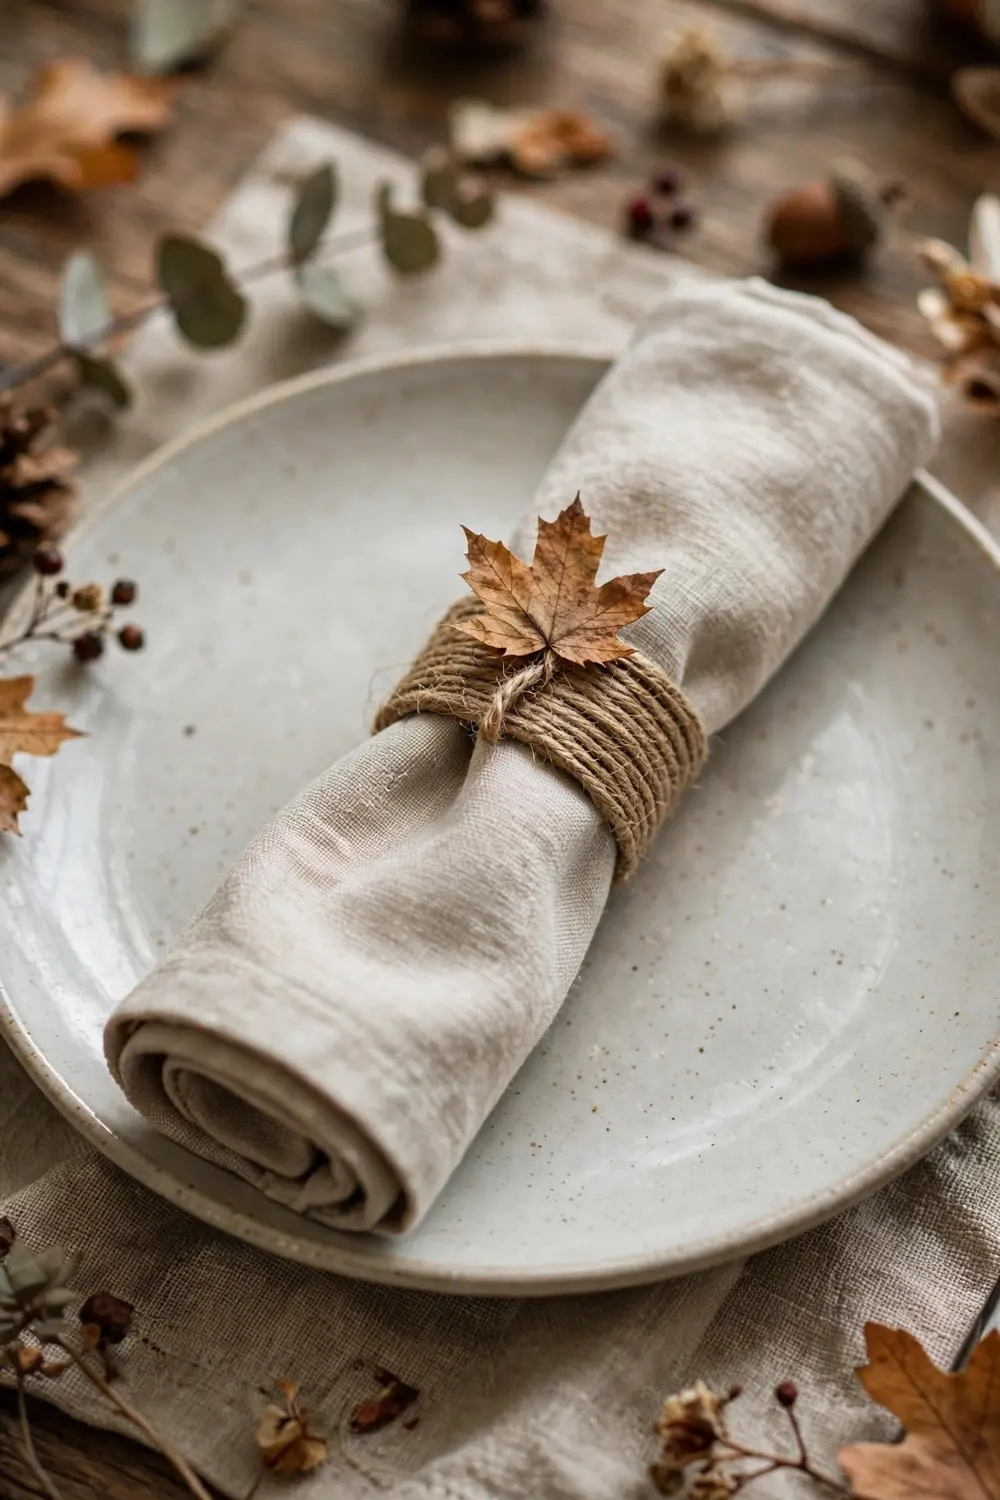
These napkin rings elevate your entire table setting for pennies per guest.
You will need: 1 pack of plastic shower curtain rings, jute twine, small faux leaf sprigs, hot glue gun.
Wrap each shower curtain ring tightly with twine, overlapping slightly so no plastic shows. Secure the end with a dab of hot glue on the inside of the ring where it will not be seen.
Glue a small leaf sprig to the front of each ring. Roll your napkins, slip them through, and set them on the plates. The natural texture against your dinnerware looks rustic and refined at the same time.
Cost: about $3 for 8 rings | Time: 30 minutes
Pro tip: Wrap all rings first in an assembly line, then do all the gluing. Batching the steps makes the project go twice as fast.
How to Make Dollar Store Decor Look Expensive
There are a few universal tricks that elevate every project on this list. First, stick to a tight color palette across all your decor. Three colors maximum. When everything coordinates, the whole house looks designed.
Second, mix textures generously. Pair smooth glass with rough burlap. Pair shiny berries with matte pumpkins. Contrast in texture reads as luxury even when the materials are humble.
Third, edit ruthlessly. One well styled vignette beats three crowded ones. Give your projects breathing room on tables and mantels. Empty space is what makes decor look expensive.
Finally, hide the evidence. Remove price tags completely, not just the sticker part. Touch up any visible glue with matching paint. These tiny finishing steps are the difference between dollar store and designer.
5 Mistakes to Avoid With Dollar Tree Thanksgiving Decor
1. Buying everything in one trip without a plan. Walk in with your project list. Impulse buying leads to a cart of cute items that do not coordinate.
2. Using too many colors. The dollar store rainbow is tempting. Pick your three color palette before you shop and do not stray from it.
3. Skipping the finishing details. Visible hot glue strings, crooked stencils, and price tag residue are what make DIY look cheap. Slow down on the last ten percent.
4. Overcrowding surfaces. Thanksgiving is about abundance, but decor still needs breathing room. If you cannot see table surface between pieces, remove something.
5. Waiting until the week of Thanksgiving to shop. The best fall inventory sells out early. Shop in October when selection is full and you have time to craft without rushing.
Final Take
Thanksgiving decor does not require a big budget. It requires a little creativity and a Saturday afternoon. These 12 Dollar Tree DIYs prove that the warmest, most welcoming holiday home is built by hand, not bought at full price.
Pick your favorites, make a shopping list, and enjoy the process. There is something deeply satisfying about guests admiring your table and hearing that it all came from the dollar store. Pin this guide now so your list is ready when October arrives.
