
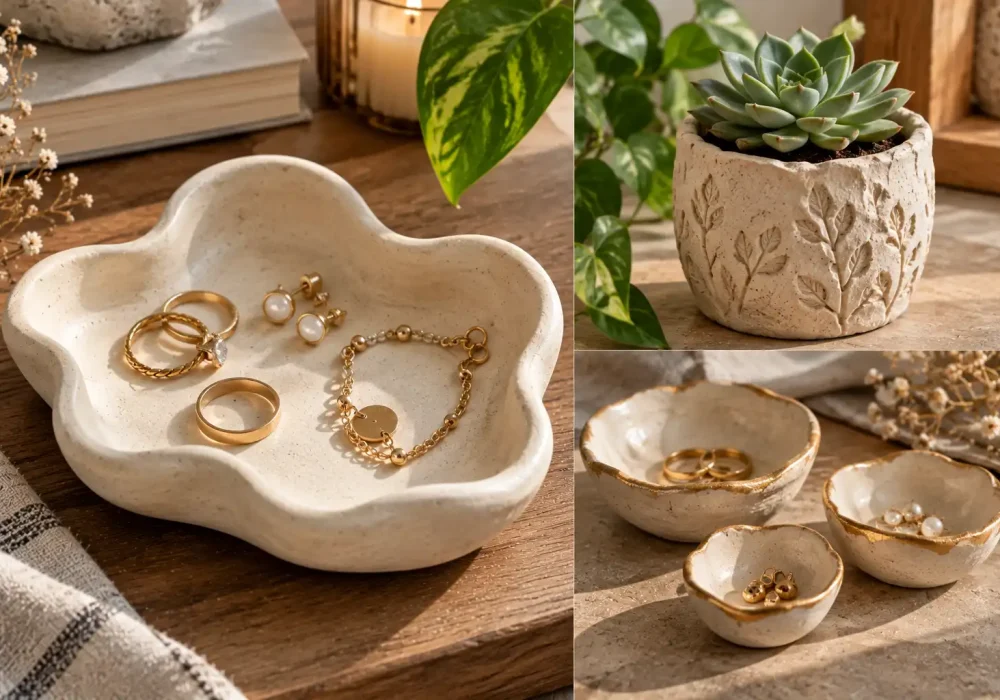
Air dry clay has become one of the most approachable materials for home crafting, largely because it requires no kiln, no special equipment, and genuinely forgives beginner mistakes better than most other sculpting mediums. A few simple tools and a bit of patience while pieces dry are really all it takes to create something that looks intentional enough to display.
Below are 10 fresh air-dry clay projects ideas, each with the specific materials needed and simple steps for making them at home.
10 Air-Dry Clay Projects Worth Trying
Every project below uses the same basic air dry clay, shaped and finished differently to create genuinely distinct final results.
Also Read: 11 Powder Room Ideas That Make a Small Space Feel Intentional
1. Organic-Shaped Trinket Dishes
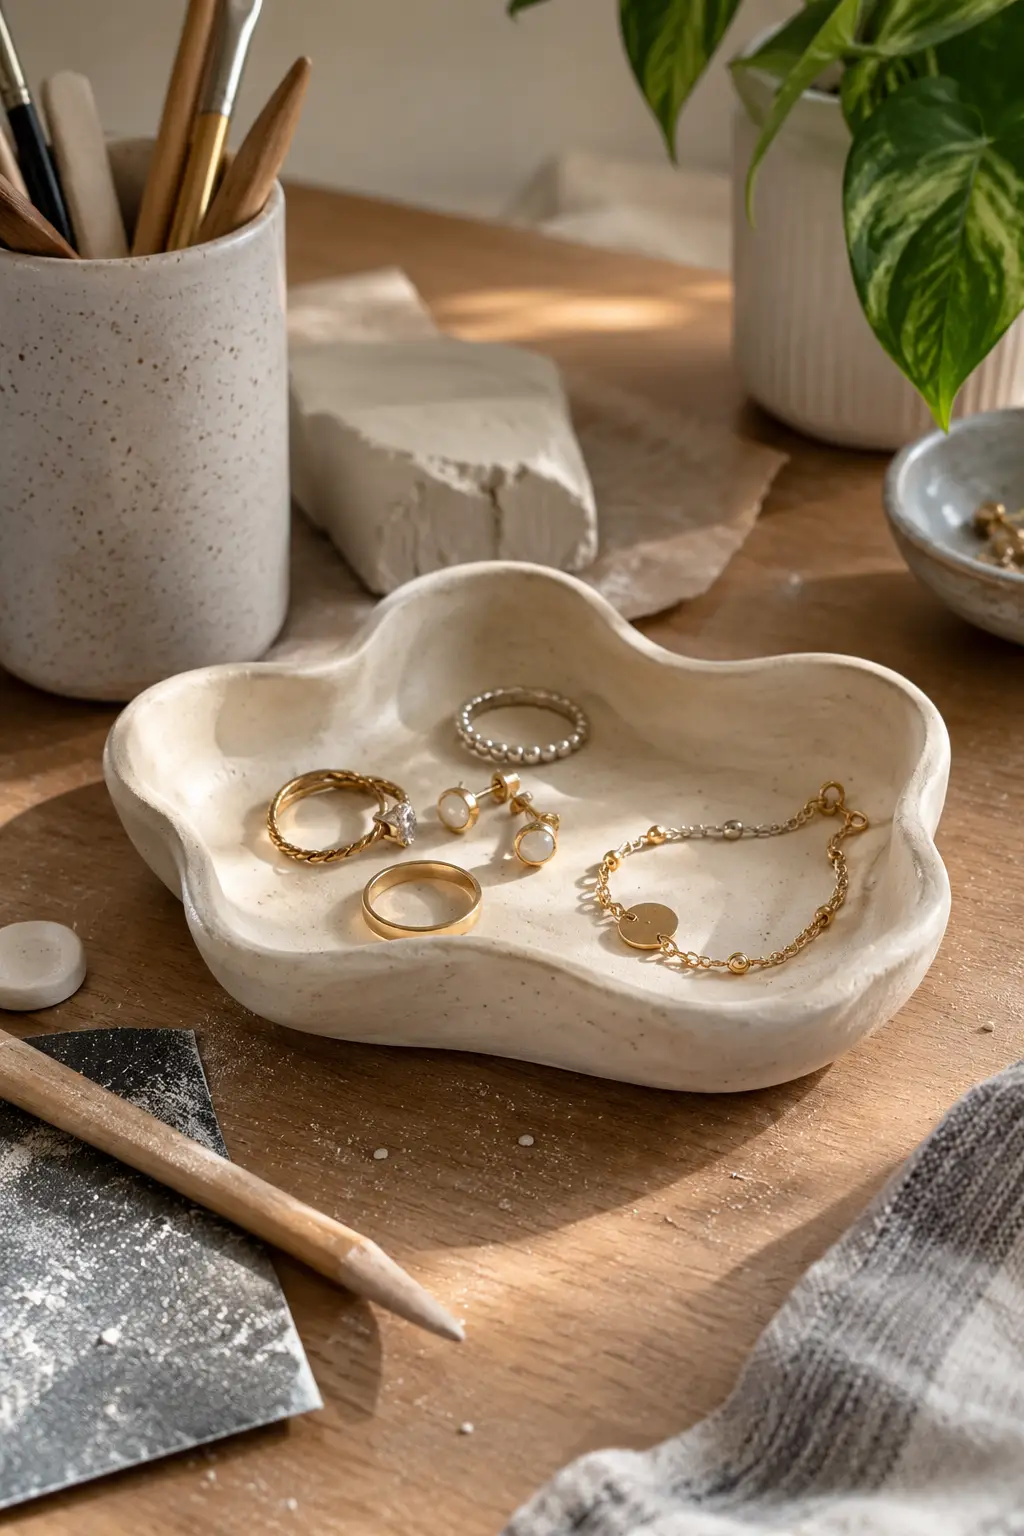
Free-form, irregular edges give these small dishes a genuinely organic, handmade quality, making them perfect for holding rings and other small jewelry pieces on a nightstand or vanity.
- Air dry clay
- A rolling pin for flattening the clay
- A small bowl or mold to shape the dish’s curve
- Sandpaper for smoothing rough edges once dry
How to Make It: Roll the clay out to an even thickness, drape it gently over an upturned small bowl to create a shallow curve, tear or shape the edges into an irregular, organic outline, and let it dry fully before lightly sanding any rough spots.
2. Textured Pinch Pot Planters
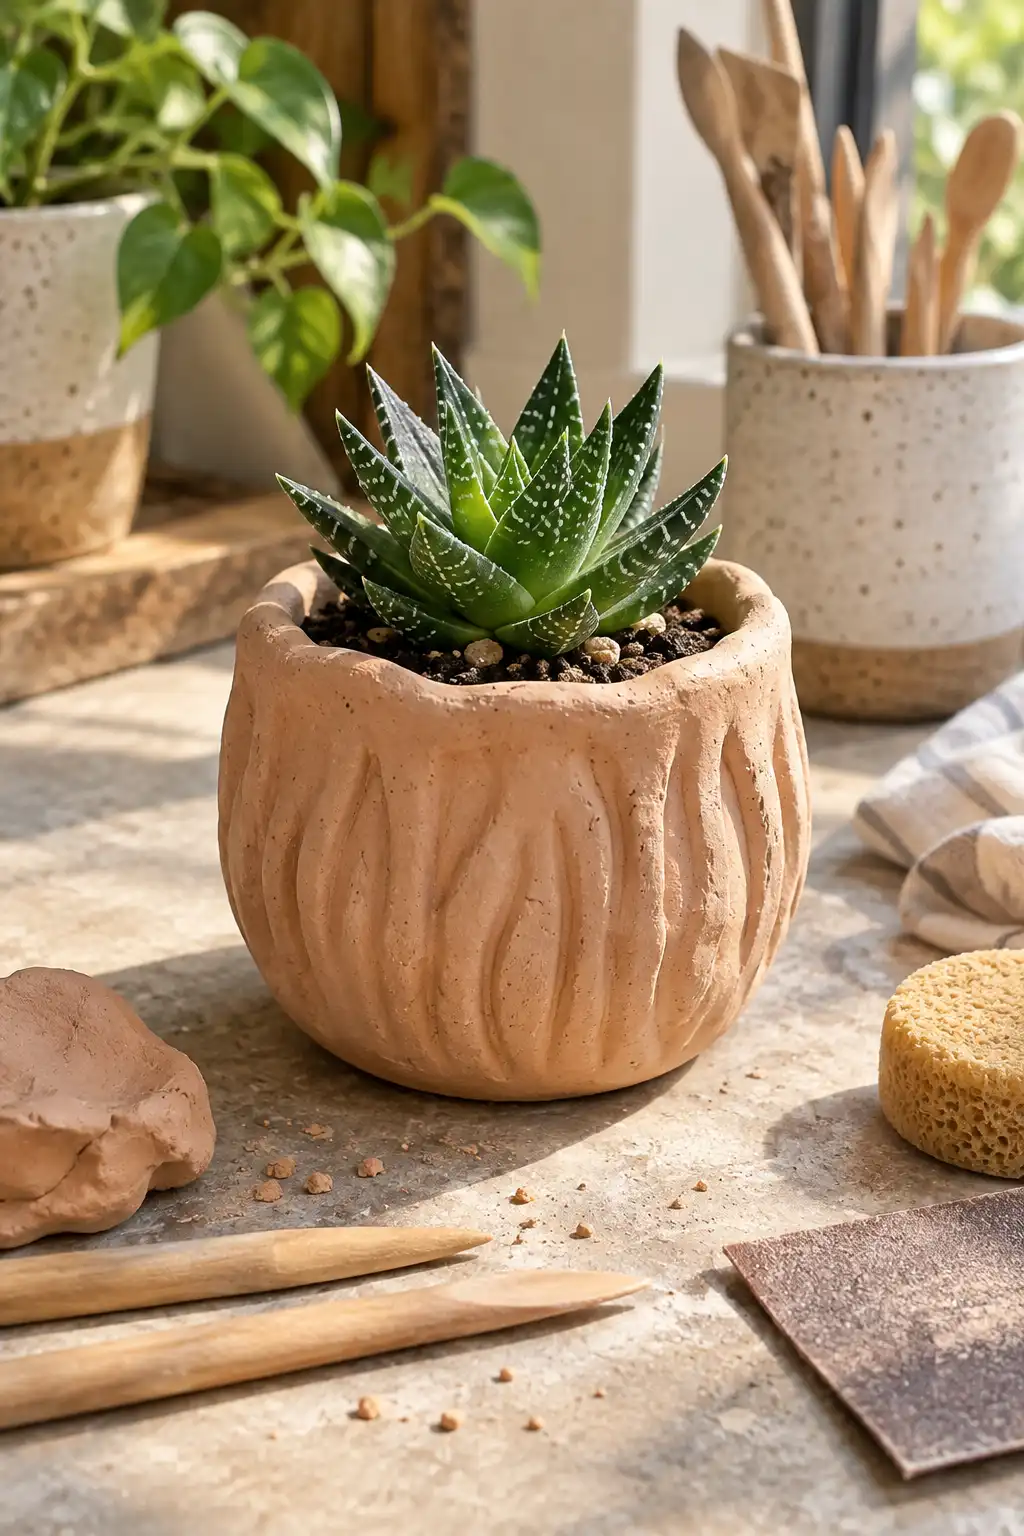
Small pinch pots with hand-pressed texture make genuinely charming holders for succulents or small cacti, adding tactile interest beyond a plain, smooth planter.
- Air dry clay
- A small tool or your fingers for pinching and shaping
- A texture tool, like a fork or textured fabric, for surface pattern
- A small drill bit for adding a drainage hole once dry
How to Make It: Form a ball of clay and use your thumbs to pinch and hollow out the center into a small pot shape, press a textured object into the exterior surface for pattern, and once fully dry, drill a small drainage hole in the base if using it for a real plant.
3. Abstract Face Sculptures
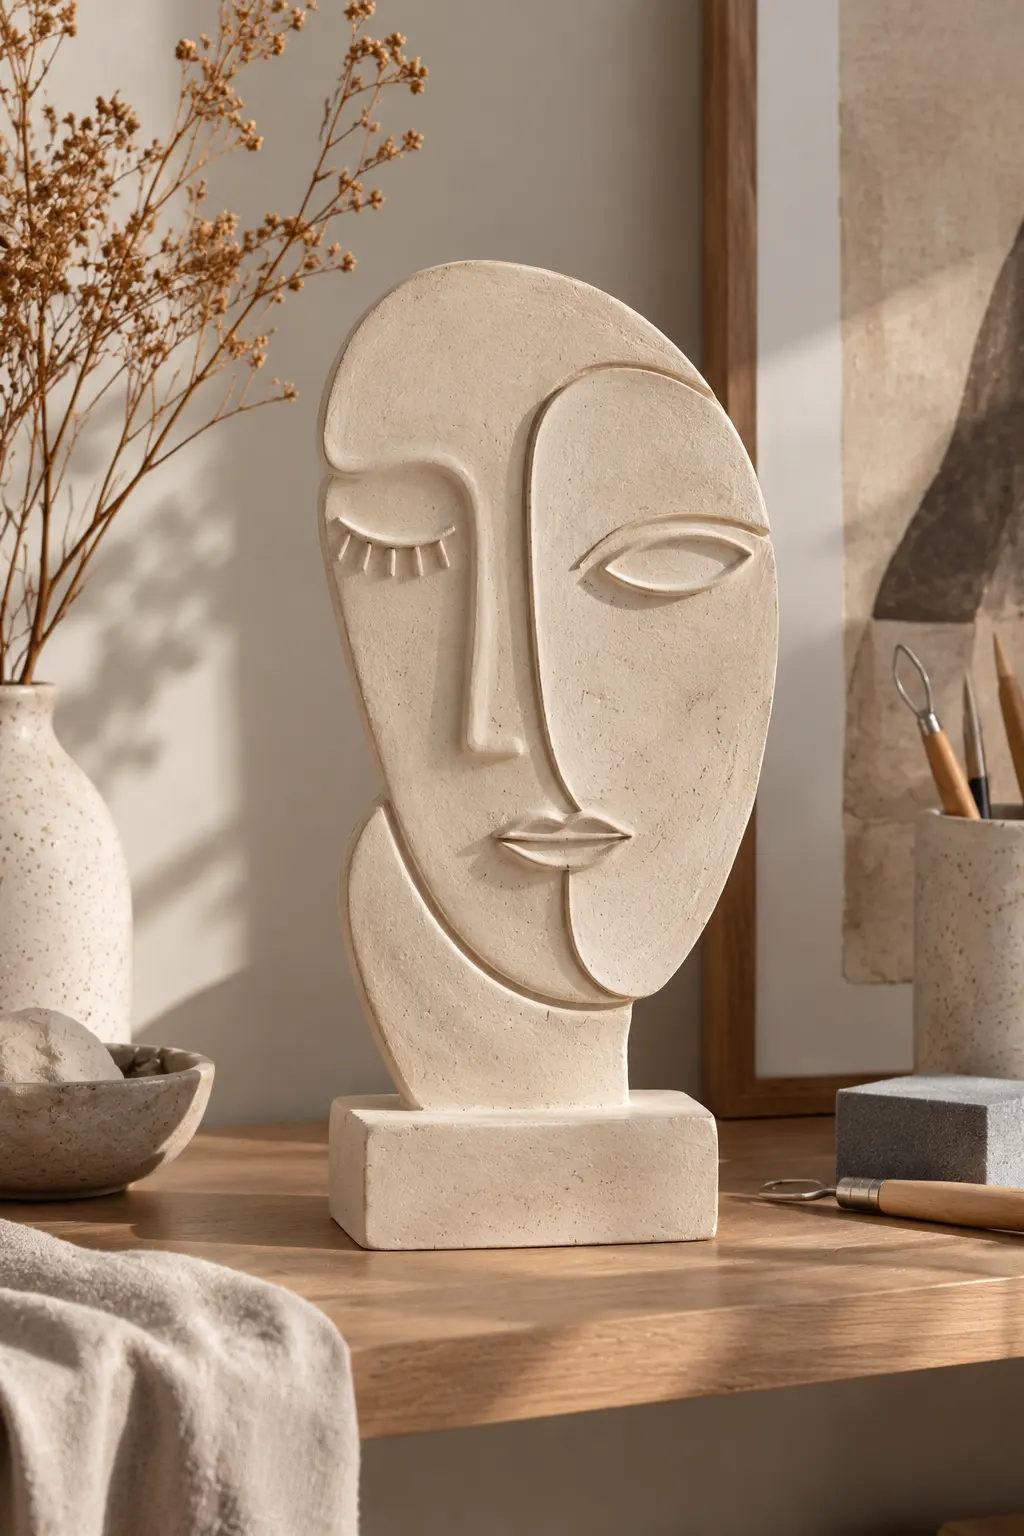
Minimalist, line-art style faces sculpted from clay create genuinely modern wall or shelf decor, referencing a popular illustration style in three-dimensional form.
- Air dry clay
- A sculpting tool for fine detail work
- A reference sketch of the desired face outline
How to Make It: Flatten a section of clay into your desired base shape, then use a sculpting tool to carve or build up simple, minimal line features for the eyes, nose, and mouth, keeping the design intentionally sparse rather than detailed.
4. Clay Bud Vases
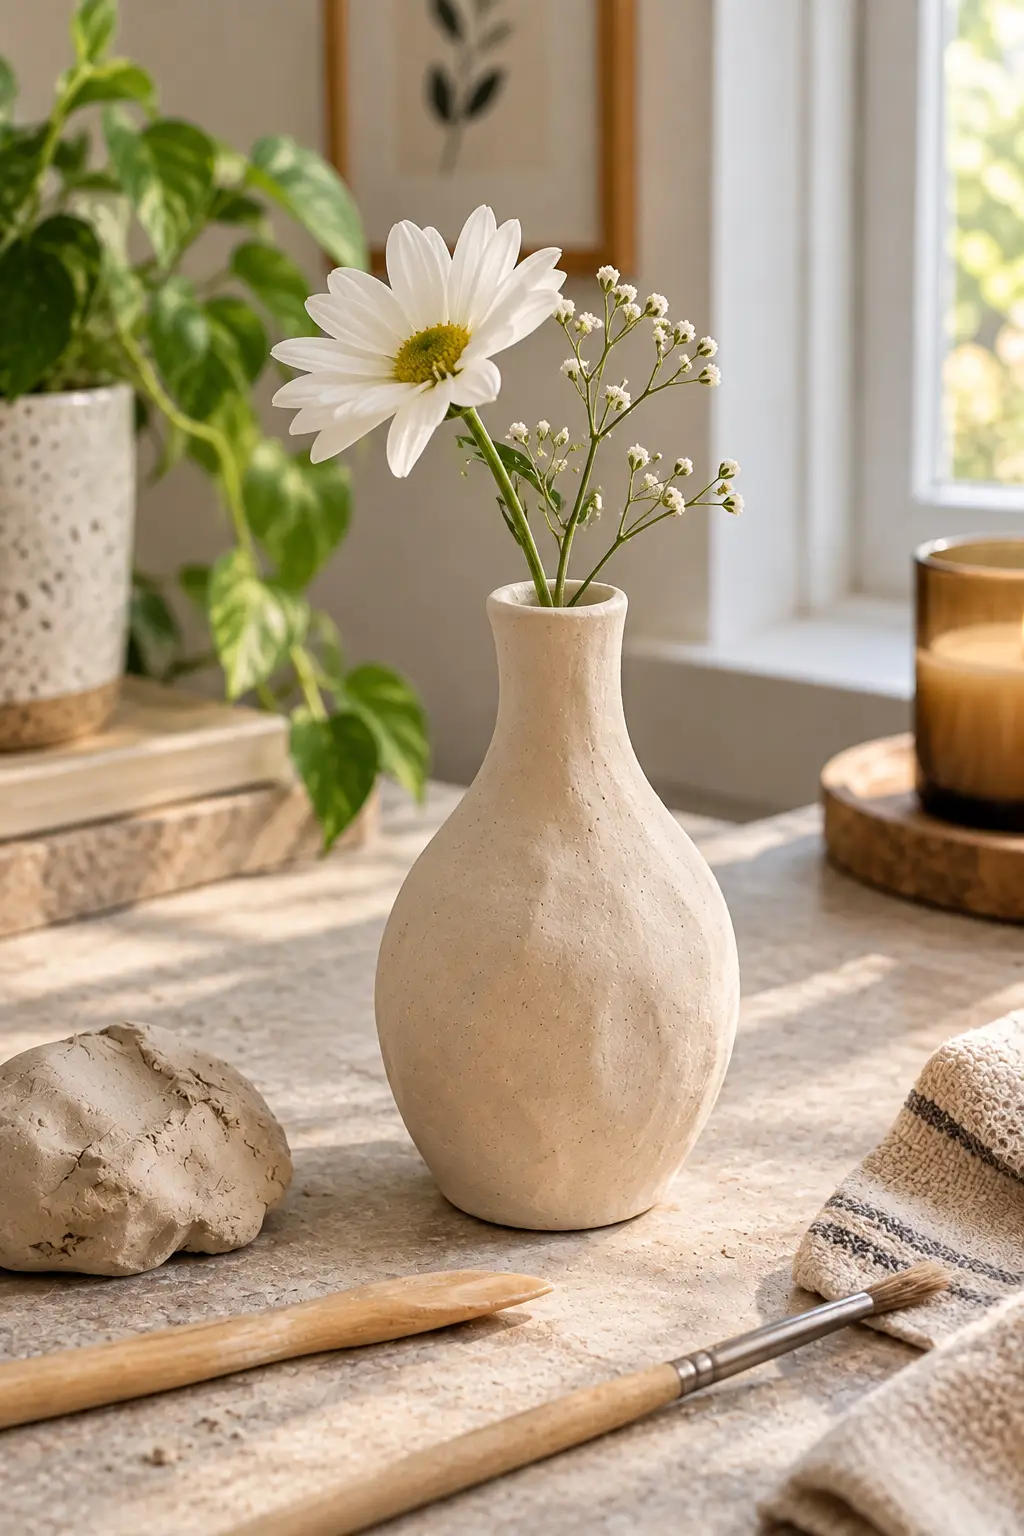
Slim, tall clay vases designed for single-stem flowers bring a genuinely handmade touch to simple floral displays, working well individually or grouped together.
- Air dry clay
- A cylindrical object, like a marker or dowel, to shape around
- A sealant, if the vase will hold water directly
How to Make It: Wrap a coil or slab of clay around a cylindrical object to form the vase’s tall, narrow shape, smooth the seams by hand, remove the mold once the clay has firmed up slightly, and let it dry fully before sealing if it will hold actual water.
5. Boho Wall Hangings
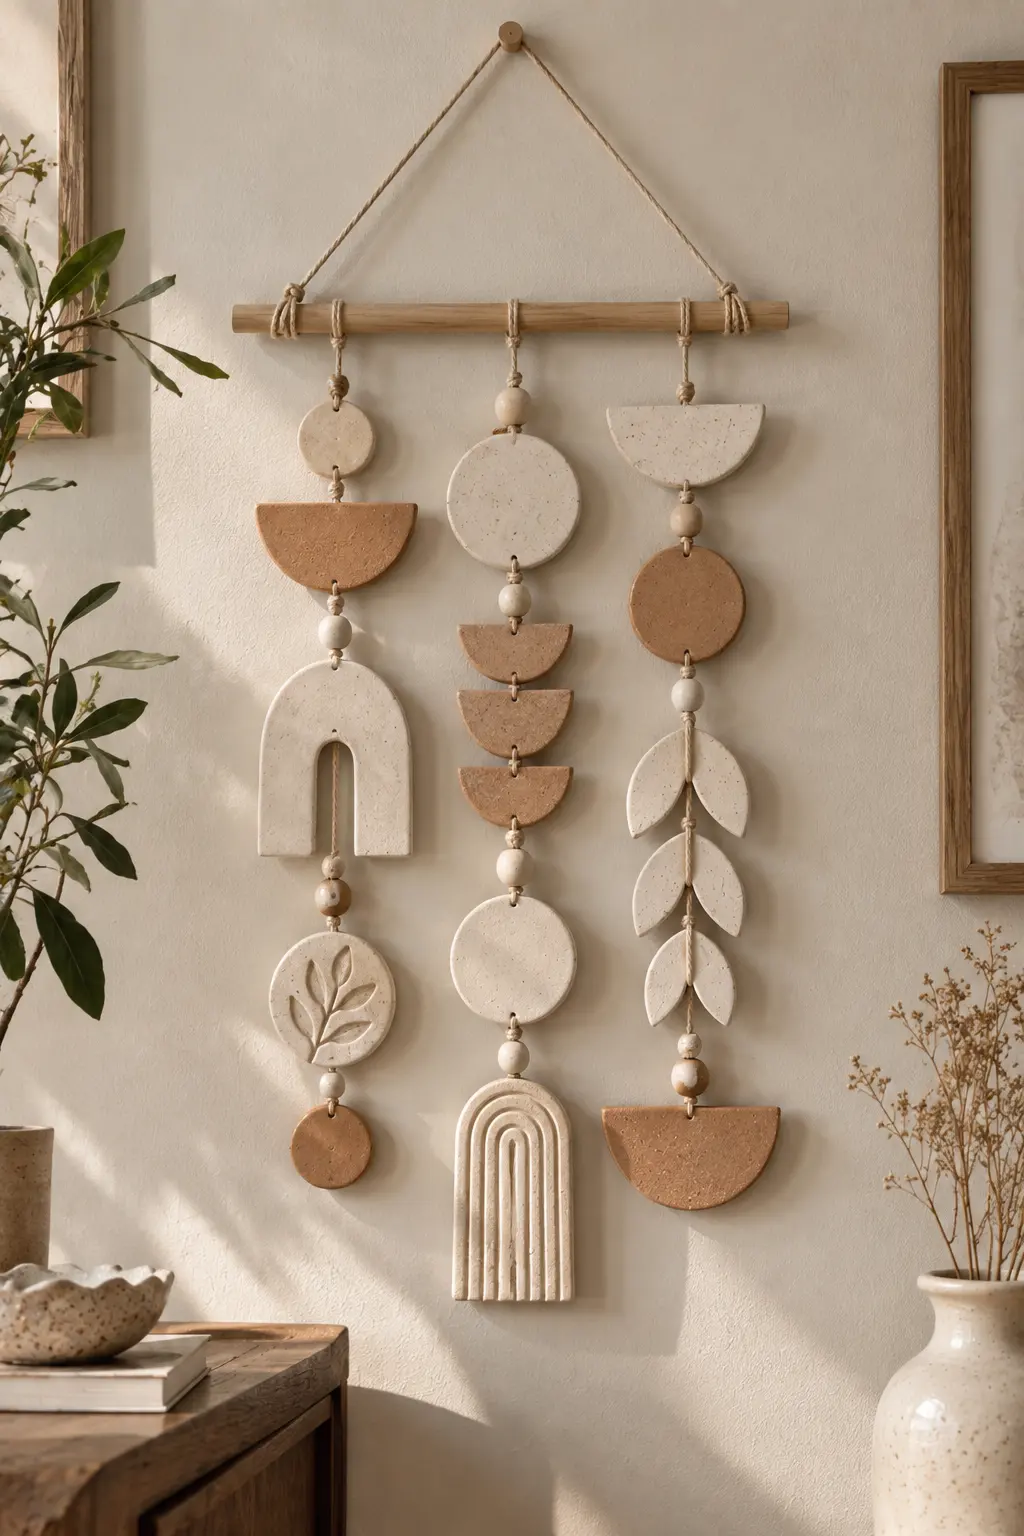
Flat clay shapes strung together on cord create a genuinely boho-inspired wall hanging, combining simple geometric or organic forms into one cohesive piece.
- Air dry clay
- A rolling pin and simple cutting tools
- A skewer or straw for creating stringing holes
- Cord or twine for assembly
How to Make It: Roll out the clay and cut several flat shapes in varying sizes, use a skewer to poke stringing holes near the top of each piece before the clay dries, then thread the dried shapes onto cord once fully hardened, spacing them out along the length.
6. Nameplate or Initial Tags
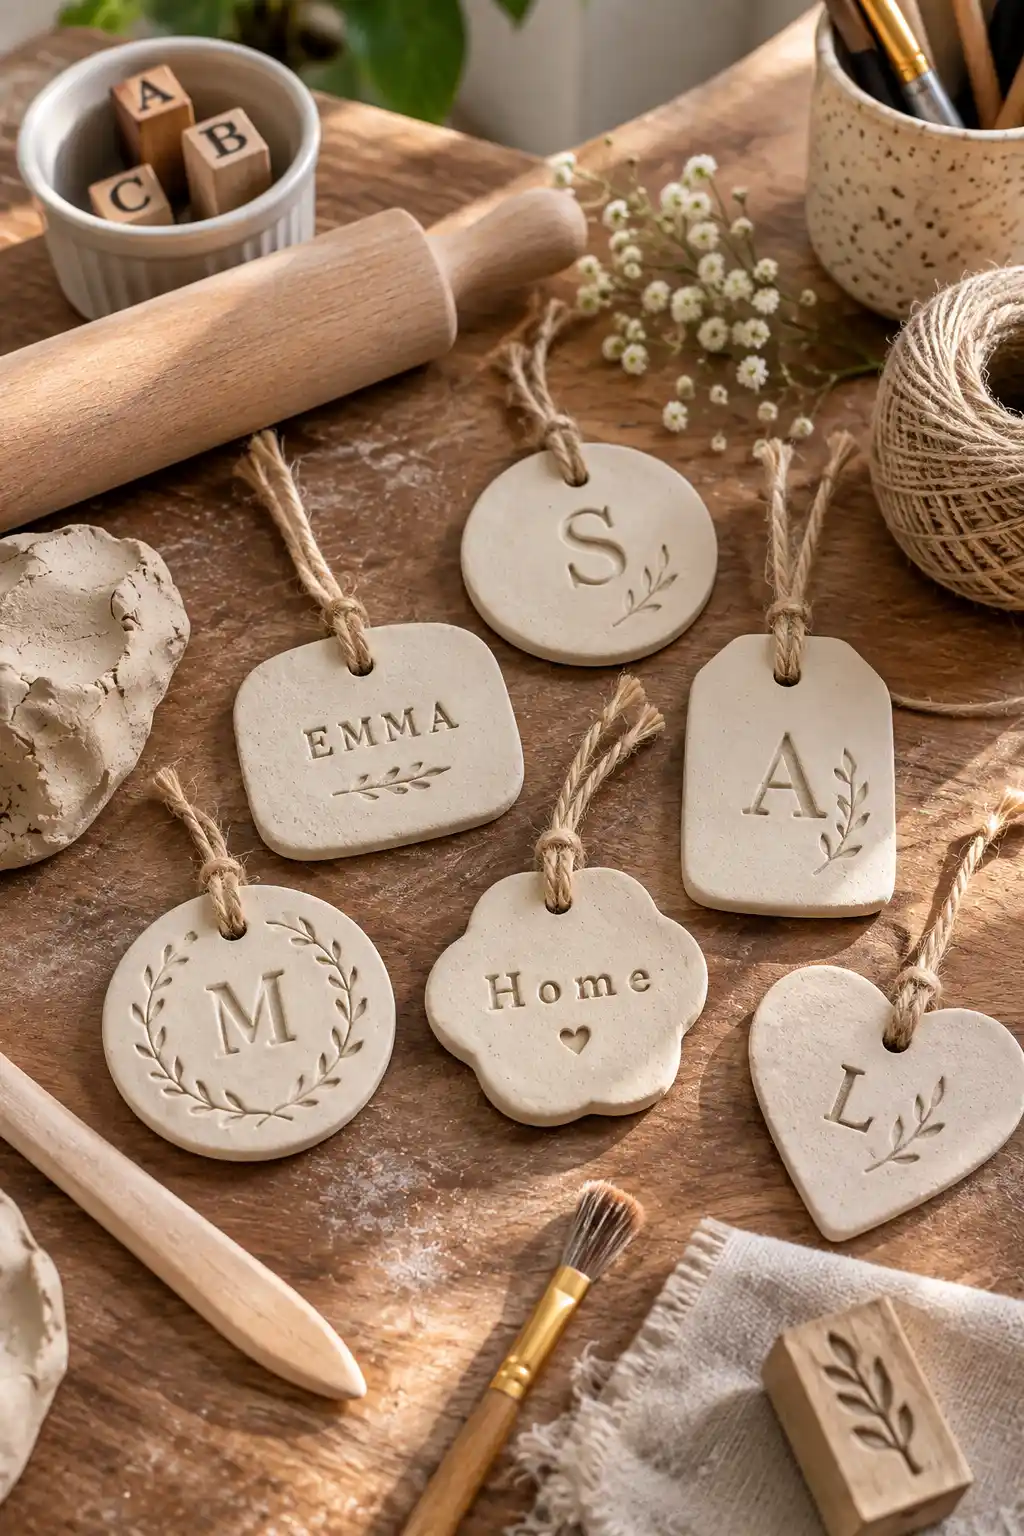
Small clay tags stamped or carved with names or initials work well as gift tags, place settings, or simple door signs, adding a genuinely personal touch to any of these uses.
- Air dry clay
- Letter stamps or a fine sculpting tool for carving letters
- A small hole punch tool, if using as a hanging tag
How to Make It: Roll out a small, flat piece of clay in your desired tag shape, stamp or carve the name or initial into the surface while the clay is still soft, add a small hole near the top with a skewer if it will be hung or tied, and let it dry completely.
7. Textured Coasters
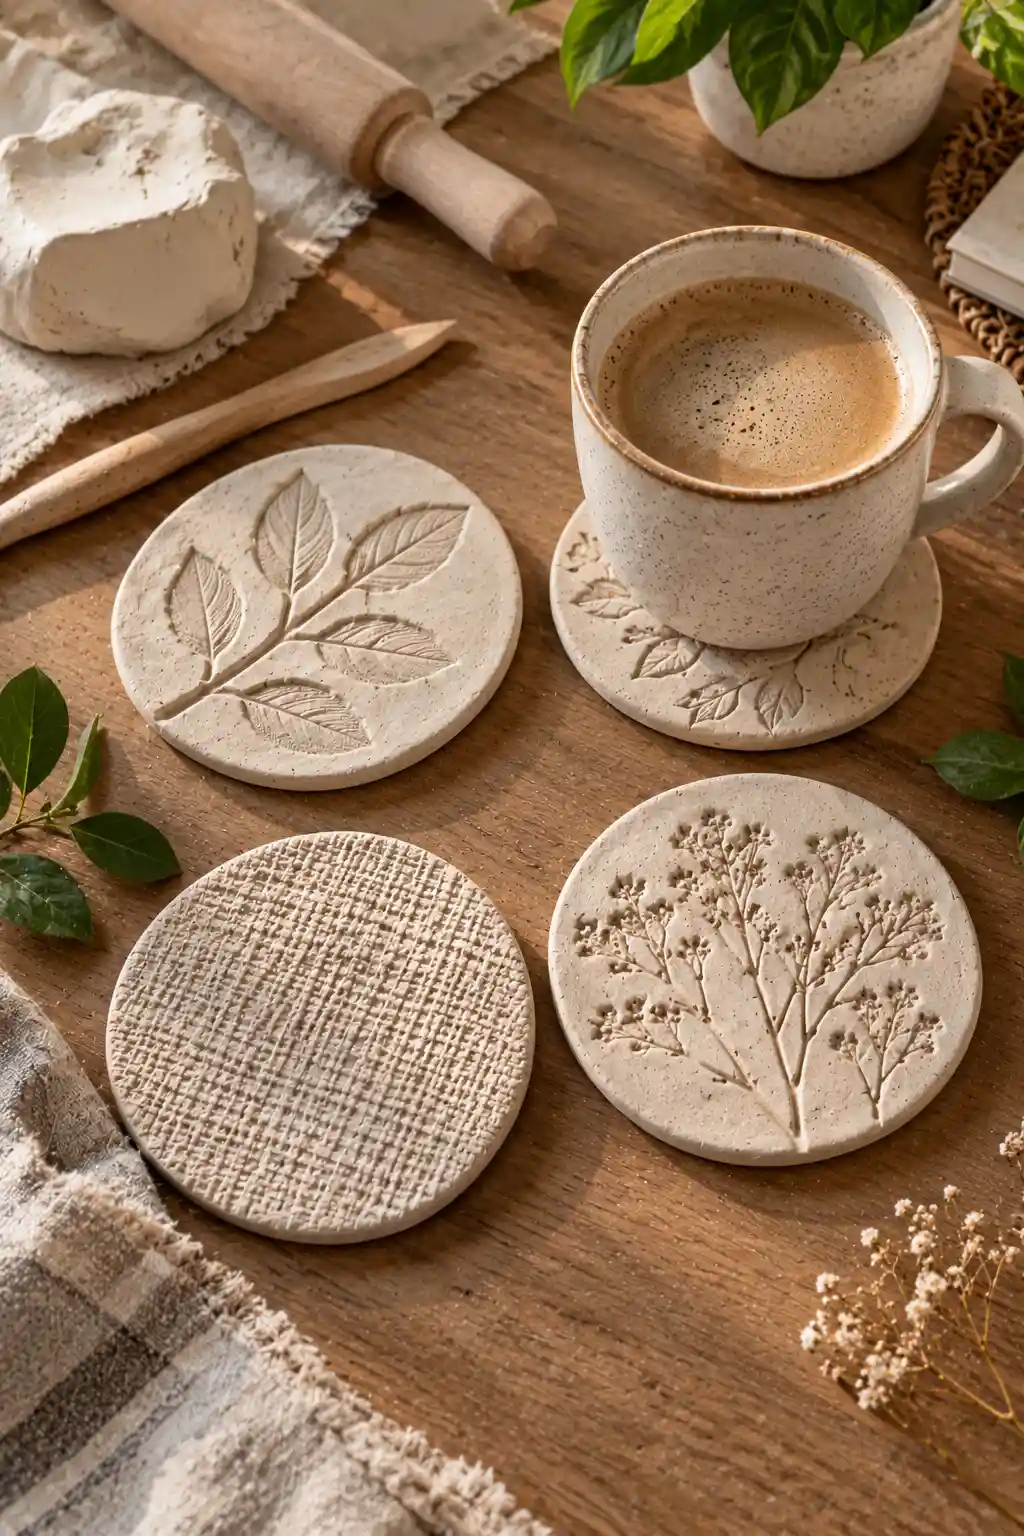
Pressing leaves or textured fabric into flat clay discs before they dry creates genuinely detailed, one-of-a-kind pattern impressions on a set of functional coasters.
- Air dry clay
- A rolling pin
- Real leaves or textured fabric for pressing
- A circular cutter or a knife for shaping the coaster outline
How to Make It: Roll the clay to an even thickness, press a leaf or piece of textured fabric firmly into the surface and then remove it to reveal the impression, cut the clay into a circular or desired coaster shape, and let it dry fully before use.
8. Mini Clay Bowls With Gold Leaf Edges
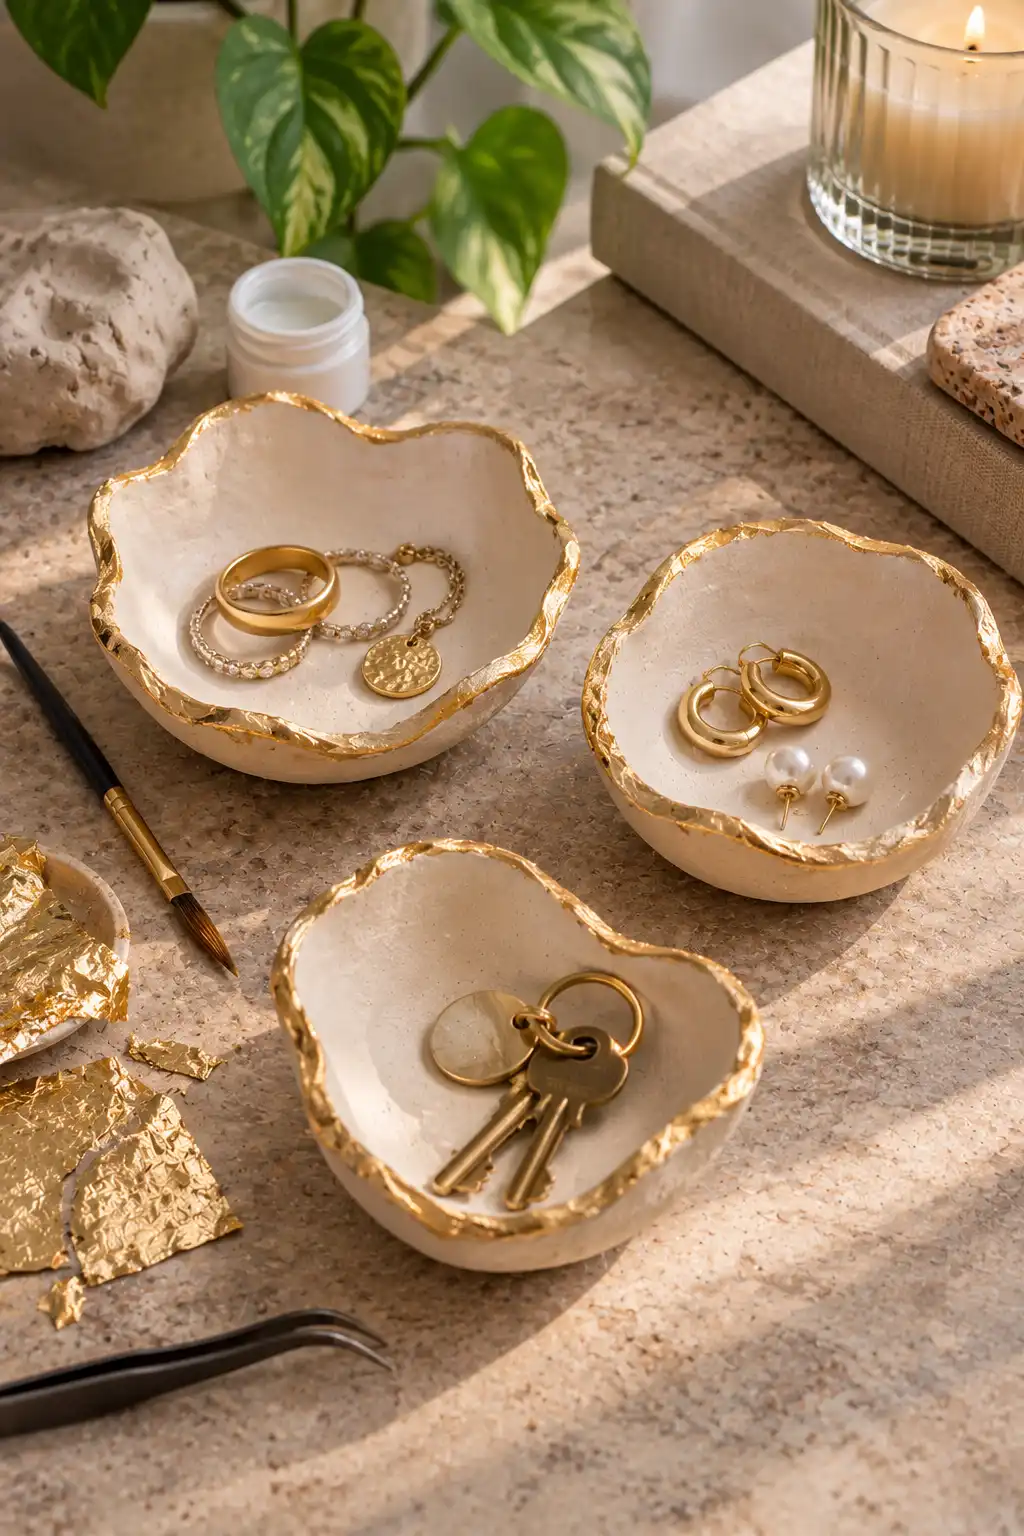
Small catch-all bowls finished with a gilded rim bring a genuinely elevated, elegant touch to a simple handmade dish, perfect for holding jewelry or small everyday items.
- Air dry clay
- A small bowl or mold for shaping
- Gold leaf sheets or gold leaf paint
- A small brush for applying adhesive or paint
How to Make It: Shape the clay into a small bowl using a mold or by hand, let it dry completely, then apply a thin layer of adhesive or gold leaf paint around just the rim before pressing on gold leaf sheets or letting the paint dry for a gilded finish.
9. Clay Bead Garlands
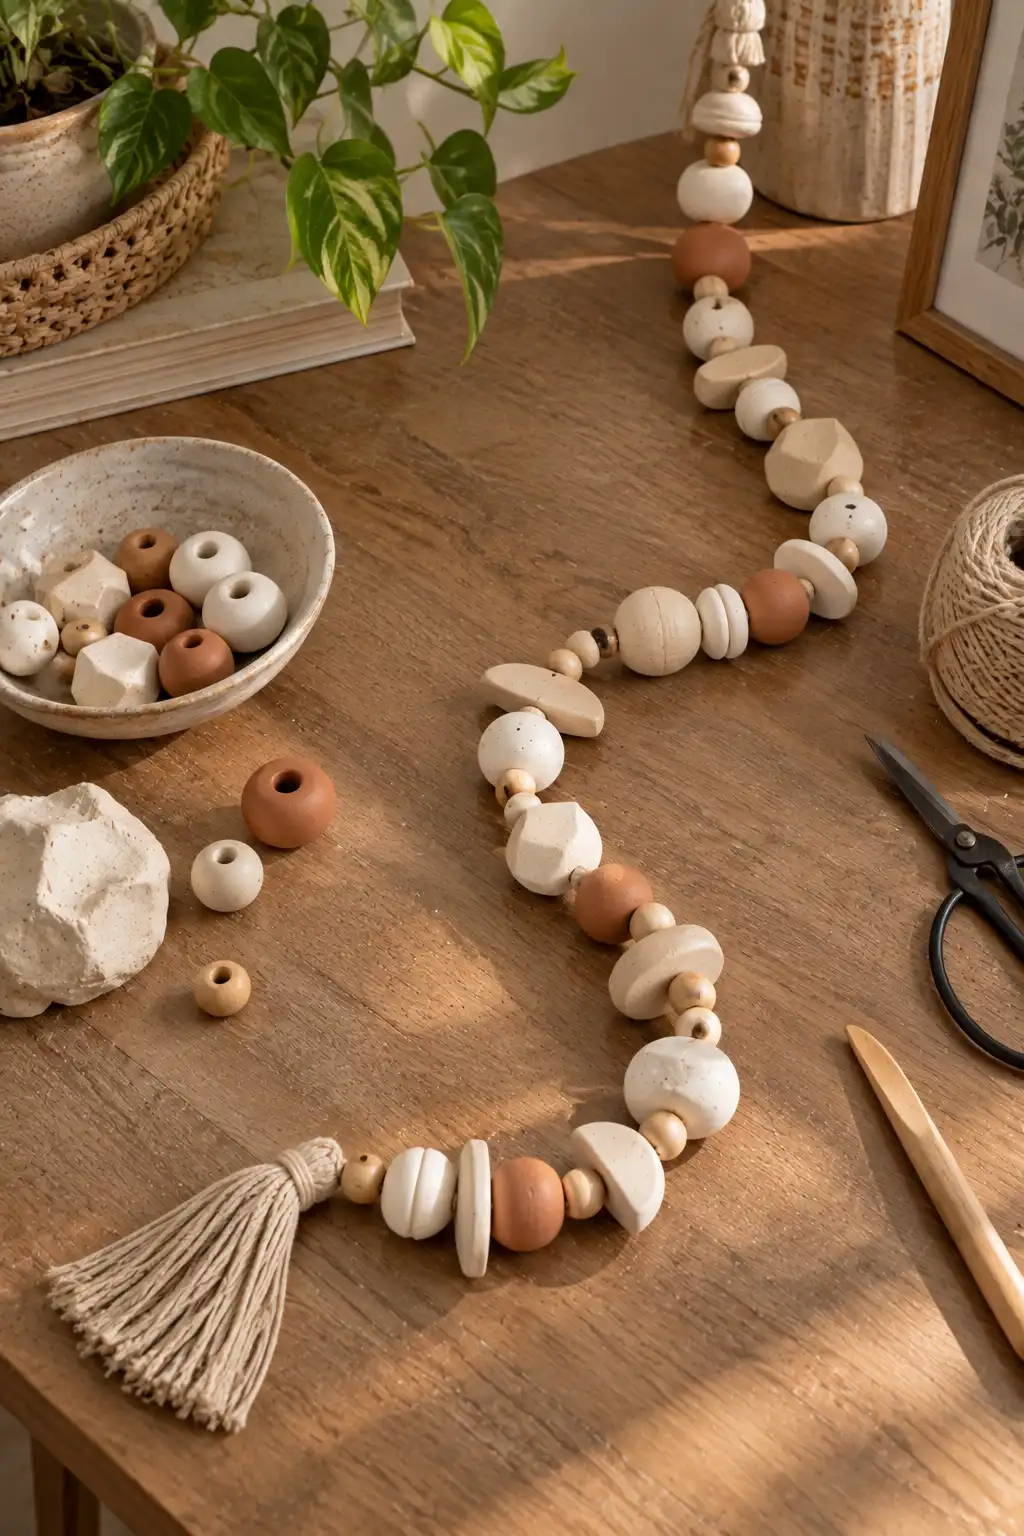
Hand-rolled clay beads strung together create a genuinely boho-inspired garland, usable as home decor draped over a shelf or mirror, or even as jewelry.
- Air dry clay
- A skewer for creating bead holes
- Cord or string for assembly
- Paint, if adding color to the finished beads
How to Make It: Roll small, even balls of clay between your palms, pierce each one through the center with a skewer before the clay dries, let the beads harden fully, then thread them onto cord once dry, painting them beforehand if color is desired.
10. Candle Holders With Organic Curves
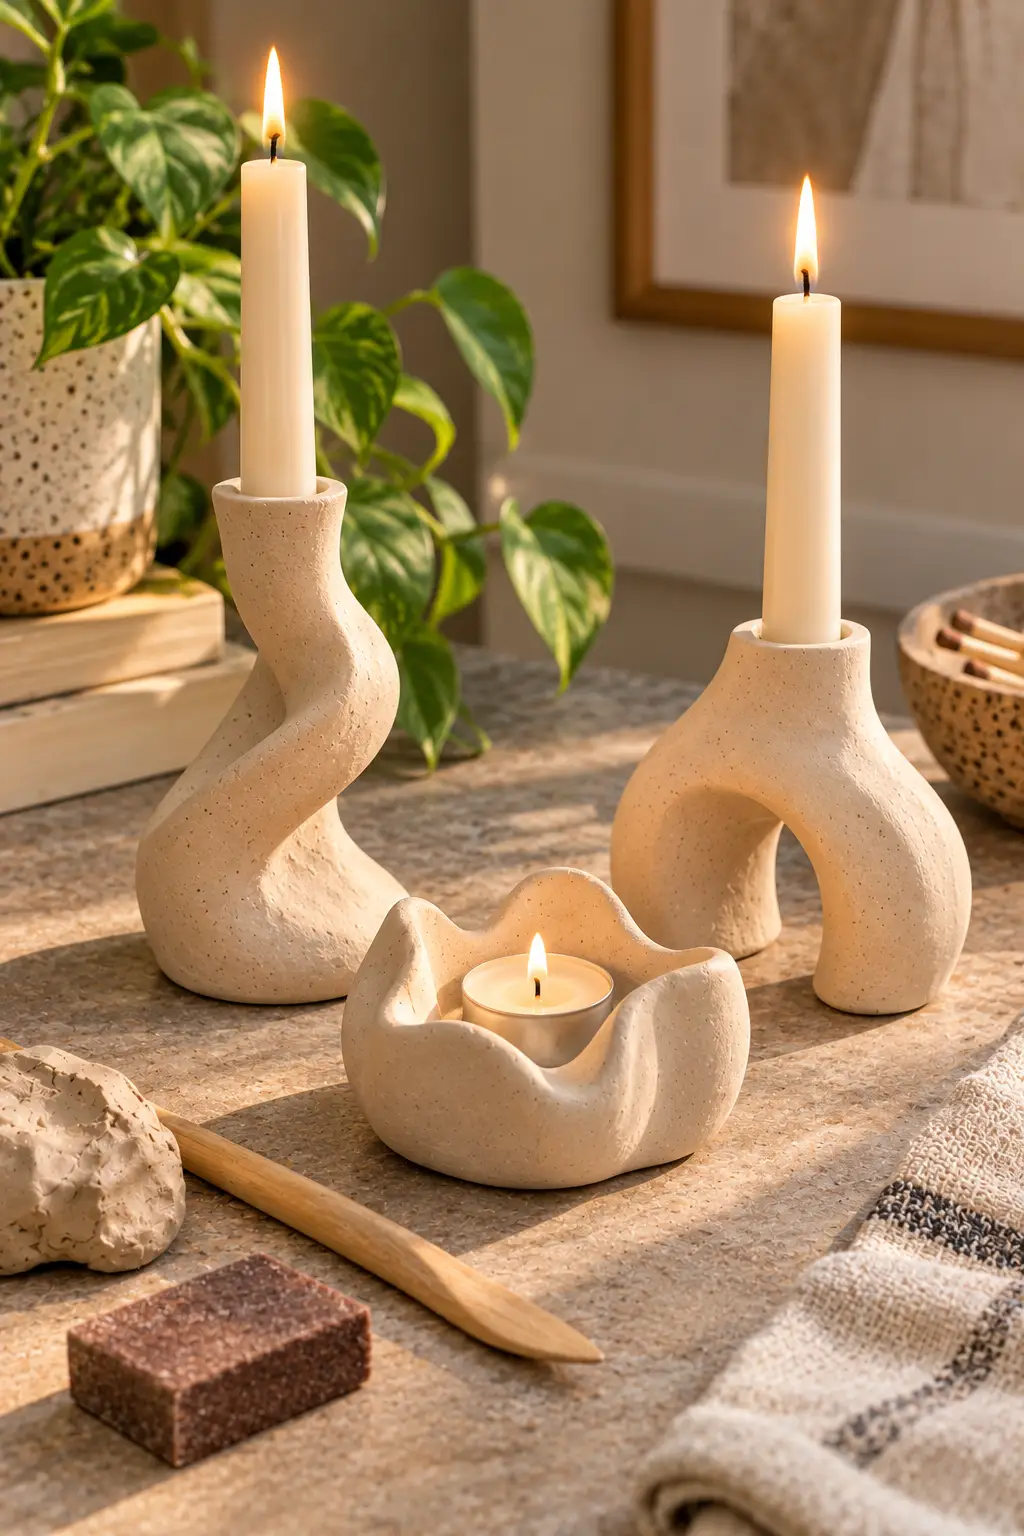
Sculpted taper or tealight holders with soft, organic curves bring a genuinely artistic touch to simple candlelight, moving beyond a plain, symmetrical holder shape.
- Air dry clay
- A taper candle or tealight for sizing the holder opening
- A sculpting tool for refining curves and edges
How to Make It: Shape a ball or coil of clay around the base of a taper candle or tealight to create the correct opening size, sculpt the exterior into soft, asymmetrical curves rather than a perfectly round shape, remove the candle before the clay fully hardens, and let the holder dry completely before use.
Final Thoughts
Air dry clay genuinely rewards experimentation more than precision, which is part of what makes it such an approachable material for home crafting. As these 10 projects show, the same basic clay can become anything from a delicate bud vase to a bold, gold-rimmed catch-all bowl, depending entirely on the shaping and finishing technique applied.
Start with a simpler project, like the textured coasters or trinket dishes, before moving on to something requiring more shaping control, like the bud vases or candle holders, and remember that the slightly imperfect, handmade quality of air dry clay is genuinely part of its charm rather than something to correct.